Unable to upload my sketch

Hello,

I am pulling my hair with this issue.

I was able to upload my sketches using the Pololu Mini Maestro library for Arduino without issues yesterday. Today, after charging my battery to feed my servos I was having issues to upload the Pololu Library or basically any sketch only when my Arduino Nano is connected TX and RX to the mini Maestro ports.

I troubleshooted the Arduino and I am capable to upload sketches no problem, but as long and I don’t use RX and TX pins. Also I am able to use the Maestro Control Center separate, with no problems and move all the servos.

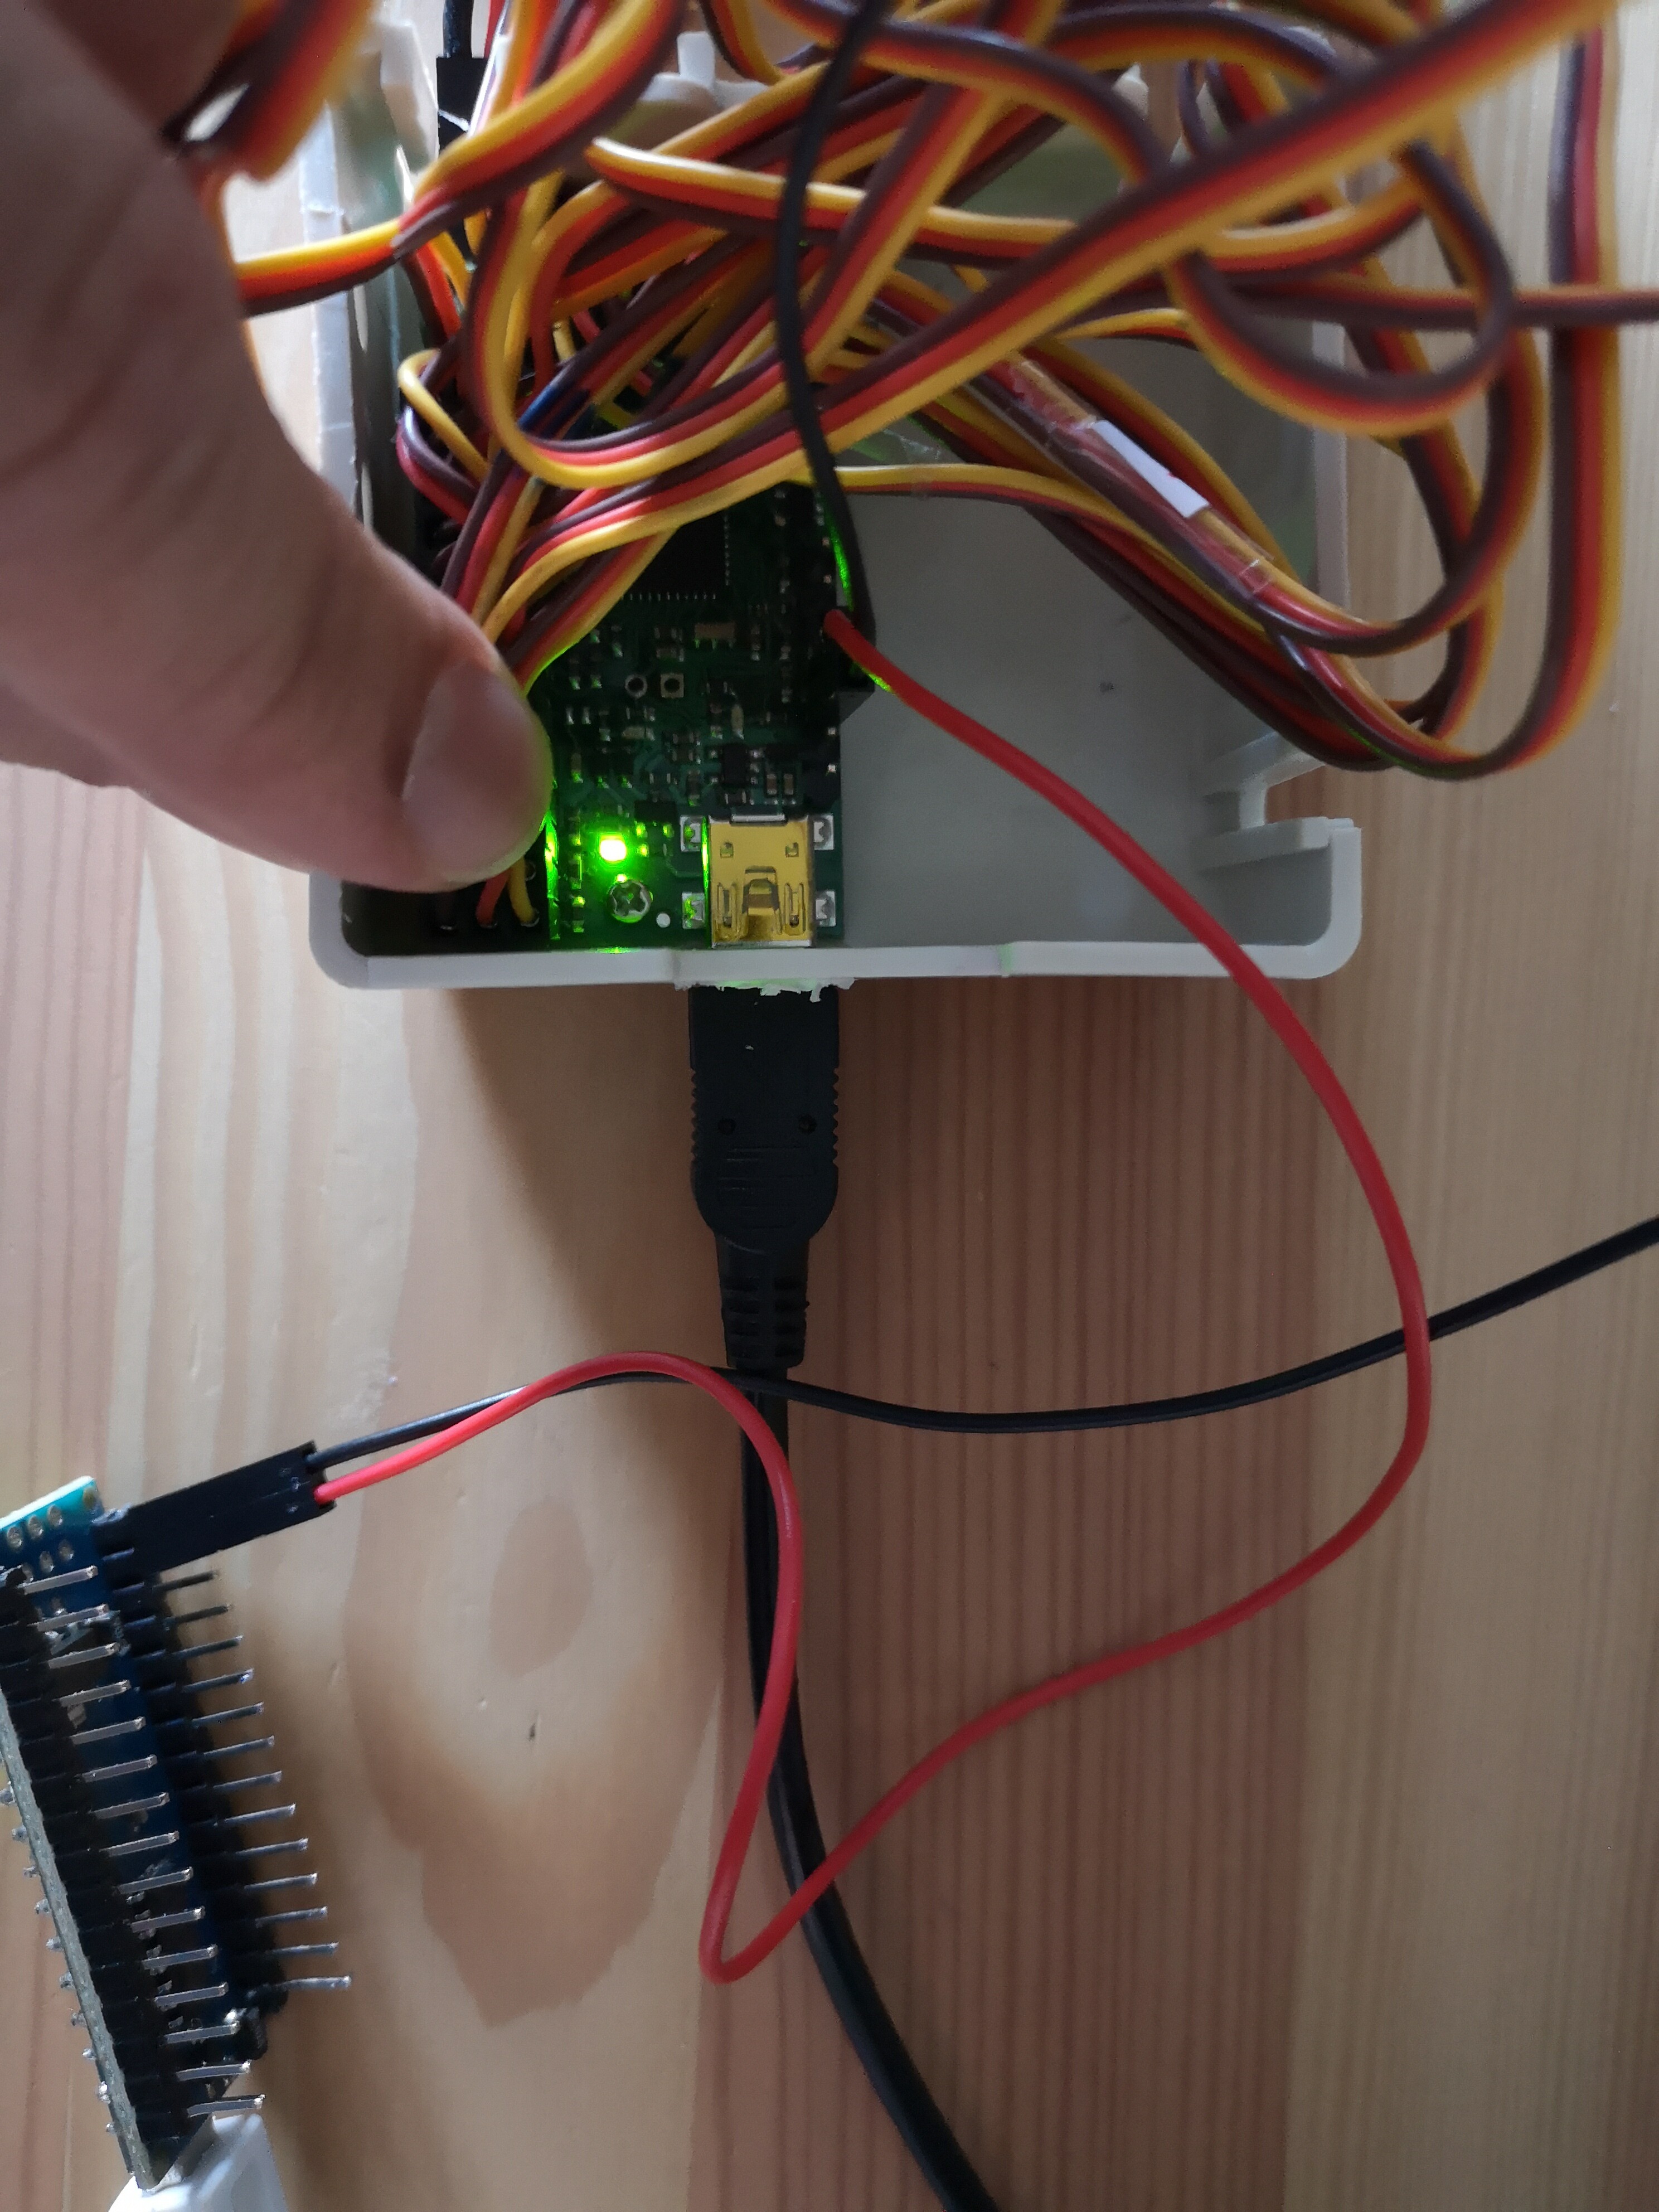
To try the serial communication, I have connected from TX to RX and from RX to TX. I will attach a photo as well, currently I am using 18 servos, I am also attaching my Maestro settings for better references. I would also add that the green light is blinking fast where the yellow is blinking at a lower speed.

maestro_settings.txt (3.5 KB)

Once my arduino nano is connected with the Maestro with the serial ports RX and TX, stays in uploading… and nothing happens. I pulled the verbose to try to diagnose the issue and I have this:

avrdude: Version 6.3-20190619
Copyright (c) 2000-2005 Brian Dean, http://www.bdmicro.com/
Copyright (c) 2007-2014 Joerg Wunsch

     System wide configuration file is "C:\Program Files (x86)\Arduino\hardware\tools\avr/etc/avrdude.conf"

     Using Port                    : COM6
     Using Programmer              : arduino
     Overriding Baud Rate          : 115200

avrdude: stk500_recv(): programmer is not responding
avrdude: stk500_getsync() attempt 1 of 10: not in sync: resp=0x1e
avrdude: stk500_recv(): programmer is not responding
avrdude: stk500_getsync() attempt 2 of 10: not in sync: resp=0x1e
avrdude: stk500_recv(): programmer is not responding
avrdude: stk500_getsync() attempt 3 of 10: not in sync: resp=0x1e
avrdude: stk500_recv(): programmer is not responding
avrdude: stk500_getsync() attempt 4 of 10: not in sync: resp=0x1e
avrdude: stk500_recv(): programmer is not responding
avrdude: stk500_getsync() attempt 5 of 10: not in sync: resp=0x1e
avrdude: stk500_recv(): programmer is not responding
avrdude: stk500_getsync() attempt 6 of 10: not in sync: resp=0x1e
avrdude: stk500_recv(): programmer is not responding
avrdude: stk500_getsync() attempt 7 of 10: not in sync: resp=0x1e
avrdude: stk500_recv(): programmer is not responding
avrdude: stk500_getsync() attempt 8 of 10: not in sync: resp=0x1e
avrdude: stk500_recv(): programmer is not responding
avrdude: stk500_getsync() attempt 9 of 10: not in sync: resp=0x1e
avrdude: stk500_recv(): programmer is not responding
avrdude: stk500_getsync() attempt 10 of 10: not in sync: resp=0x1e

avrdude done. Thank you.

Problem uploading to board. See http://www.arduino.cc/en/Guide/Troubleshooting#upload for suggestions.

No clue how to fix it but I would be glad to provide more details so you guys can help me out.

Thank you again for your great support!

Quick update,

I disconnected all the servos to try only with one servo and I was able to upload the example sketch from Pololu, However I had to change the programmer from AVRISP MKII to AVR ISP. in the Arduino IDE.

I got also 2 errors with the RED led when uploading my sketch
In the Maestro Control Center tab : Errors:

Currently active errors:
Serial signal error
Serial protocol error

Which I am able to clear hitting Clear Errors, is this normal? I was also able to clear this light using the pin RST.

I do not know what I did differently from the first time when I upload y sketch, I probably was not paying attention and I was working with the RED light and switch the type of programmer in the Arduino IDE without knowing.

Thanks to anyone who can provide more details to have a better understanding!

Hello.

The Arduino Nano only has one serial port, meaning pins 0 (RX) and 1 (TX) are also used by the computer. Connecting the Maestro (or any other device) to the Arduino Nano’s UART pins (RX and TX) can interfere with that communication, which explains why you were having a difficult time trying to upload your sketch. You can that information and more details on the Serial page on the official Arduino website.

I suspect it was by chance that you were able to upload your sketch to the Arduino Nano with the Maestro still connected, and not because you changed the hardware programmer entry or reduced the number of servos connected to the Maestro. (The hardware programmer selection (e.g. AVRISP) does not matter when you’re using the on-board USB-serial connection to upload your sketch.) When you loaded your sketch to the Arduino Nano, the Maestro tried to interpret that data but couldn’t, hence it reported a “Serial signal error” and a “Serial protocol error”.

- Amanda

Thank you Amanda,

What would be the best workflow if I need to upload sketches constantly to try different motions?

Should we conclude with the following steps?

  1. Plug my Arduino and upload my sketch
  2. Plug my TX and RX Arduino x Maestro
  3. Plug my battery for my servos
  4. Plug my maestro to my usb to give power to my board
  5. When a new sketch is needed in my Arduino, unplug my Maestro from USB
  6. Upload my new sketch in Arduino IDE
  7. Then connect back my maestro to USB to see the new motion

Thanks again for your support!

If you’re planning to upload code constantly to your Arduino Nano, you should try using a software serial port instead of the hardware serial port (as shown here). That way you’re not interfering with the communication between the Arduino Nano and the computer. (The Arduino’s SoftwareSerial library was created to allow serial communication on other digital pins if there are limited hardware serial ports available.)

By the way, if you are trying to build a sequence of servo movements, it might be easier for you to use the sequencer feature in the Maestro Control Center instead of having to constantly modify and upload your Arduino code. The sequencer feature allows you to create multiple sequences, play back sequences, and copy them to a script, which runs on the Maestro and can be controlled from your Arduino code. For more details on the sequencer feature, see the “Sequencer” section of the Maestro’s user’s guide. For more information on Maestro’s scripting feature and an example of how to control a Maestro script from the Arduino, see the “Entering a script” section in the user’s guide and the Script.ino example in the Maestro Servo Controller library for Arduino, respectively.

- Amanda