Greetings from Dubai!
This is my first attempt building a robot using parts ordered from Pololu which arrived on my doorstep directly from Las Vegas in less than 3 days by Fedex.
The construction is really simple, made of widely available materials, requires minimum soldering and no special tools needed.
1 - Chassis
I found that prototyping PCB is cheap and sturdy enough as robot’s body, and it’s pretty easy to cut just using board cutter.
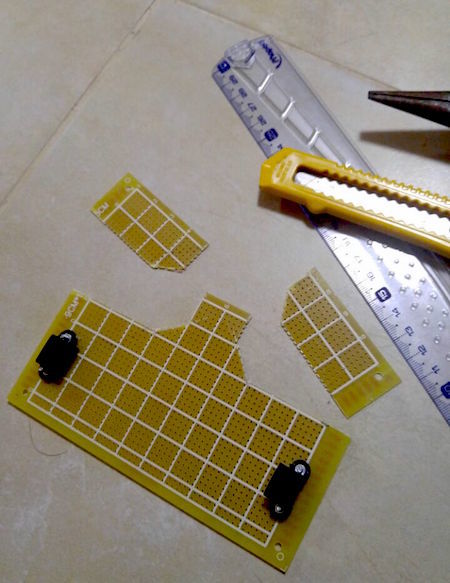
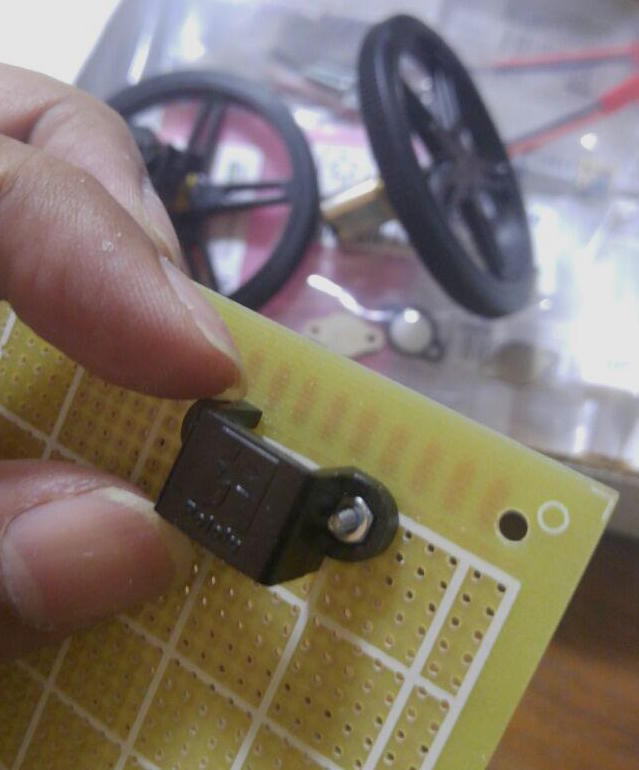
2 - Motor Brackets
Motor brackets are bolted directly to the PCB.
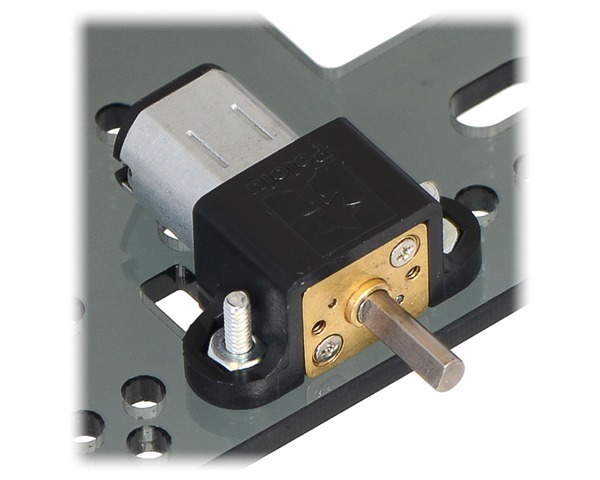
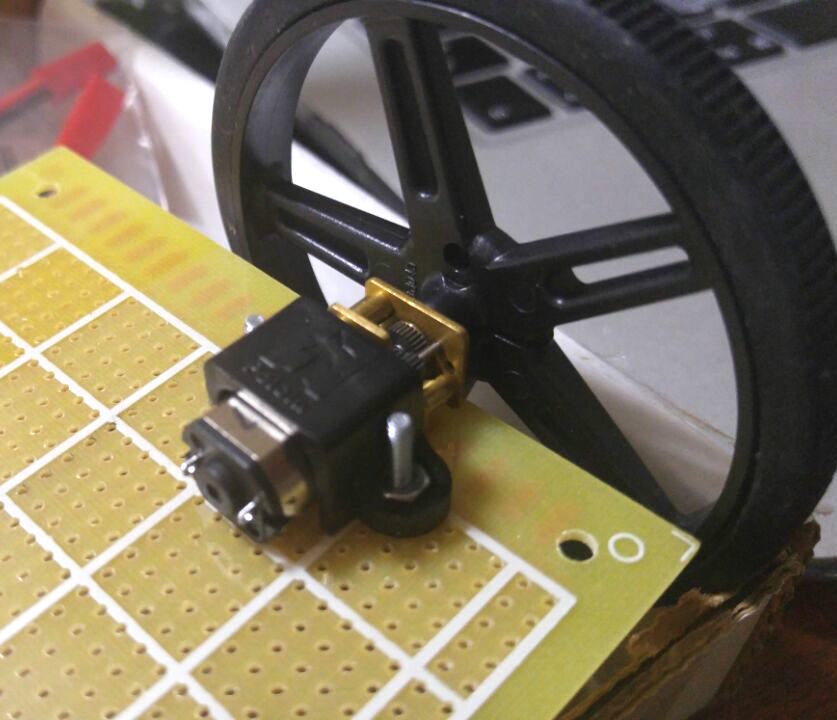
3 - Motors
I choose 70mm wheels attached on 30:1 Micro Metal Gearmotors. The motors are 6V Low Power model, which surprisingly giving ample of speed around 1.2m/s (see video below).
4 - Sensors
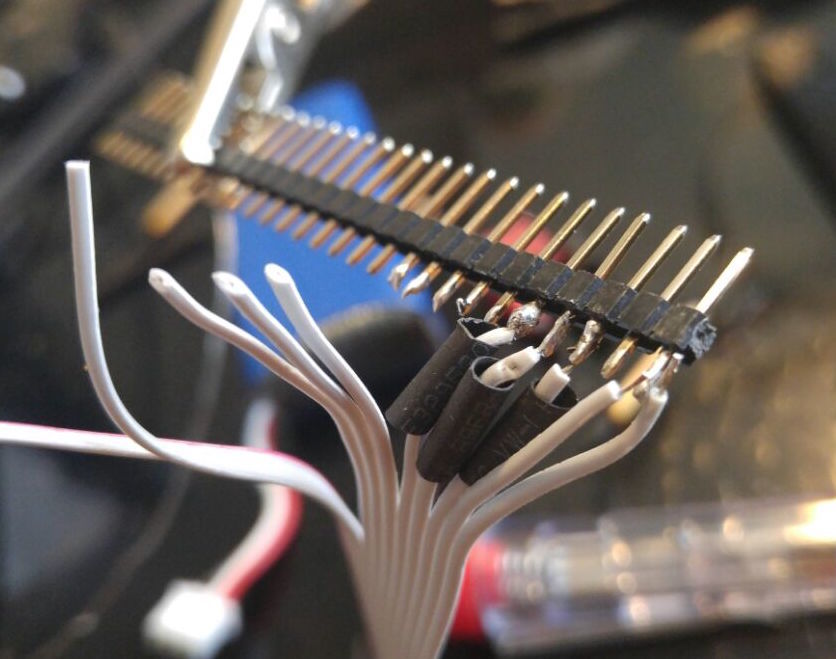
The classic QTR-8RC IR reflectance sensors array is attached to a prototype PCB via 10-pin headers (8 sensors, Vcc and Ground, I omitted the IR-emitter pin).

The sensors are connected to Arduino microcontroller via ribbon cable. I know my soldering skill is not good but it works ![]()
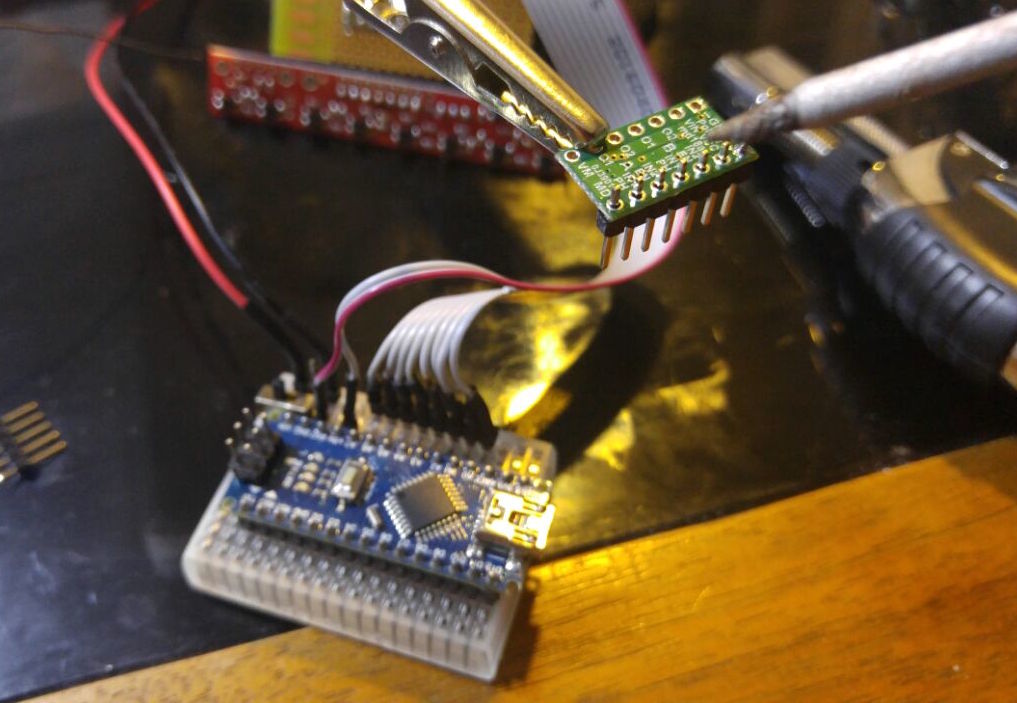
5 - Motor Driver
Pololu’s DRV8835 Dual Motor Driver Carrier is small and has simple connectivity: for each motor only need 1 digital output for direction and 1 digital PWM output for motor speed. It’s good enough to feed two LP motors without any problem.
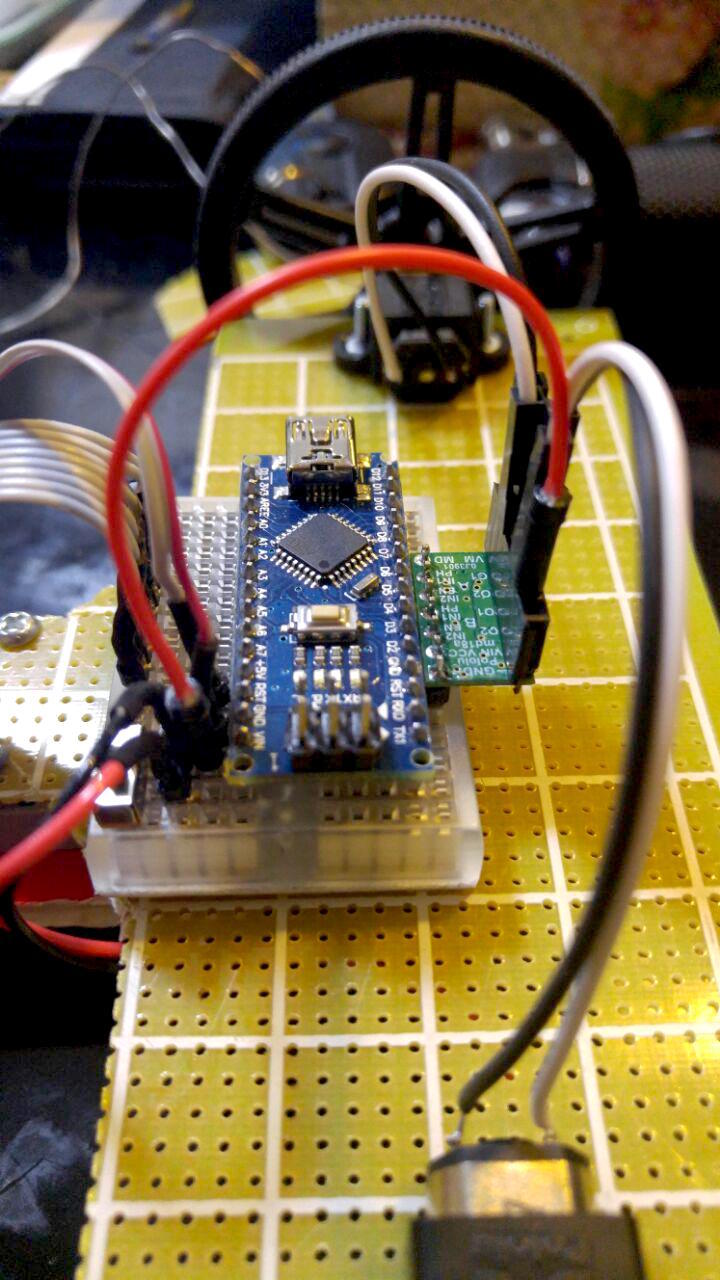
6 - The “brain”
I managed to cramp everything in a small 3.5cm x 4.5cm breadboard (1.38"x1,77").

Motors are connected directly to DRV8835 via small breadboard jumper cable, which should be fine since the LP motors draw relatively small current.
7 - The chassis is extended using 1mm thickness foam board (those to put posters, available at stationary shops or supermarkets). The 3/8" caster ball is mounted close to the sensor.
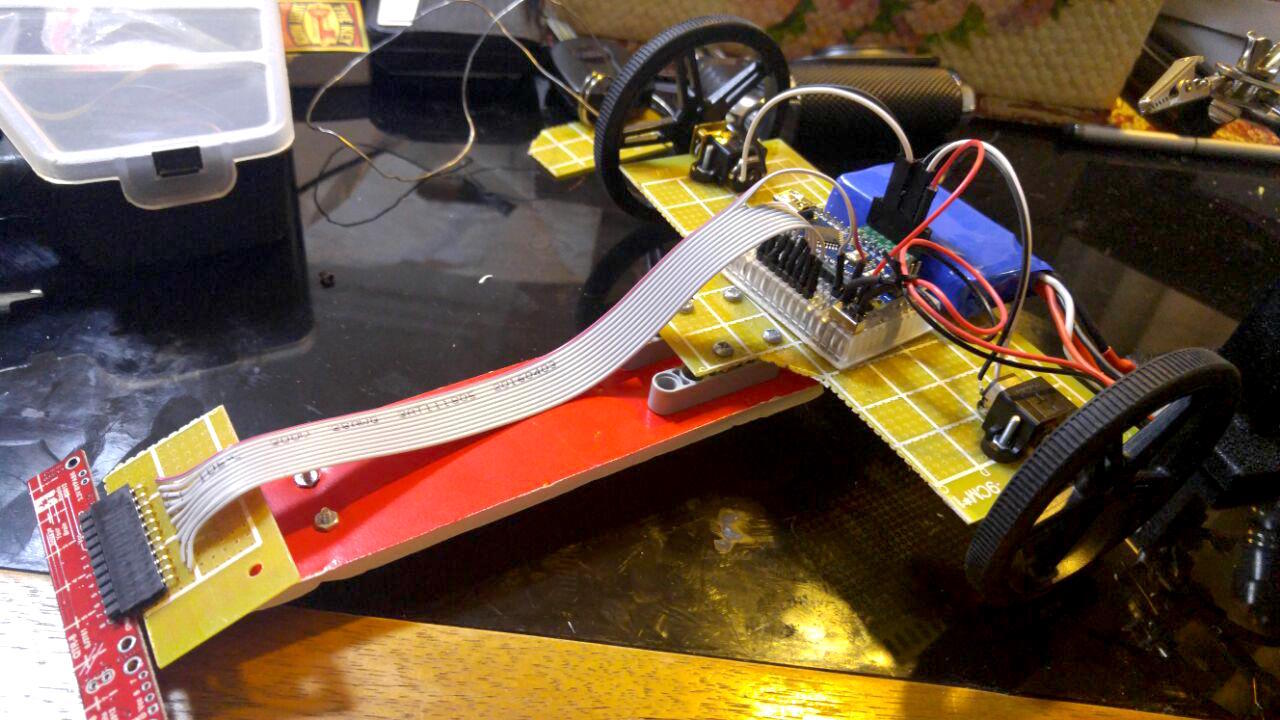
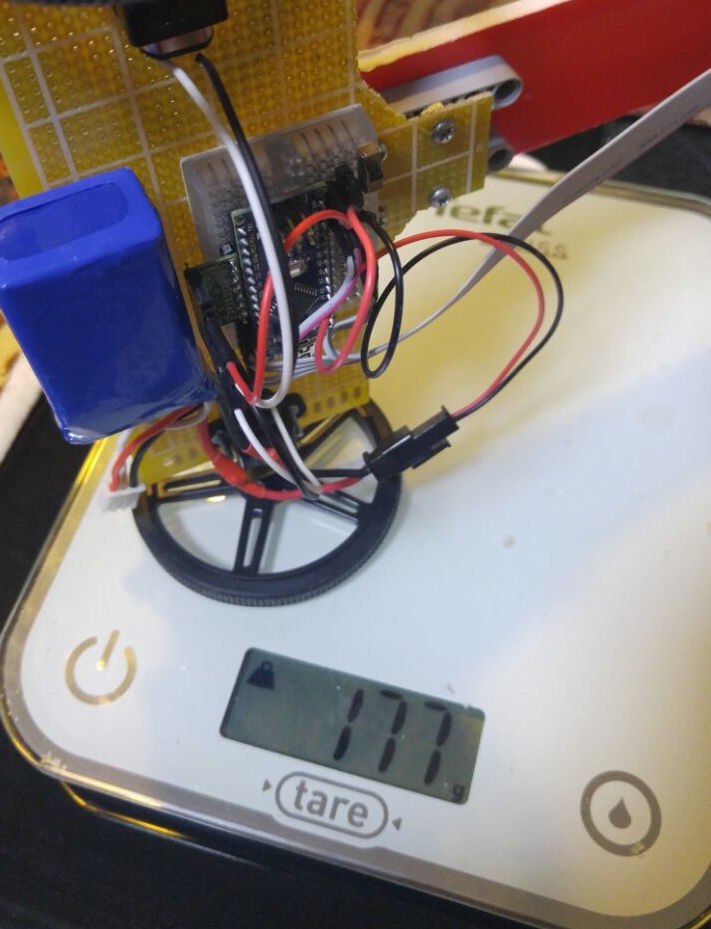
8 - Overall Weight
After putting 1400mAh LiPo battery, the overall weight of the robot is just 177 grams.
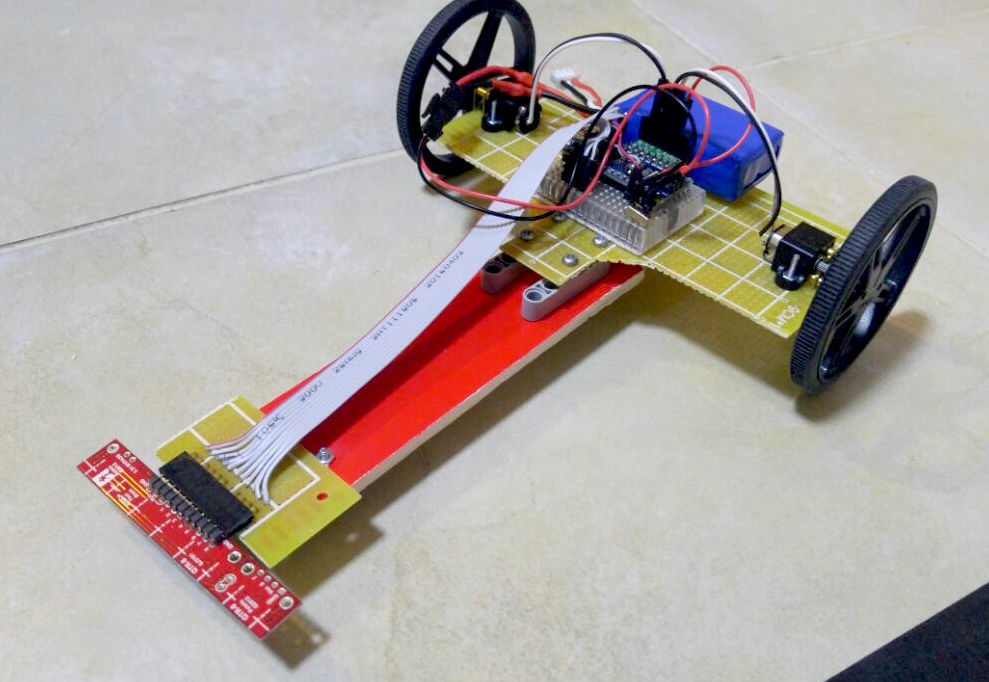
9 - It’s ready to go.
I just use the codes from QTR-8RC Arduino Library available here as the base to run this robot, so I am not going to go deeper on it.
Based on my test on black over white surface track with minimum PID tuning, the speed reached 1.2m/s. As seen on the following video the track was poorly made directly on the floor and it has two right angles.

On a proper track and without right angles (only curves), it probably will perform much better.
Hope this simple robot can inspire you and prove that making robot can be fun and easy.
Cheers!
Judhi