I’m trying to program a bare ATMega328P chip using MiniCore and your USB AVR Progammer v2.1. I’m using the minimal wiring setup for DIP28 from MiniCore:
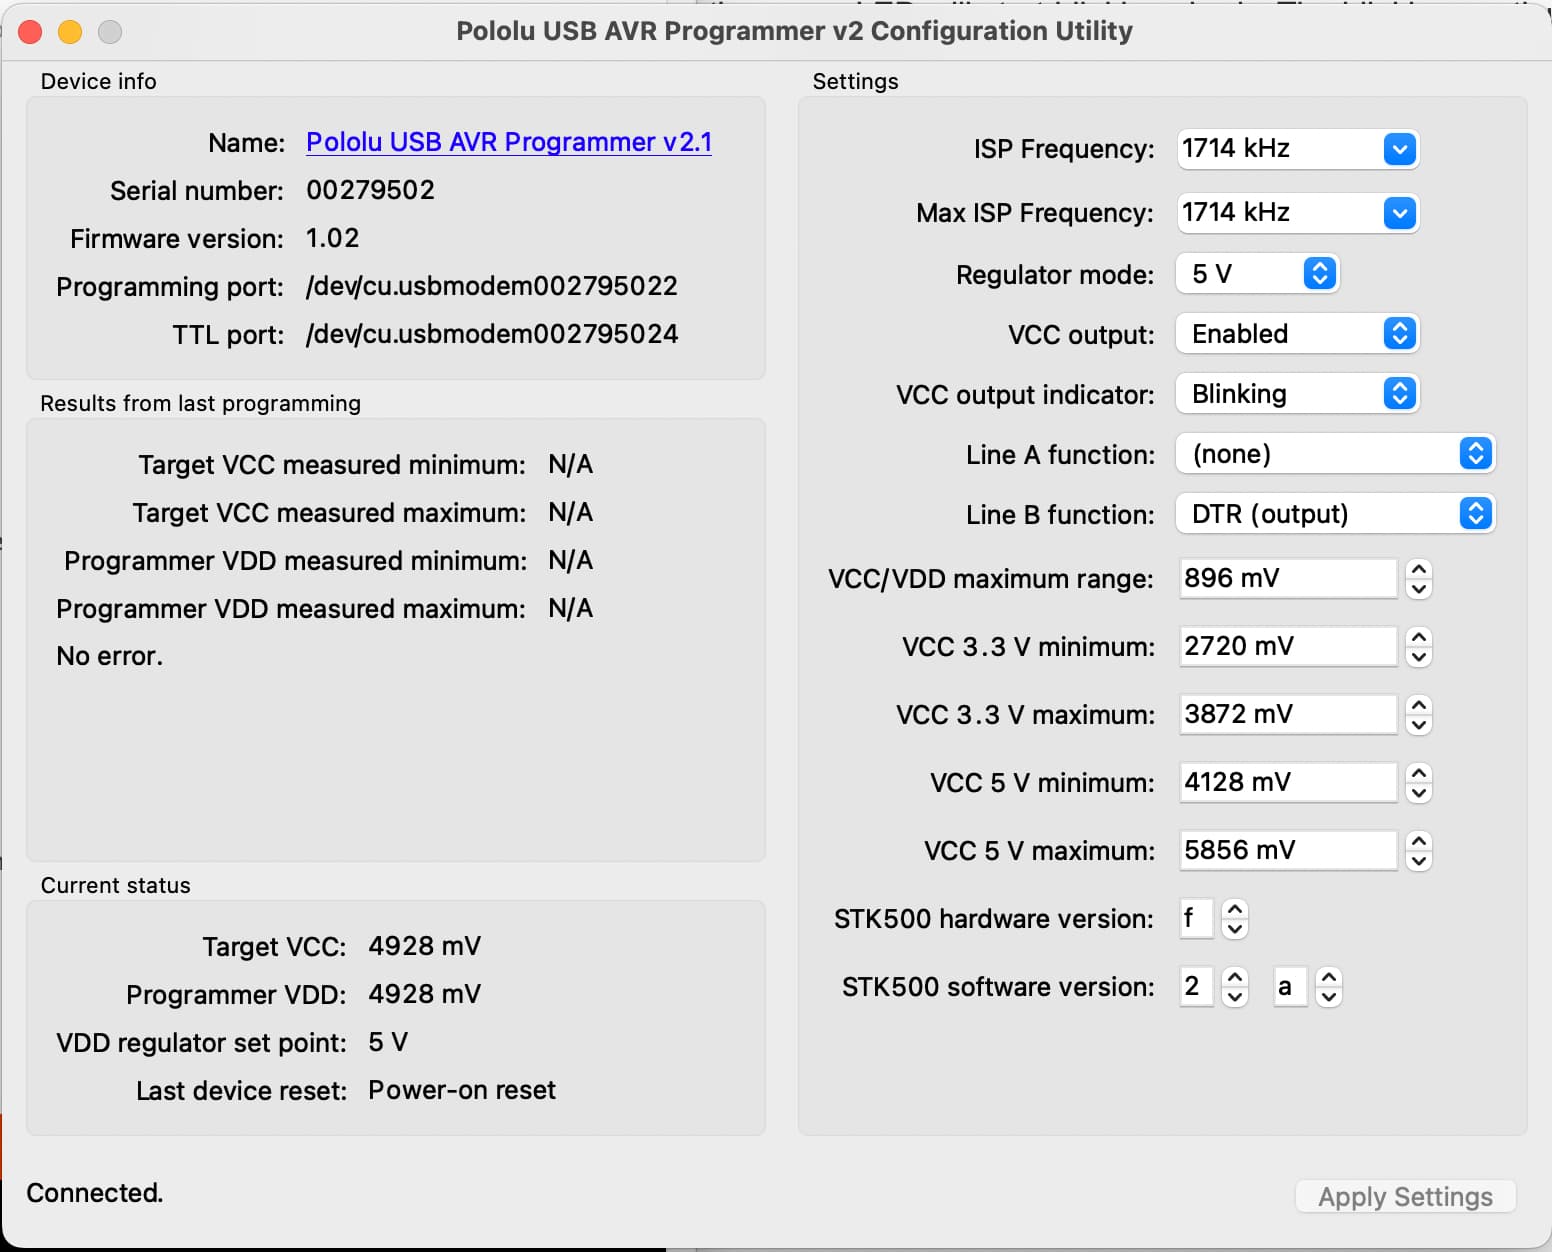
I’m trying to follow the programmer’s User Guide along with the config tool - when it’s connected to my Mac (macOS Sonoma, v14.6.1) I see a steady green light and quickly flashing yellow LEDs; after trying to Burn Bootloader the red light stays on.
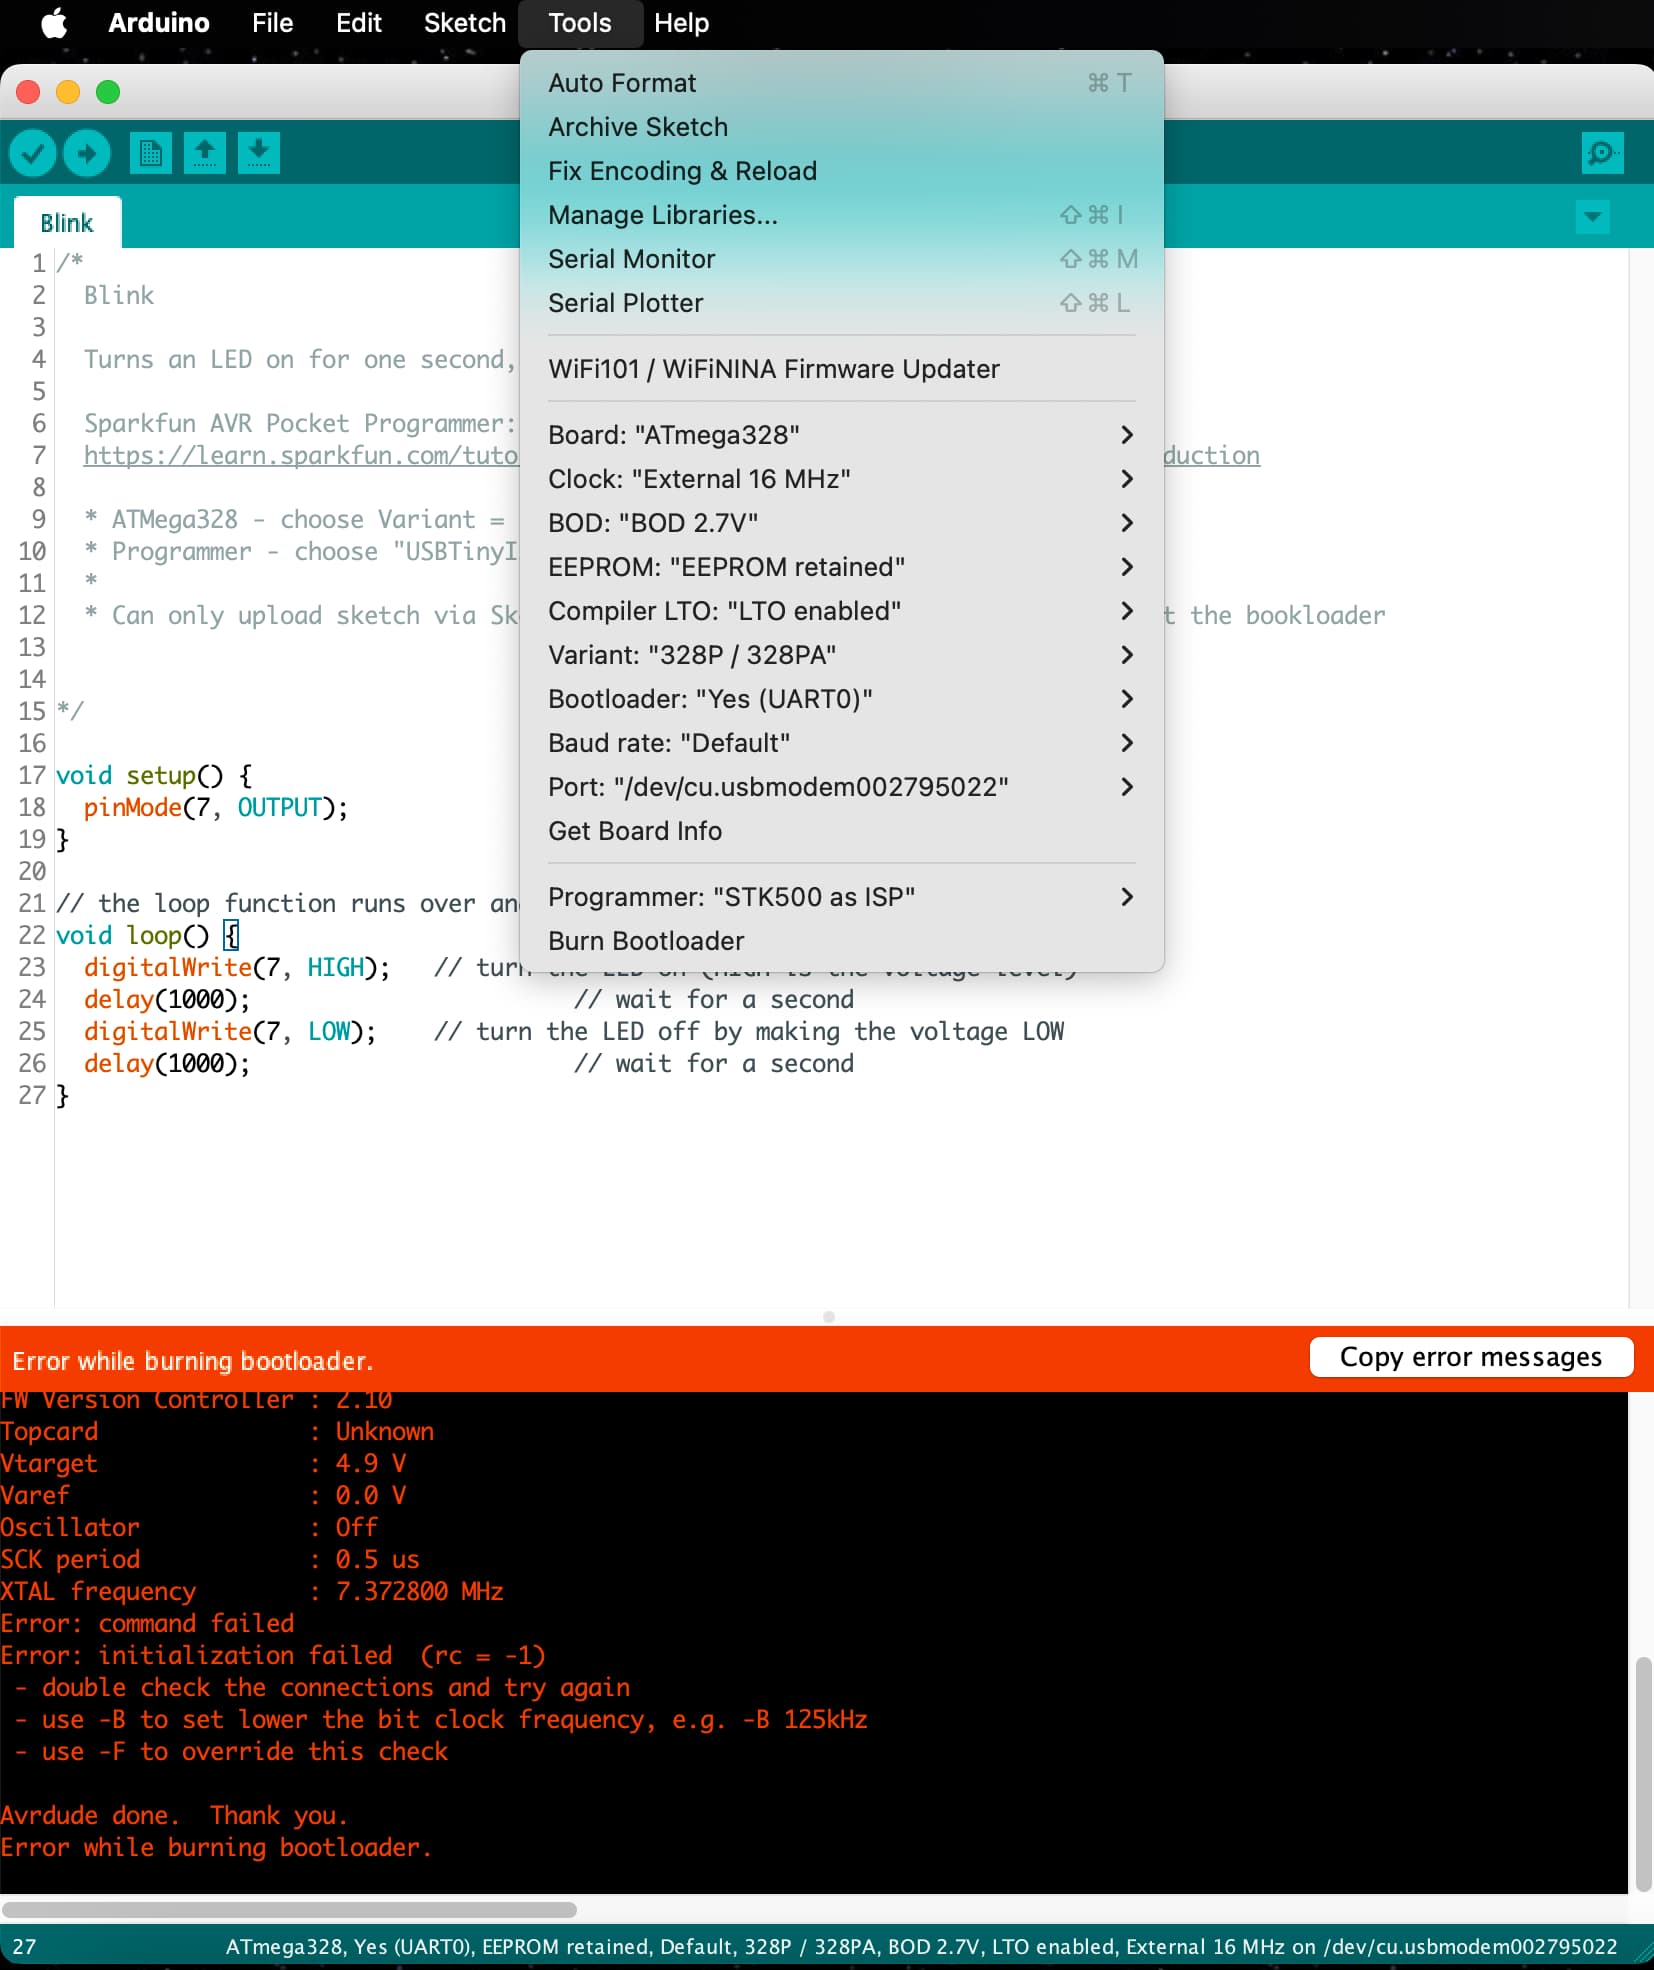
I don’t see “Atmel STK500” listed under Programmer menu, but I do see “STK500 as ISP” The output in the Arduino IDE (v1.8.18):
Arduino: 1.8.18 (Mac OS X), Board: "ATmega328, Yes (UART0), EEPROM retained, Default, 328P / 328PA, BOD 2.7V, LTO enabled, External 16 MHz"

/Users/rwaddell/Library/Arduino15/packages/MiniCore/tools/avrdude/8.0-arduino.1/bin/avrdude -C/Users/rwaddell/Library/Arduino15/packages/MiniCore/tools/avrdude/8.0-arduino.1/etc/avrdude.conf -v -patmega328p -cstk500 -P /dev/cu.usbmodem002795022 -e -Ulock:w:0xff:m -Uefuse:w:0b11111101:m -Uhfuse:w:0xd7:m -Ulfuse:w:0b11110111:m
Avrdude version 8.0-arduino.1
Copyright see https://github.com/avrdudes/avrdude/blob/main/AUTHORS

System wide configuration file is /Users/rwaddell/Library/Arduino15/packages/MiniCore/tools/avrdude/8.0-arduino.1/etc/avrdude.conf
User configuration file /Users/rwaddell/.avrduderc does not exist

Using port            : /dev/cu.usbmodem002795022
Using programmer      : stk500
Successfully opened stk500v2 device; in future
please use -c stk500v2, so -x parameters are available
AVR part              : ATmega328P
Programming modes     : SPM, ISP, HVPP, debugWIRE
Programmer type       : STK500V2
Description           : Atmel STK500 (probes v2 first then v1)
Programmer model      : STK500
HW version            : 15
FW Version Controller : 2.10
Topcard               : Unknown
Vtarget               : 4.9 V
Varef                 : 0.0 V
Oscillator            : Off
SCK period            : 0.5 us
XTAL frequency        : 7.372800 MHz
Error: command failed
Error: initialization failed  (rc = -1)
 - double check the connections and try again
 - use -B to set lower the bit clock frequency, e.g. -B 125kHz
 - use -F to override this check

Avrdude done.  Thank you.
Error while burning bootloader.


This report would have more information with
"Show verbose output during compilation"
option enabled in File -> Preferences.
I don’t have any external power connected to the board - I thought if the Config tool has “VCC output = enabled” then that isn’t necessary, but I’m not sure.
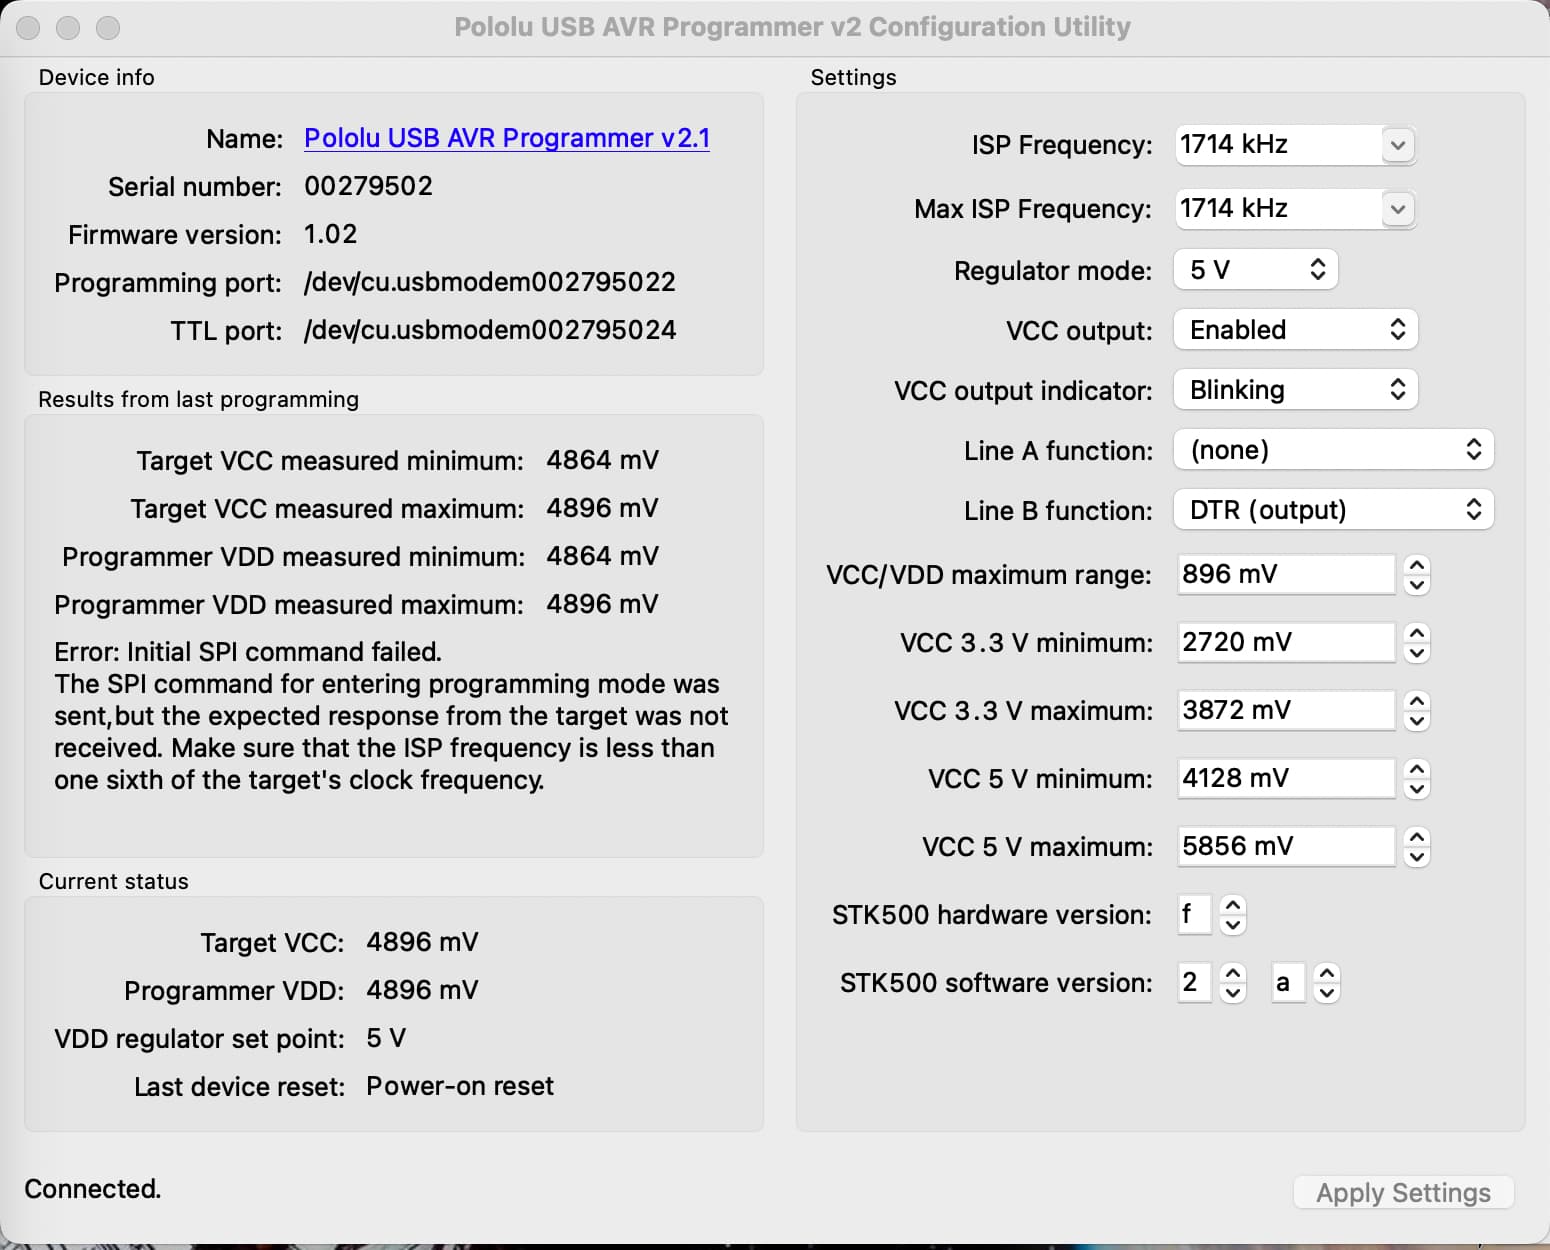
Can you post some pictures that show all of your physical connections? Your screenshot of the programmer utility indicates that there was no error in the “Results from last programming” box, but that does not make sense if the red LED is turning on, so I suspect you did not have that running while you were trying to actually program with the board. Can you try uploading your program with programmer configuration utility running and your Arduino IDE set up to show verbose output (you can enable verbose output from the “Preferences” menu under “File”) and post new screenshots/output-messages for those so we can see what is reported?
Also, if it is possible for you to test your programmer with another device that you know to be working (e.g. an Arduino in good condition), that would be a good baseline to establish that the programmer and the ISP cable are okay.
/Users/rwaddell/Library/Arduino15/packages/MiniCore/tools/avrdude/8.0-arduino.1/bin/avrdude -C/Users/rwaddell/Library/Arduino15/packages/MiniCore/tools/avrdude/8.0-arduino.1/etc/avrdude.conf -v -patmega328p -cstk500 -P /dev/cu.usbmodem002795022 -e -Ulock:w:0xff:m -Uefuse:w:0b11111101:m -Uhfuse:w:0xd7:m -Ulfuse:w:0b11110111:m
Avrdude version 8.0-arduino.1
Copyright see https://github.com/avrdudes/avrdude/blob/main/AUTHORS

System wide configuration file is /Users/rwaddell/Library/Arduino15/packages/MiniCore/tools/avrdude/8.0-arduino.1/etc/avrdude.conf
User configuration file /Users/rwaddell/.avrduderc does not exist

Using port            : /dev/cu.usbmodem002795022
Using programmer      : stk500
Successfully opened stk500v2 device; in future
please use -c stk500v2, so -x parameters are available
AVR part              : ATmega328P
Programming modes     : SPM, ISP, HVPP, debugWIRE
Programmer type       : STK500V2
Description           : Atmel STK500 (probes v2 first then v1)
Programmer model      : STK500
HW version            : 15
FW Version Controller : 2.10
Topcard               : Unknown
Vtarget               : 4.9 V
Varef                 : 0.0 V
Oscillator            : Off
SCK period            : 0.5 us
XTAL frequency        : 7.372800 MHz
Error: command failed
Error: initialization failed  (rc = -1)
 - double check the connections and try again
 - use -B to set lower the bit clock frequency, e.g. -B 125kHz
 - use -F to override this check

Avrdude done.  Thank you.
Error while burning bootloader.
If that is a brand new ATmega328P chip, then it is configured by the manufacturer to use the 8 MHz internal RC clock with divide by 8 set, so the MCU frequency is 1 MHz.
Consequently, the ISP programming clock frequency must be set to 250 kHz or less. The fuses need to be changed in order to use the external crystal oscillator.
I don’t see the required 100 nF decoupling caps on the breadboard.
Where do I set the ISP clock frequency in the Configurator - is it the ISP Frequency field?
Also, if I Burn Bootloader with Clock: 16Mhz External isn’t that setting the fuses as you say and then subsequent programming will work?
I just tried Sketch > Upload using Programmer and while that worked (avrdude reports no errors) the LED doesn’t flash.
void setup() {
  pinMode(7, OUTPUT);
}

// the loop function runs over and over again forever
void loop() {
  digitalWrite(7, HIGH);   // turn the LED on (HIGH is the voltage level)
  delay(1000);                       // wait for a second
  digitalWrite(7, LOW);    // turn the LED off by making the voltage LOW
  delay(1000);                       // wait for a second
}
/Users/rwaddell/Library/Arduino15/packages/MiniCore/tools/avrdude/8.0-arduino.1/bin/avrdude -C/Users/rwaddell/Library/Arduino15/packages/MiniCore/tools/avrdude/8.0-arduino.1/etc/avrdude.conf -v -patmega328 -cstk500 -P /dev/cu.usbmodem002795022 -e -Ulock:w:0xff:m -Uefuse:w:0b11111101:m -Uhfuse:w:0xd7:m -Ulfuse:w:0b11110111:m
Avrdude version 8.0-arduino.1
Copyright see https://github.com/avrdudes/avrdude/blob/main/AUTHORS

System wide configuration file is /Users/rwaddell/Library/Arduino15/packages/MiniCore/tools/avrdude/8.0-arduino.1/etc/avrdude.conf
User configuration file /Users/rwaddell/.avrduderc does not exist

Using port            : /dev/cu.usbmodem002795022
Using programmer      : stk500
Successfully opened stk500v2 device; in future
please use -c stk500v2, so -x parameters are available
AVR part              : ATmega328
Programming modes     : SPM, ISP, HVPP, debugWIRE
Programmer type       : STK500V2
Description           : Atmel STK500 (probes v2 first then v1)
Programmer model      : STK500
HW version            : 15
FW Version Controller : 2.10
Topcard               : Unknown
Vtarget               : 4.9 V
Varef                 : 0.0 V
Oscillator            : Off
SCK period            : 8.7 us
XTAL frequency        : 7.372800 MHz

AVR device initialized and ready to accept instructions
Device signature = 1E 95 14 (ATmega328)
Erased chip

Processing -U lock:w:0xff:m
Reading 1 byte for lock from input file 0xff
in 1 section [0, 0]
/Users/rwaddell/Library/Arduino15/packages/MiniCore/tools/avrdude/8.0-arduino.1/bin/avrdude -C/Users/rwaddell/Library/Arduino15/packages/MiniCore/tools/avrdude/8.0-arduino.1/etc/avrdude.conf -v -patmega328 -cstk500 -P /dev/cu.usbmodem002795022 -Uflash:w:/Users/rwaddell/Library/Arduino15/packages/MiniCore/hardware/avr/3.1.1/bootloaders/urboot/atmega328/watchdog_1_s/autobaud/uart0_rxd0_txd1/led+b5/urboot_atmega328_pr_ee_ce.hex:i -Ulock:w:0xff:m
Avrdude version 8.0-arduino.1
Copyright see https://github.com/avrdudes/avrdude/blob/main/AUTHORS

System wide configuration file is /Users/rwaddell/Library/Arduino15/packages/MiniCore/tools/avrdude/8.0-arduino.1/etc/avrdude.conf
Writing 1 byte (0xFF) to lock, 1 byte written, 1 verified

Processing -U efuse:w:0b11111101:m
Reading 1 byte for efuse from input file 0b11111101
in 1 section [0, 0]
Writing 1 byte (0xFD) to efuse, 1 byte written, 1 verified

Processing -U hfuse:w:0xd7:m
Reading 1 byte for hfuse from input file 0xd7
in 1 section [0, 0]
Writing 1 byte (0xD7) to hfuse, 1 byte written, 1 verified

Processing -U lfuse:w:0b11110111:m
Reading 1 byte for lfuse from input file 0b11110111
in 1 section [0, 0]
Writing 1 byte (0xF7) to lfuse, 1 byte written, 1 verified

Avrdude done.  Thank you.
User configuration file /Users/rwaddell/.avrduderc does not exist

Using port            : /dev/cu.usbmodem002795022
Using programmer      : stk500
Successfully opened stk500v2 device; in future
please use -c stk500v2, so -x parameters are available
AVR part              : ATmega328
Programming modes     : SPM, ISP, HVPP, debugWIRE
Programmer type       : STK500V2
Description           : Atmel STK500 (probes v2 first then v1)
Programmer model      : STK500
HW version            : 15
FW Version Controller : 2.10
Topcard               : Unknown
Vtarget               : 4.9 V
Varef                 : 0.0 V
Oscillator            : Off
SCK period            : 8.7 us
XTAL frequency        : 7.372800 MHz

AVR device initialized and ready to accept instructions
Device signature = 1E 95 14 (ATmega328)
Auto-erasing chip as flash memory needs programming (-U flash:w:...)
specify the -D option to disable this feature
Erased chip

Processing -U flash:w:/Users/rwaddell/Library/Arduino15/packages/MiniCore/hardware/avr/3.1.1/bootloaders/urboot/atmega328/watchdog_1_s/autobaud/uart0_rxd0_txd1/led+b5/urboot_atmega328_pr_ee_ce.hex:i
Reading 384 bytes for flash from input file urboot_atmega328_pr_ee_ce.hex
in 1 section [0x7e80, 0x7fff]: 3 pages and 0 pad bytes
Writing 384 bytes to flash
Writing | ################################################## | 100% 0.14s
Reading | ################################################## | 100% 0.13s
384 bytes of flash verified

Processing -U lock:w:0xff:m
Reading 1 byte for lock from input file 0xff
in 1 section [0, 0]
Writing 1 byte (0xFF) to lock, 1 byte written, 1 verified

Avrdude done.  Thank you.
So: do I try uploading the Blink sketch using (a) Upload button on the toolbar, or (b) Sketch > Upload using Programmer? I’m still connected to the chip via ISP.
The entire point of the bootloader is that it allows you to program the chip using a PC to Arduino serial port connection, which is a much simpler connection.
If you upload a program to an AVR chip using an ISP programmer, the bootloader is usually (if not always) erased. The advantage there is freeing up memory for more program code.
I’ve uploaded the Blink sketch using UART and while there are no errors, the LED doesn’t blink. But I am getting serial monitor info:
void setup() {
  pinMode(7, OUTPUT);
  Serial.begin(9600);
}

// the loop function runs over and over again forever
void loop() {
  digitalWrite(7, HIGH);   // turn the LED on (HIGH is the voltage level)
  Serial.println("LED is on");
  delay(1000);                       // wait for a second
  digitalWrite(7, LOW);    // turn the LED off by making the voltage LOW
  Serial.println("LED is off");
  delay(1000);                       // wait for a second
}
LED is on
LED is off
LED is on
LED is off
LED is on
LED is off
...
@RossW, I updated the thread name to avoid confusion for other readers. I’m glad to see that you are able to successfully upload code to your controller now. I suggest that you disconnect the LED from your circuit and check what your pin is doing with a multimeter when you run your code. If it’s switching and you already confirmed the LED works, then the issue is most likely related to your connections. Maybe some of the breadboard rows are damaged, and you might check if the power rails are connected along the full length of the breadboard. We have seen some where the break in the red and blue lines (circled in yellow below) indicate a break between rails.