PID Line Following of Original 3pi

That looks like a challenging course. In general, I would advise against using hard-coded turns based on timing like you were trying to do. Instead, you should probably be coming up with rules for your robot to follow based on what the sensors are seeing.

If your robot is following the line and comes to one of the many intersections or sharp 90-degree turns on the course, you can come up with a set of conditions that help identify what kind of intersection it is at, then break out of your line following loop, execute the appropriate turn, then go back to line following.

As a quick example, when the robot comes to a sharp right-hand 90-degree turn, the middle sensor and right-most sensor will see the line, but the left-most one will not. So, you can use those conditions to identify that it needs to break from the line following and execute a right-hand turn, then go back to line following.

You might try looking through the Example Project #2: Maze Solving section of the 3pi user’s guide, particularly The Main Loop(s) subsection, as it has a lot of the kind of logic you would need for identifying the intersections.

Brandon

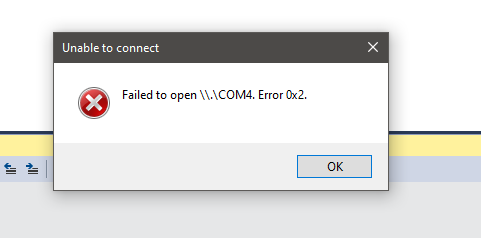
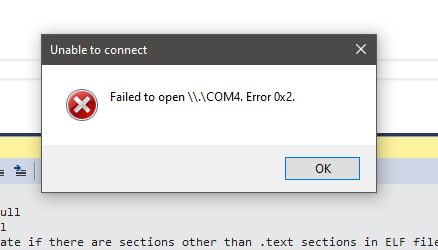
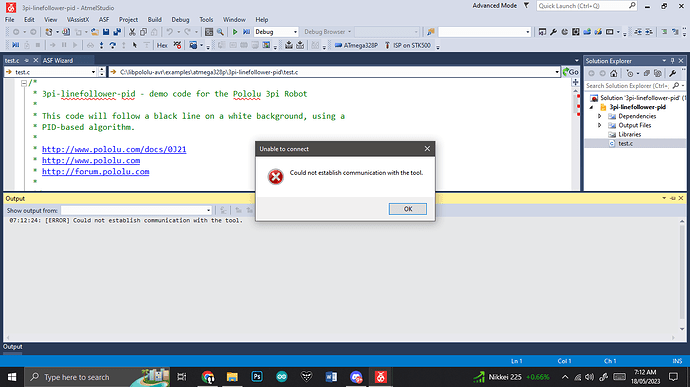
Hi! I’m trying to follow that idea but I think my drivers aren’t working I’m really not sure. I’ve tried to reinstall the drivers but it still won’t upload.
image

image

Hi, please help me I’m stressing here

I noticed you created a new thread with no additional information about the problem or what you’re doing, so since you’re already posting here with some more context, I combined it with this one.

Error 0x2 indicates that the COM port is not found. Could you check your Device Manager and make sure it is showing up as expected and you are selecting the right COM port (i.e. the one associated with your programmer’s programming port)? Also, if you haven’t done so, you might try disconnecting the programmer from your computer, restarting, then plugging it back in.

Brandon

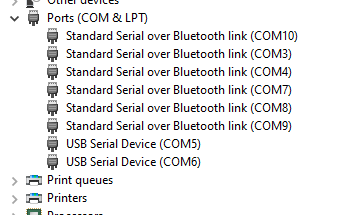
Hi! COM5 and COM 6 are just the two that shows up in my ports. I’m also using Atmel 7.0 and I’ve tried to know how to change my port, but no luck I don’t really know how.

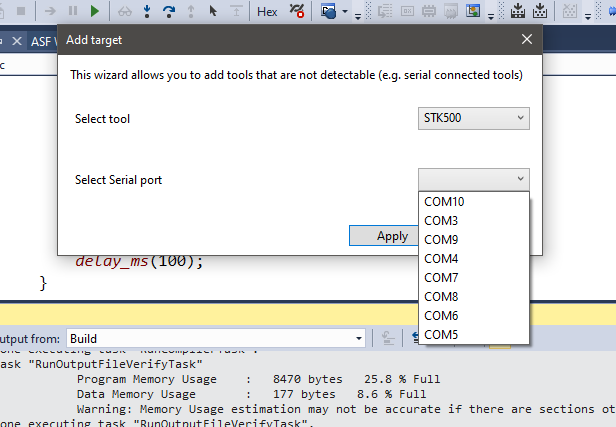
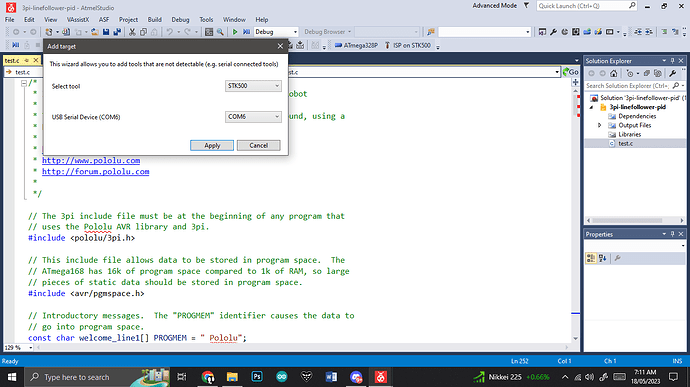
You can just set up a new tool by selecting “Add target…” from the “Tools” drop-down menu and making sure to select the programmer’s programming port in the serial port drop-down menu. Then you can remove the old incorrectly configured tool so you don’t choose the wrong one.

Brandon

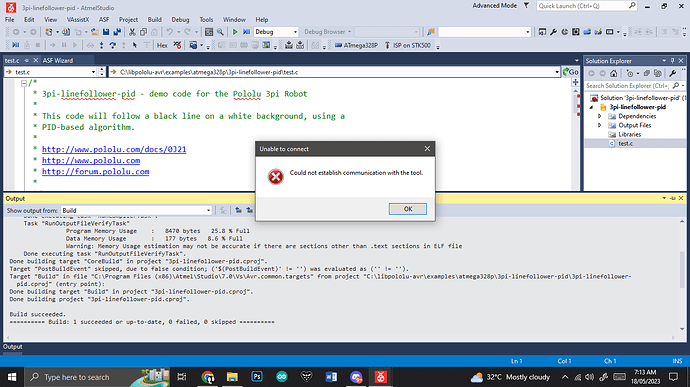
Hi! I tried every port, and the same error comes up.
image

My connector is blinking 2 yellows while connected to my pc

I’m not sure why you’re trying all of the other ports; the only one that should work is the one that is showing up as the programmer’s programming port in your Device Manager. Could you try restarting your computer, and making sure no other application is using that port, then try connecting to that one again?

Also, having that many tool entries configured can make it really easy to choose the wrong one, so I recommend deleting all of them except the one configured for your programmer’s programming port if you haven’t done so already.

Brandon

I’ve already tried restarting my laptop without anything connected to it, and whenever I connect my 3pi the ports that show up in my device manager are COM5 and COM6. I tried uploading using those two ports, but the same error appears.

image

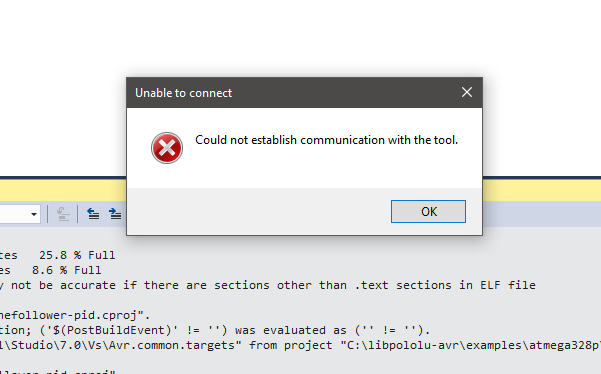
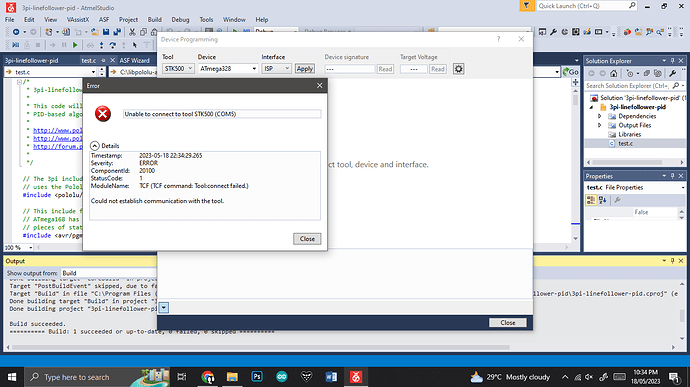
I think I made it worse ToT

That is a different error than before. Could you post a screenshot of the “Device Programming” window showing what you have selected for “Tool” and “Device”?

Brandon

Here is when I choose COM 6


COM5

Could you post a screenshot of your Device Manager with the entries for your programmer showing, then post a screenshot of the “Device Programming” window in Atmel Studio? You can open the “Device Programming” window by selecting Device Programming from the Tools drop-down menu. Lastly, can you post the error that occurs when you try to program it through the Device Programming window (I expect that error message to have more details)?

-Brandon


Is it this one?


I’m putting everything I’m rushing ToT
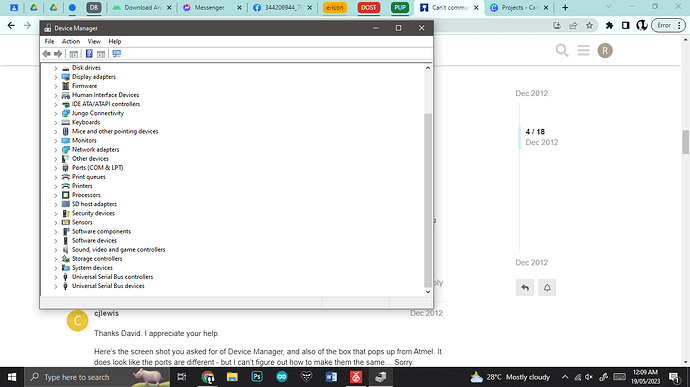
This is my device manager


image
image

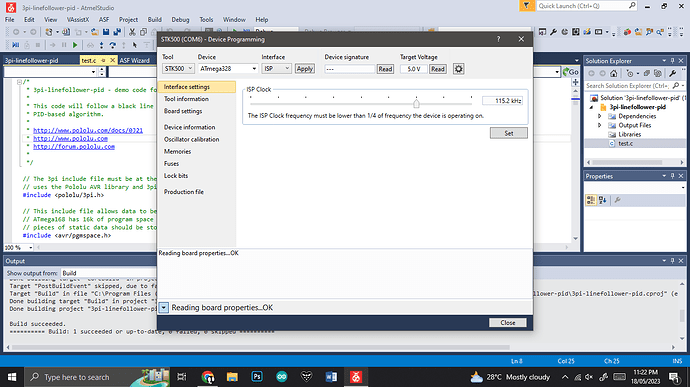
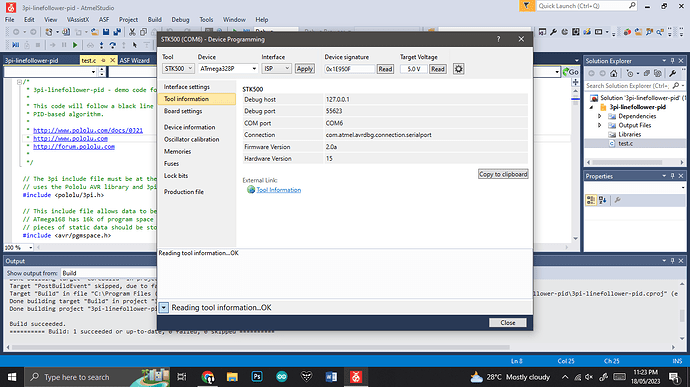
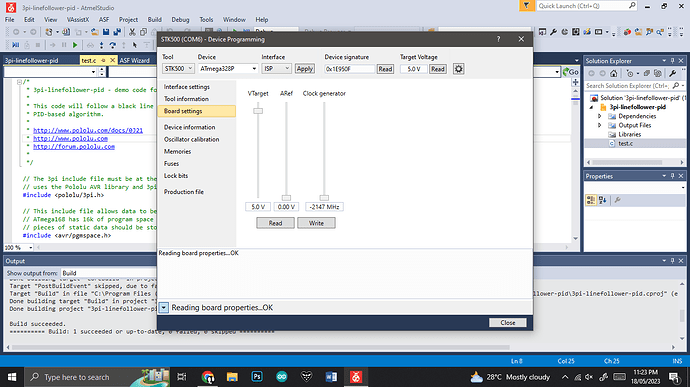
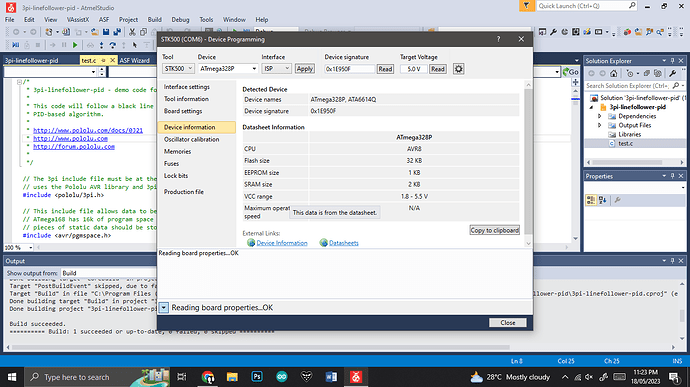
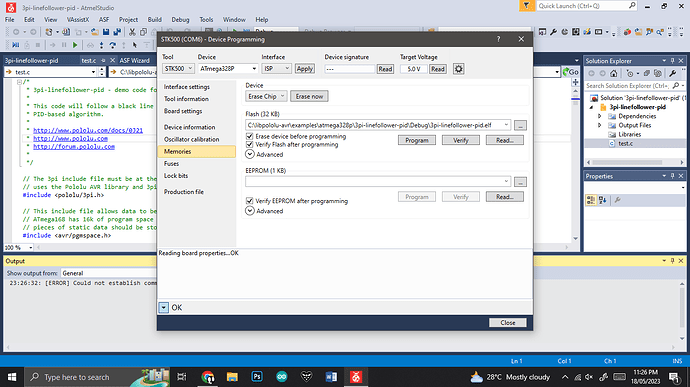
Your screenshots of the Device Programming window in your last post (with COM6) seem to indicate that it successfully connected to the programmer, and it looks like it was also able to read the device signature successfully.

Could you try programming again by clicking the “Program” button under Memories > Flash in the Device Programming window?

Brandon

I uploaded just fine!

Going back to original problem, I tried uploading this

#include <pololu/3pi.h>
#include <avr/pgmspace.h>

const char welcome_line1[] PROGMEM = " Pololu";
const char welcome_line2[] PROGMEM = "3\xf7 Robot";
const char demo_name_line1[] PROGMEM = "PID";
const char demo_name_line2[] PROGMEM = "follower";

// A couple of simple tunes, stored in program space.
const char welcome[] PROGMEM = ">g32>>c32";
const char go[] PROGMEM = "L16 cdegreg4";

const char levels[] PROGMEM = {
	0b00000,
	0b00000,
	0b00000,
	0b00000,
	0b00000,
	0b00000,
	0b00000,
	0b11111,
	0b11111,
	0b11111,
	0b11111,
	0b11111,
	0b11111,
	0b11111
};

// This function loads custom characters into the LCD.  Up to 8
// characters can be loaded; we use them for 7 levels of a bar graph.
void load_custom_characters()
{
	lcd_load_custom_character(levels+0,0); // no offset, e.g. one bar
	lcd_load_custom_character(levels+1,1); // two bars
	lcd_load_custom_character(levels+2,2); // etc...
	lcd_load_custom_character(levels+3,3);
	lcd_load_custom_character(levels+4,4);
	lcd_load_custom_character(levels+5,5);
	lcd_load_custom_character(levels+6,6);
	clear(); // the LCD must be cleared for the characters to take effect
}

// This function displays the sensor readings using a bar graph.
void display_readings(const unsigned int *calibrated_values)
{
	unsigned char i;

	for(i=0;i<5;i++) {
		const char display_characters[10] = {' ',0,0,1,2,3,4,5,6,255};

		// The variable c will have values from 0 to 9, since
		// calibrated values are in the range of 0 to 1000, and
		// 1000/101 is 9 with integer math.
		char c = display_characters[calibrated_values[i]/101];

		// Display the bar graph character.
		print_character(c);
	}
}
void initialize()
{
	unsigned int counter; // used as a simple timer
	unsigned int sensors[5]; // an array to hold sensor values

	pololu_3pi_init(2000);
	load_custom_characters(); // load the custom characters
	
	// Play welcome music and display a message
	print_from_program_space(welcome_line1);
	lcd_goto_xy(0,1);
	print_from_program_space(welcome_line2);
	play_from_program_space(welcome);
	delay_ms(1000);

	clear();
	print_from_program_space(demo_name_line1);
	lcd_goto_xy(0,1);
	print_from_program_space(demo_name_line2);
	delay_ms(1000);

	// Display battery voltage and wait for button press
	while(!button_is_pressed(BUTTON_B))
	{
		int bat = read_battery_millivolts();

		clear();
		print_long(bat);
		print("mV");
		lcd_goto_xy(0,1);
		print("Press B");

		delay_ms(100);
	}

	// Always wait for the button to be released so that 3pi doesn't
	// start moving until your hand is away from it.
	wait_for_button_release(BUTTON_B);
	delay_ms(1000);

	// Auto-calibration: turn right and left while calibrating the
	// sensors.
	for(counter=0;counter<80;counter++)
	{
		if(counter < 20 || counter >= 60)
		set_motors(40,-40);
		else
		set_motors(-40,40);

		calibrate_line_sensors(IR_EMITTERS_ON);

		delay_ms(20);
	}
	set_motors(0,0);
	while(!button_is_pressed(BUTTON_B))
	{
		// Read the sensor values and get the position measurement.
		unsigned int position = read_line(sensors,IR_EMITTERS_ON);
		unsigned char found_left=0;
		unsigned char found_straight=0;
		unsigned char found_right=0;


		clear();
		print_long(position);
		lcd_goto_xy(0,1);
		display_readings(sensors);

		delay_ms(100);
	}
	wait_for_button_release(BUTTON_B);

	clear();

}

int main()
{
	unsigned int sensors[5]; // an array to hold sensor values
	unsigned int last_proportional=0;
	long integral=0;

	
	initialize();
	while(1)
	{
		
		unsigned int position = read_line(sensors,IR_EMITTERS_ON);

		if(sensors[0] > 100)
		found_left = 1;
		if(sensors[4] > 100)
		found_right = 1;
		
		// Drive straight a bit more - this is enough to line up our
		// wheels with the intersection.
		set_motors(40,40);
		delay_ms(200);
		
		// Check for a straight exit.
		read_line(sensors,IR_EMITTERS_ON);
		if(sensors[1] > 200 || sensors[2] > 200 || sensors[3] > 200)
		found_straight = 1;
		
		// Check for the ending spot.
		// If all three middle sensors are on dark black, we have
		// solved the maze.
		if(sensors[1] > 600 && sensors[2] > 600 && sensors[3] > 600)
		break;
		
		// Intersection identification is complete.
		// If the maze has been solved, we can follow the existing
		// path.  Otherwise, we need to learn the solution.
		unsigned char dir = select_turn(found_left, found_straight, found_right);
		
		// Make the turn indicated by the path.
		turn(dir);

		// The "proportional" term should be 0 when we are on the line.
		int proportional = ((int)position) - 2000;

		// Compute the derivative (change) and integral (sum) of the
		// position.
		int derivative = proportional - last_proportional;
		integral += proportional;

		// Remember the last position.
		last_proportional = proportional;


		int power_difference = proportional/3 + integral/50000 + derivative*4/1;

		// Compute the actual motor settings.  We never set either motor
		// to a negative value.
		const int max = 200;
		if(power_difference > max)
		power_difference = max;
		if(power_difference < -max)
		power_difference = -max;

		if(power_difference < 0)
		set_motors(max+power_difference, max);
		else
		set_motors(max, max-power_difference);
	
		
	}
	
}

I feel so stupid right now
I have a competition tomorrow and I’m panicking

So I tried uploading a normal program, it worked, then I tried uploading a new again, it didn’t work

So I restarted atmel studio and I uploaded the new fine, THEN I tried uploading again, the bot beeps fine whenever something uploads, but the program doesn’t update

It isn’t entirely clear to me where it stands since it looks like you might have edited the post with your code after you posted saying the program on the robot isn’t changing. However, the robot is beeping because that is what the program tells it to do (i.e. that isn’t some built-in functionality that always happens), and when it programs successfully, it restarts. This might sound silly, but are you sure the program isn’t changing? How are you judging that? You might try doing something obvious at the start of your code. For example, you could turn on the red LED on the underside of the robot by calling red_led(1);.

You should also make sure your batteries are fully charged. It could be restarting if the battery voltage drops too low.

Brandon

Fortunately the program changed previously, I noticed the program not updating since I was trying to upload a new one with a slower speed. But maybe it’s just my computer, I’ll try to upload again later. But what I’m trying to focus for now is the program I’m trying to fix.