We’ve made a new RC 3pi robot sample project that shows another easy way to expand the 3pi. By connecting a standard RC servo transmitter/receiver pair to your 3pi you can make it radio controlled.
I’ve been enjoying driving this RC 3pi around the office and under people’s feet. It goes quite fast and turns almost too fast. Once you get the hang of its quick steering it becomes quite easy to control.
I’m glad to hear you guys like it. If anyone has any questions about how the code works or how to modify it for custom applications, please don’t hesitate to ask.
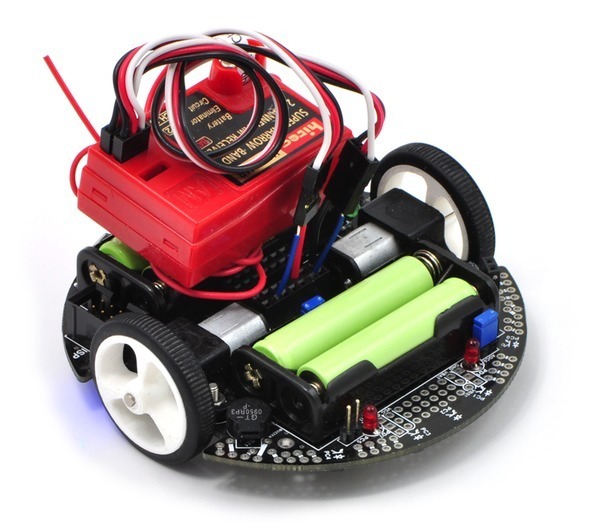
The 3pi in the video has its LCD removed and the red RC receiver is stuck on top of the rear battery holder (where the LCD would be) with double-sided tape. The green you see on the front side of the 3pi are the batteries in the front battery holder.