Ever since i saw the Zumo chassis, I basically wanted one
I wanted to make one that had all the controls and power stored within. I did ponder getting the Zumo chassis and trying to squeeze it all into the battery box, however i thought that may be a bit restrictive, so i set about creating my own!!
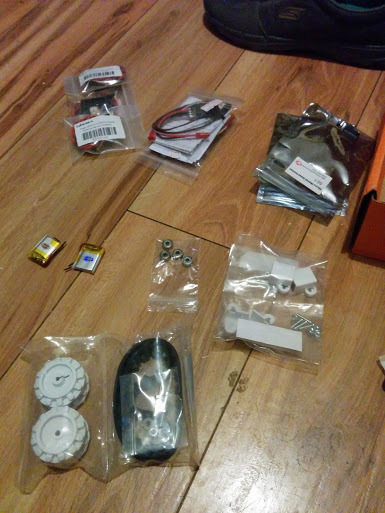
With a few motor mounts, and a bit of head scratching later, i have finally got something working, and thought i would share with you guys.
but i had some work to do getting the thing tidy. That was the least of my problems though!! I wanted some IR sensors so the robot can see, however i had made it so small, i didnt have enough room for my initial plan of 2 sensors
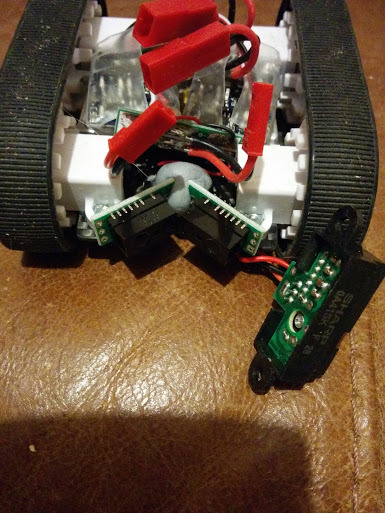
I have been rebuilding the hardware. I started by getting some smaller IR sensors. I had to sacrifice the distance measuring capabilities of analogue sensors, for the size of some of the digital sensors, so i took the plunge and ordered some 5cm GP2Y0D805Z0F digital sensors which gave me more scope for mountings
I also had a rethink on the motor control. I was using 2 RC car speed controllers for simpliciy (just talk to them like a servo), however they were a bit on the large side and i had too much wiring in the way. opted for a nice tiny DRV8835 motor driver which gave me much more space.
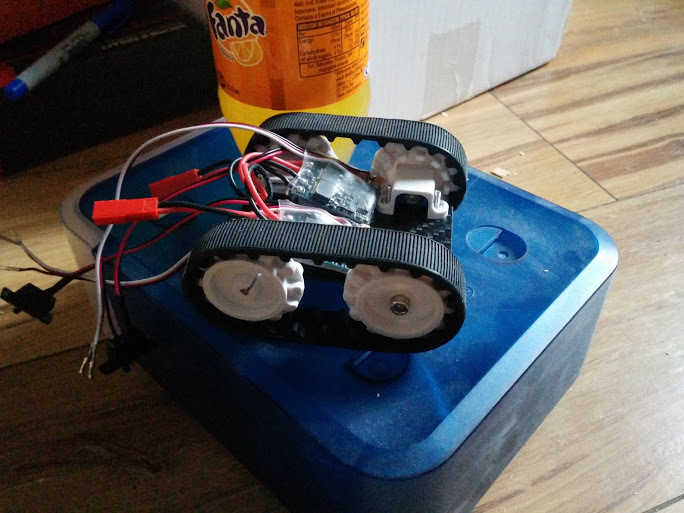
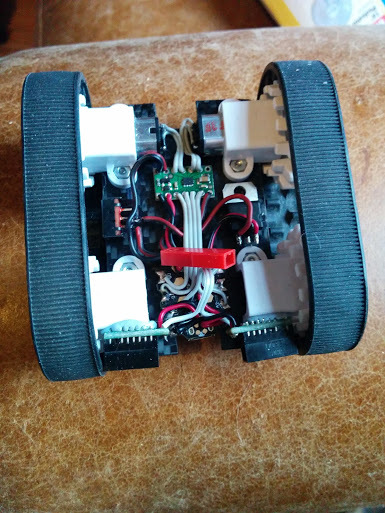
So now im getting it all wired up and trying to make it neat and tidy
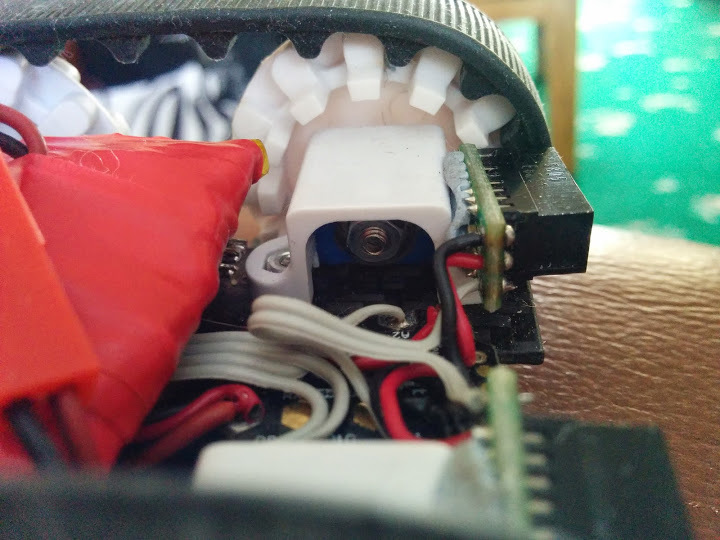
Cool; it looks like you did something custom with our shoulder bolts and extended mounting brackets for micro metal gearmotors to mount the idler wheels. How is the shoulder bolt held together inside the mounting bracket? If you are willing to post more pictures of that area, we would love to see those, too!
Indeed I have, I was going to buy one of the tamiya universal plate sets to get the right angle mounting parts, but I wasn’t overly keen with the short mounting holes.
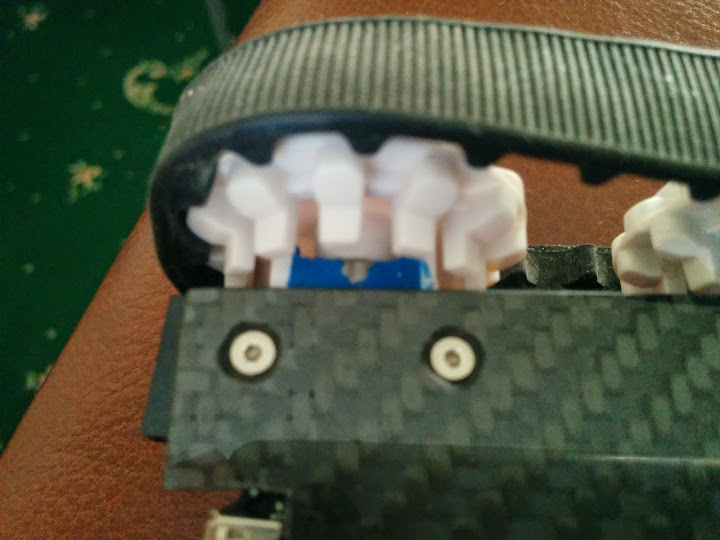
Made a bit of an ordering mishap and ended with 2 lots of extended motor mounts so the grey matter got going. I realised that the motor mounts were 10mm high, so I got my hands on some bearings with 10mm outside diameter and 3mm inside diameter. After some trials I managed to get them set in the motor mounts with some sugru.
This works really well and makes the mountings really strong. Bit hard to get some pictures without stripping it.
im trying to get more speed but im struggling with the distance sensor. im after something as compact as i have now, but could do with more range and analogue sensing.
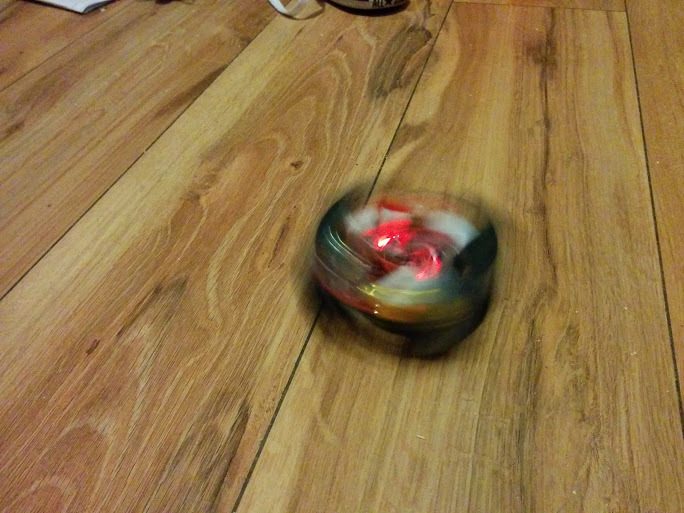
After some struggling with the ir sensors and there limited range and digital nature, the robot started to gather some dust.
But then i found the sparkfun ZX Sensor, and it looks like it would give me everything i needed. Not only can it tell you how far away an object is, but it can also tell you where abouts (left and right) it is. They also do gesture sensing, but thats not needed for my usage.
The problem i had was mounting them on my robot without them hanging about, so i took it upon myself to design a new chassis and with a bit of playing with sketchup i had a design ready for 3D printing!!
I am glad to hear you are still working on and improving your robot. Those ZX sensors seem like they could be very handy if they can reliably see other robots.
The holes have come out a touch smaller, and there are a few little rough bits, but overall im happy. I need to dig out my drill to clean up some holes.
damit, i thought i could copy the image url from google, lets try this one
And i have been testing some fit
My measurements are a touch out, the final width of the tracks is 105mm, too big for mini sumo, and the brass tubes of the zx sensors poke out a touch more than the tracks too.