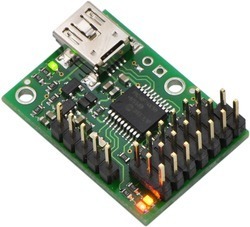
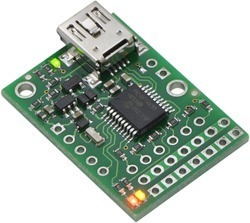
We are very pleased to introduce the Micro Maestro, the first member of our new line of USB servo controllers! In addition to a TTL serial interface, this tiny board incorporates native USB control and programmability via a simple scripting language. With a resolution of 0.25 us and built-in speed and acceleration control, this device offers all the features you’d expect of a latest-generation device (and more) at a surprisingly affordable price of $24.95.
The Micro Maestro’s six channels can also be used as general-purpose digital outputs and analog inputs, giving you an easy way to read sensors and control peripherals directly from your PC. A free configuration and control application for Windows makes it easy to configure and test this highly versatile device, create sequences of servo movements, and write scripts for self-contained, host controller-free applications. The Micro Maestro is available fully assembled or as a partial kit.
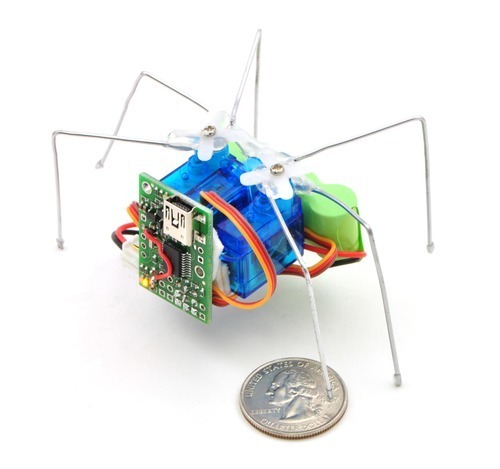
The following picture shows a tiny, three-servo hexapod that is driven by a script on the Micro Maestro and powered by a four-cell 1/3-AAA battery pack:
The TX and RX pins are logic-level, non-inverted lines, so they will not work directly with an RS-232 port. Because the RS-232 voltage levels (around ± 10V) are outside the limits for the RX line, you could destroy your Maestro by connecting the RX line to RS-232. If you want to use RS-232, you’ll need an adapter (such as this one between your port and the Maestro
The Maestro uses full duplex communication (i.e. it transmits and receives at the same time), so that circuit might give you a bit of trouble, but you can probably play around with the capacitor to get something that works. I think that kind of circuit is not worth it, by the way, since you can get a MAX232 or equivalent chip quite cheaply. If you only care about one-way communication from your PC to the Maestro, you could go with just the receive side of the circuitry, and that might be worth it since you’re only talking about one transistor and two or three resistors.
The Maestro runs at 5V, so that’s the logic high level.
There are various options for the virtual COM port. You can see the serial settings part of the user’s guide for more info. The Dual Port mode basically gives you an extra USB-to-serial adapter you can use for whatever you want, such as your PIC or Xbee (but make sure the voltage levels are compatible!).
I was just looking at this thread and wanted to ask why you need that RS232 adapter - any PC with a USB port should be able to use the USB/virtual COM port instead. Just put the device into dual-port mode and you can send serial commands directly to the virtual “command port”, without worrying about voltage levels, baud rates, or anything. PICs and XBees, as far as I know, do not ever have RS232 ports, so that device would also not be useful for connecting to them - but as long as they use compatible serial signals (you have to check they they are non-inverted and 5V-tolerant), you can connect them directly to your Maestro with a couple of wires.
Just reading a previously shown link, just realised that, might get one to interface from PICs to my PC, i was wondering why my previous attempts to interface a PIC to RS232, putting +12v through a PIC :S
OK, received it yesterday, all the way from las vegas!
Just reading up about writing C code, got the mikroC PRO for PICs demo and i am using the software UART library. Just wondering what i need to send via the UART port to control the servos.