i have the 18 up and running with my simple script via desktop
i would like the script to start by a 24v signal from a scale (i was told i can take the LED signal and not cause any issues with the scale)
i would also like a manual button/trigger to start the cycle
the scripts sequence will run 1 time per signal
i have some knowledge of relays pertaining to pneumatics, but thats just the physical…this is all new
I suggest starting with a manual button press to start the cycle, then adding the signal from your scale once you get that working.
To add a button to your Maestro, you will first need to decide what channel to use for the button and configure that channel as an Input in the “Channel Settings” tab of the Maestro Control Center. Then, you can connect the button to that channel with a pull-up resistor as shown in the “Attaching Servos and Peripherals” section of the Maestro user’s guide. Once the button is working (i.e. you can see the value of that channel change correctly in the “Status” tab of the Maestro Control Center when you press the button) you can add code to start your script from that. You can find sample code showing how to handle starting your script with a button press in this post.
As far as starting the script from your 24V signal, please note that the Maestro cannot handle a 24V input, so you would need to convert it to a 5V signal first. You can do that with a simple voltage divider or an appropriate logic level shifter. Once your 24V signal is converted to 5V, you can essentially treat it as a button and connect it to a separate Maestro channel configured as an input… However, please note that the logic might be inverted when compared to the button. If you get to this point and need help updating your script to start when either signal is triggered, please post an updated version of your script, and I would be glad to take a look. Essentially, it will probably involve reading the button and scale inputs, checking if they are low or high, then using a LOGICAL_OR command so either one will cause the script to move on.
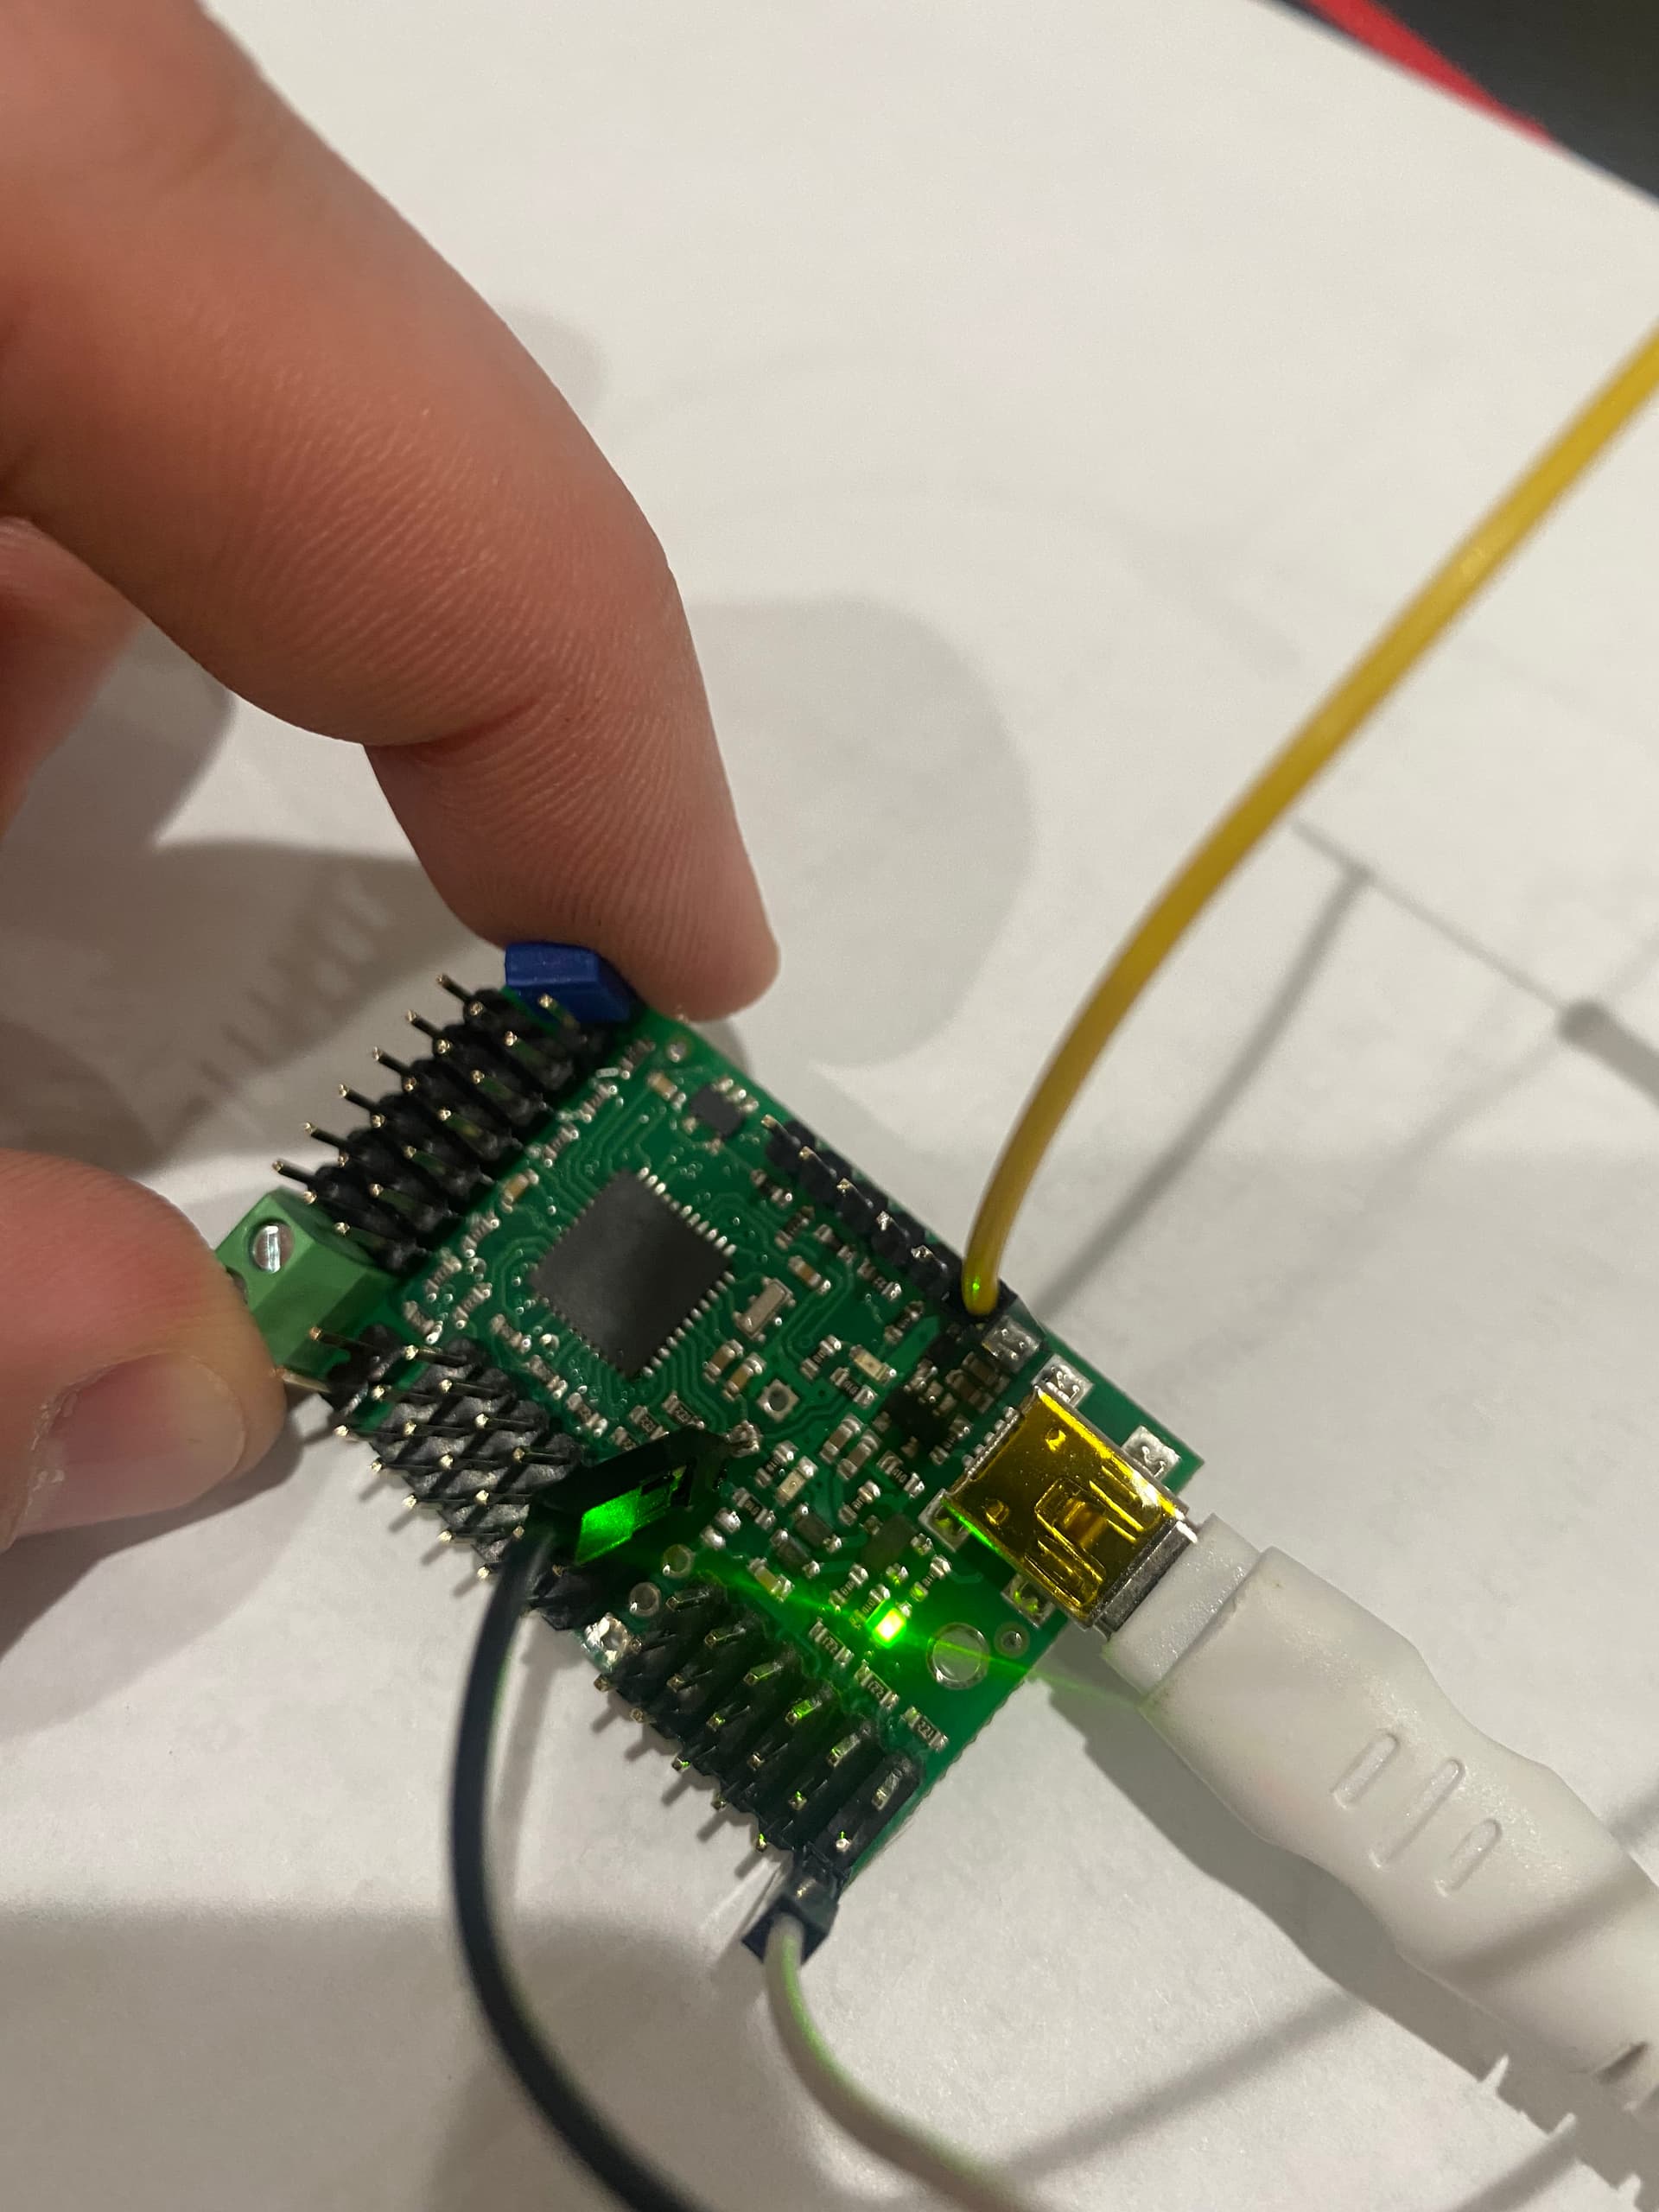
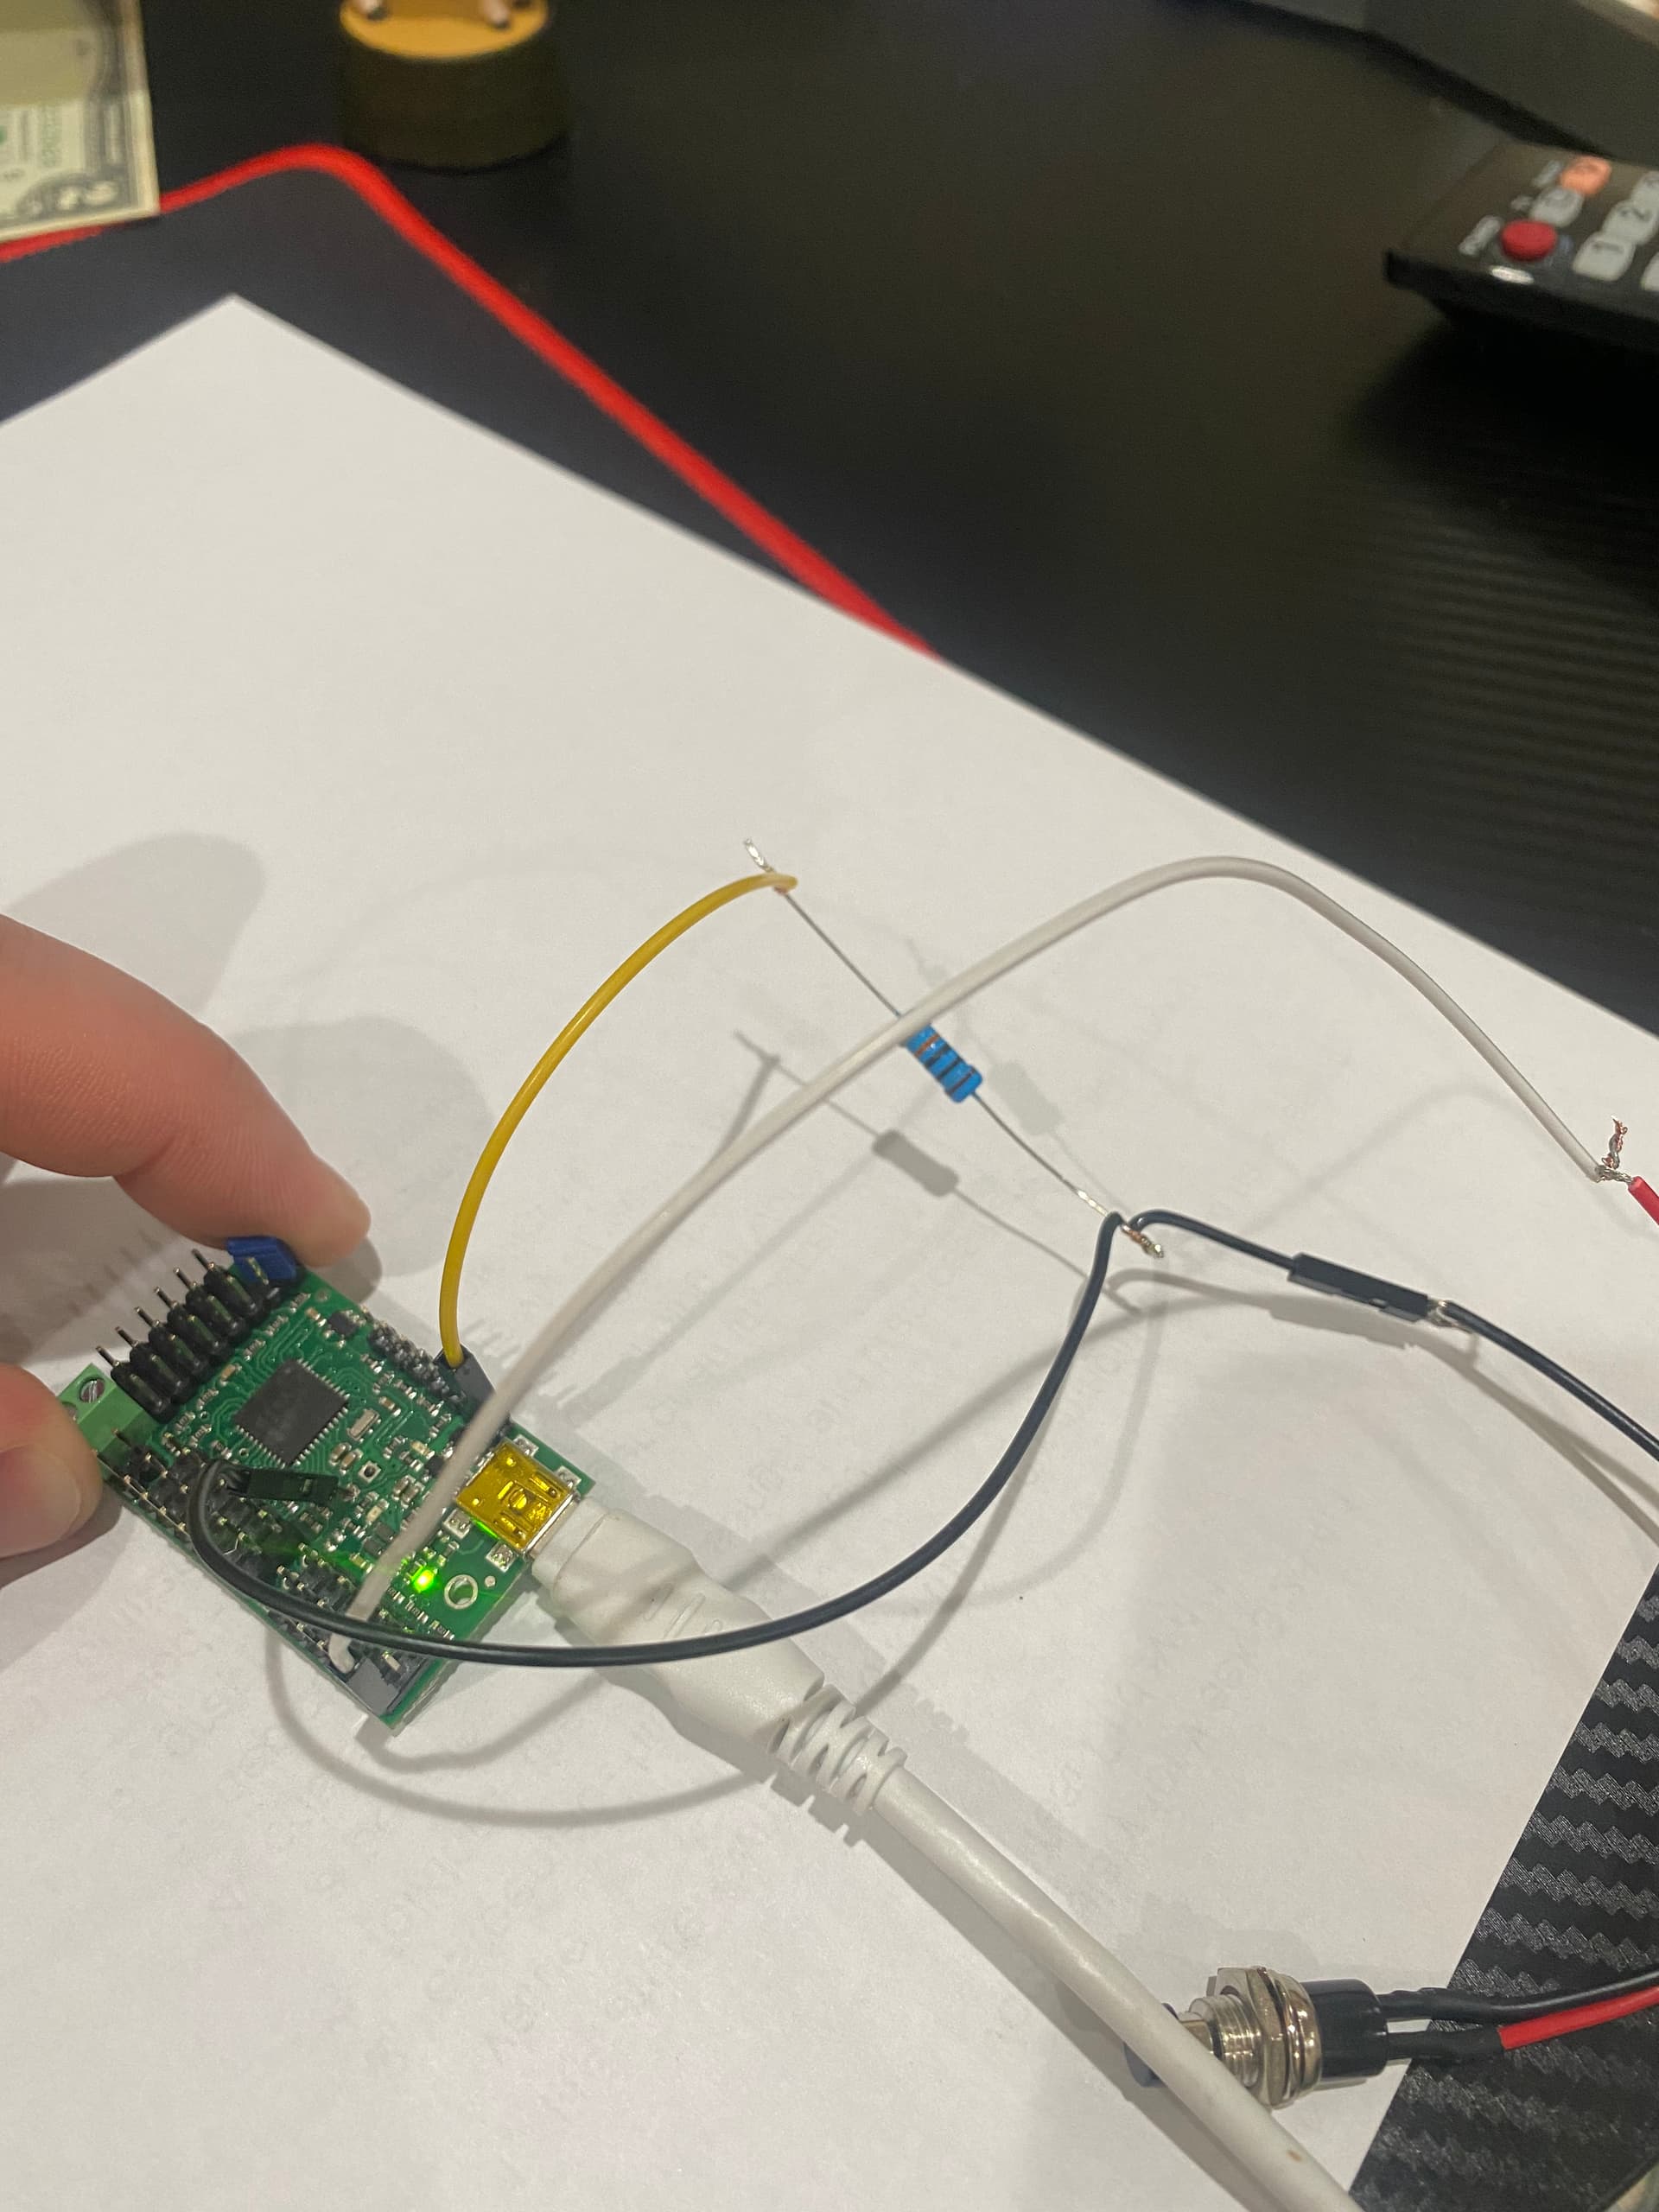
It looks like your wiring is directly shorting the 5V pin to GND when you press the button, and it looks like none of your wires are actually going to a Maestro signal pin.
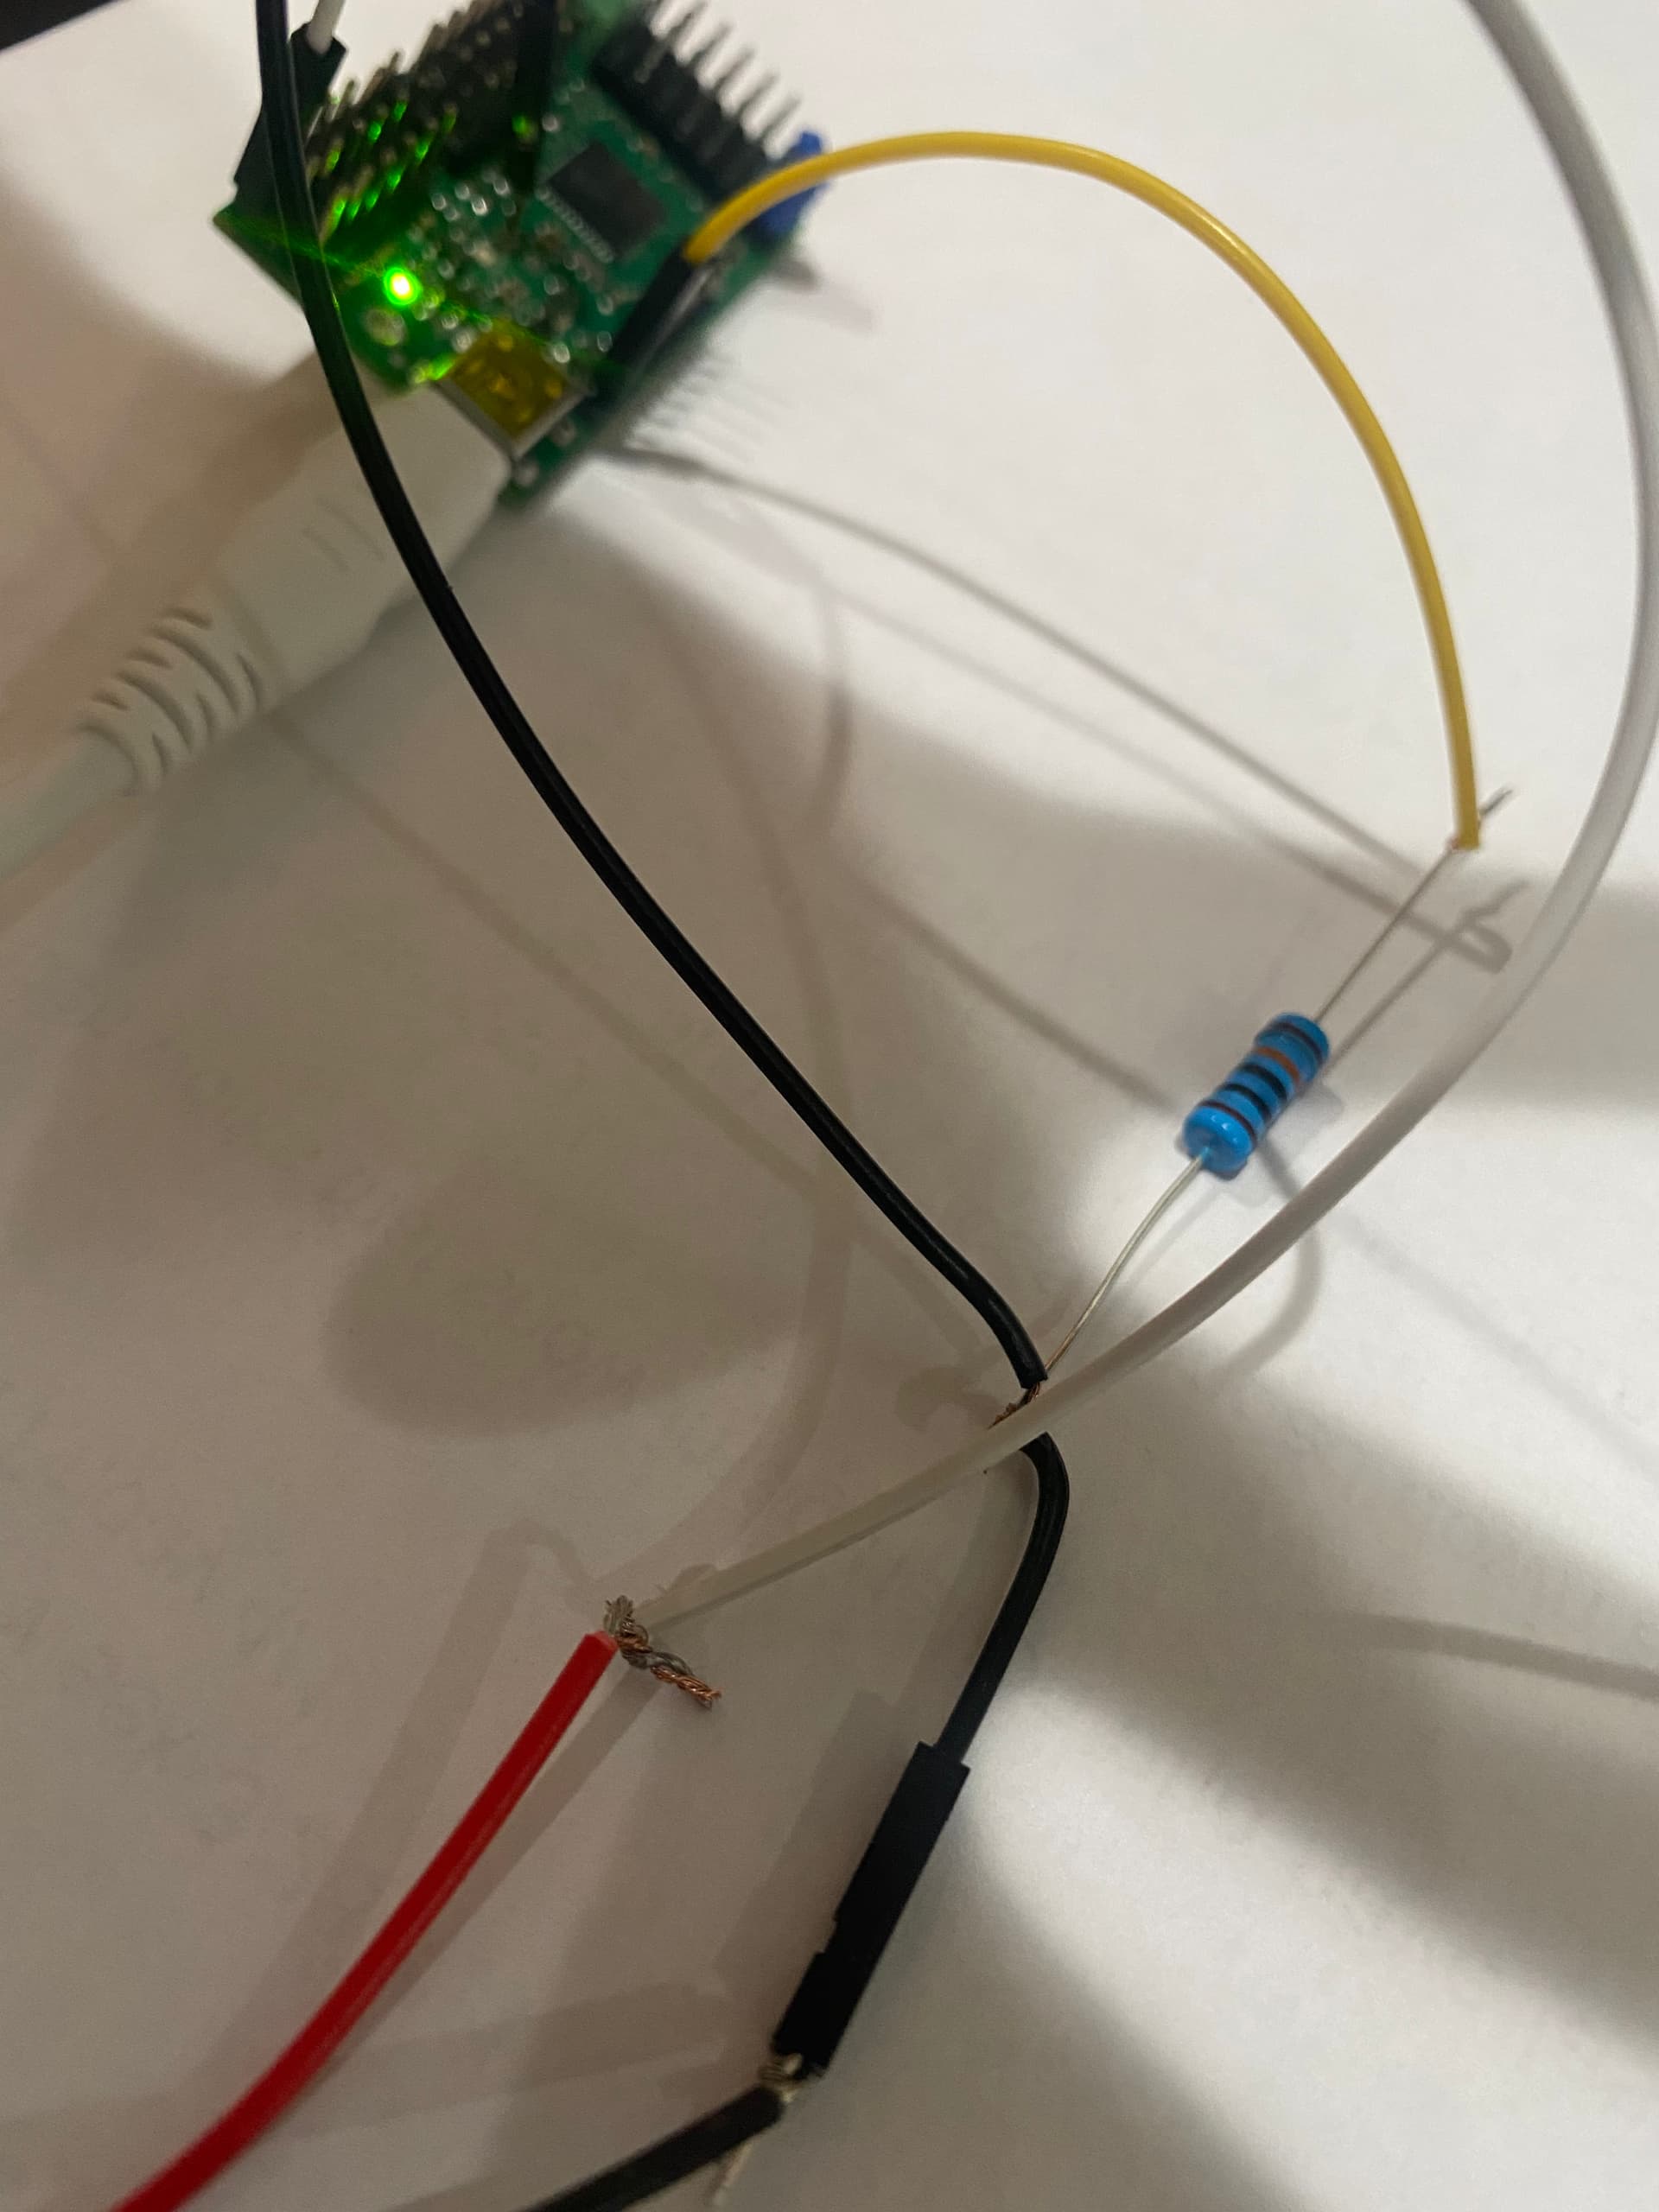
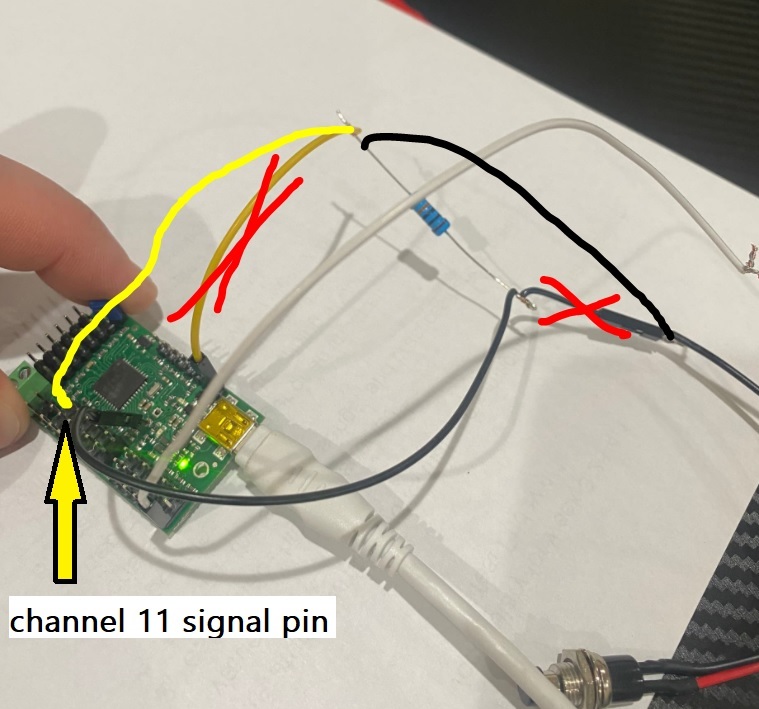
Your white wire is going from one side of the button to ground, which is fine. The yellow wire should go to the signal pin of the channel you configured as an input: (instead of another ground). The resistor should be between the 5V pin and the signal pin (which you can fix by moving the button’s black wire to the same side of the resistor as the yellow wire).
It sounds like that alert was sent when I edited your post to add code tags to your script.
I am glad you got it working! It looks like your script is checking the button after it runs through the sequence once; if this is how you intend it to work, then that’s fine, but if you want it to require a button press to start the sequence, you can move your button processing code just after the first BEGIN. (By the way, if you do want it to work as it is, you can remove the first 11 get_position, just after the first BEGIN, since the rest of your code is not actually using that.)
As you described, right now if you hold the button the script will keep running. If you want it to wait for another separate button press, you can add another WHILE loop that waits for the button to be released before continuing, like this:
begin 11 get_position 500 less_than while repeat
Depending on the behavior you want, you could put this WHILE loop either right before or right after your current button processing code, though since you are not doing anything special to handle button debouncing, it would probably work better if you place it before.