How I created my own Bb8 robot

Once upon a time there lived one man in one galaxy. In childhood he saw Star Wars by George Lucas and fell in love with the movie. Since that time he had dreamt to create a robot like in the movie. But adult life worries swept away the dream from his memory for 25 years.
In 2015 a long awaited sequel of the fantastic saga was released, though with new actors and a new philosophy of the Walt Disney’s Studio. Our fan saw once again his favorite robots and realized it was time to create something of the kind. That was George Fomichev – founder and leader of the robotics startup Endurance.
So how did it all start?
With development of a SelfieBot robot, which has been open-source since April of 2016, and any person can make his/ her robot now under the Endurance technology.
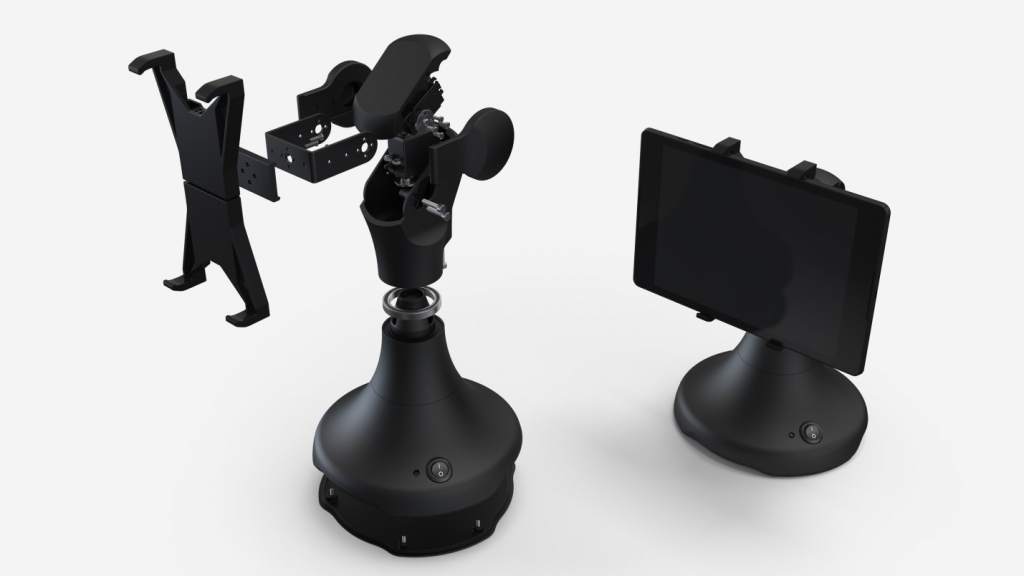
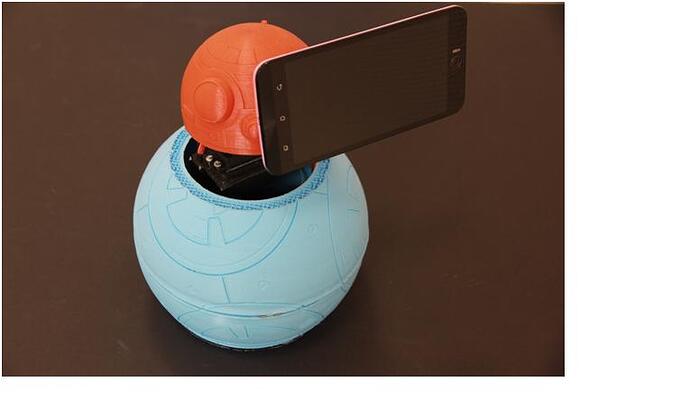
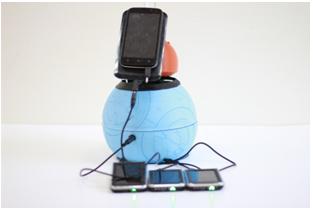
SelfieBot is a personal robot. Anybody can assemble it using inexpensive electronics, software and firmware of Endurance. The big fact is that you can really use it as a practical phone holder for video broadcast or video recording. The device ability to turn after you is also a big plus. This Google API based function is called follow me.
There are numerous ways of using the device, but let’s go back to our Bb8…
To assemble it we need a 3D printer.
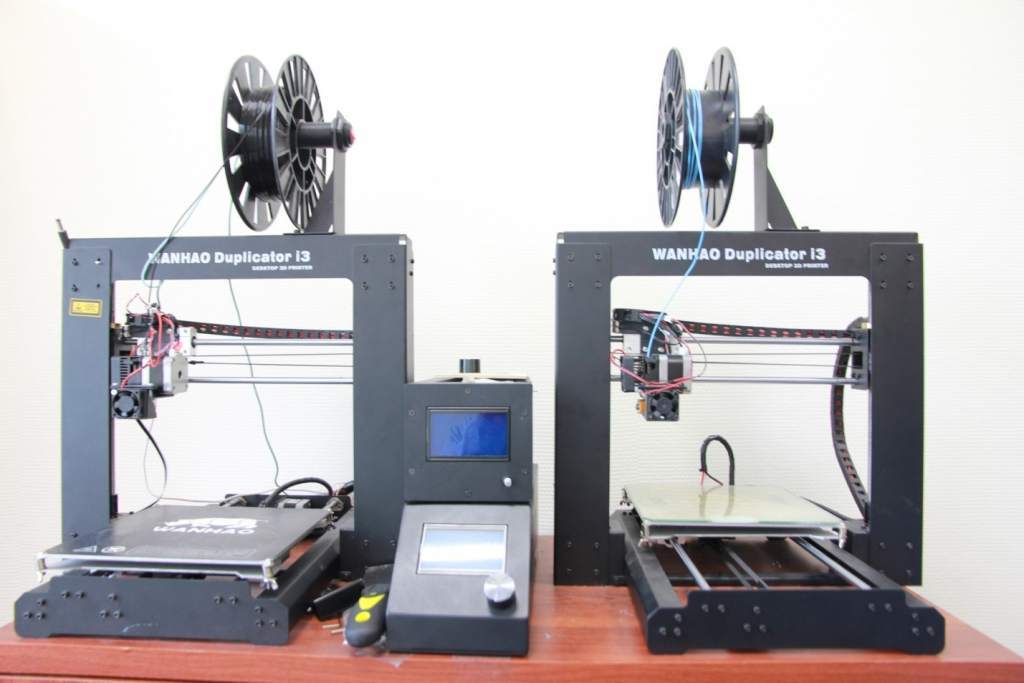
We use a WanHao Duplicator i3. It’s quite suitable for PLA printing.
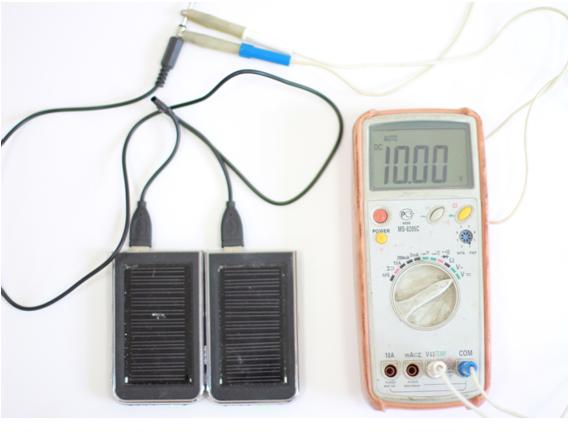
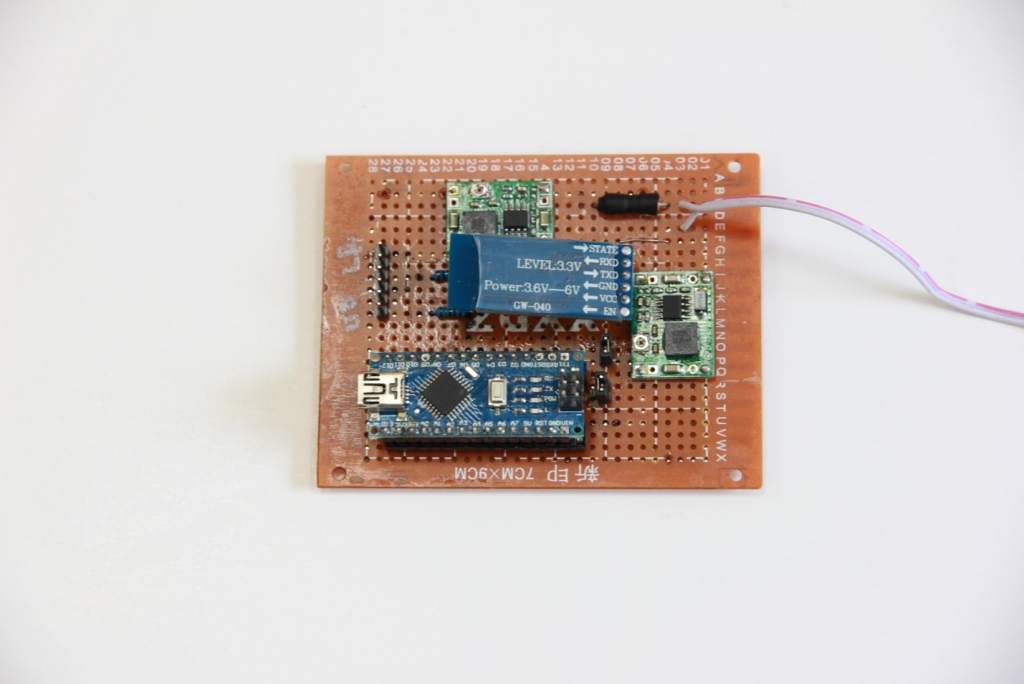
You also need to be willing to see into the robot schematics to be able to assemble the circuit board. You can, of course, to assemble everything on a bread board, but we use a circuit board. It’s more reliable.
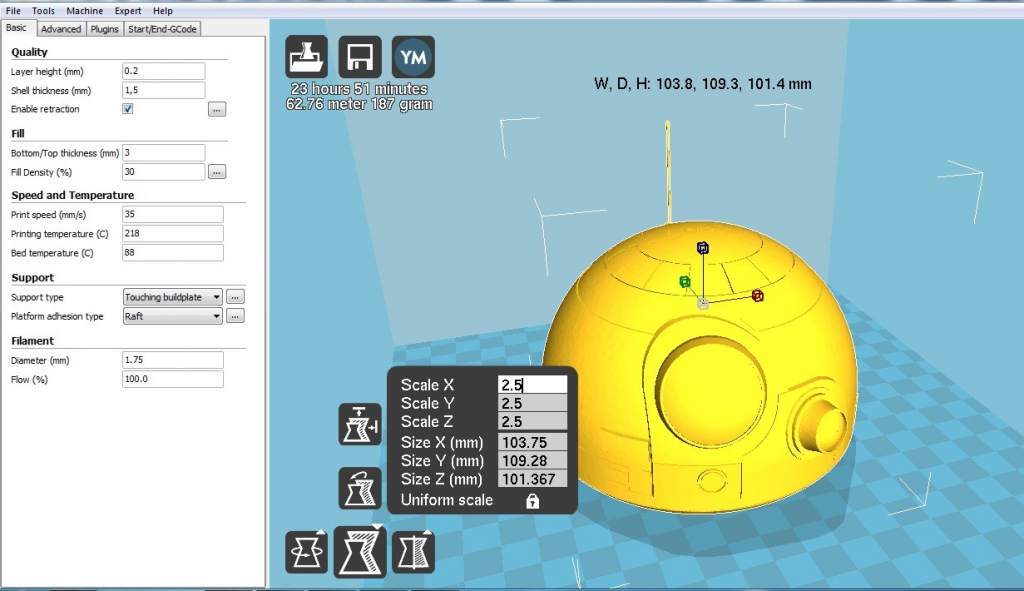
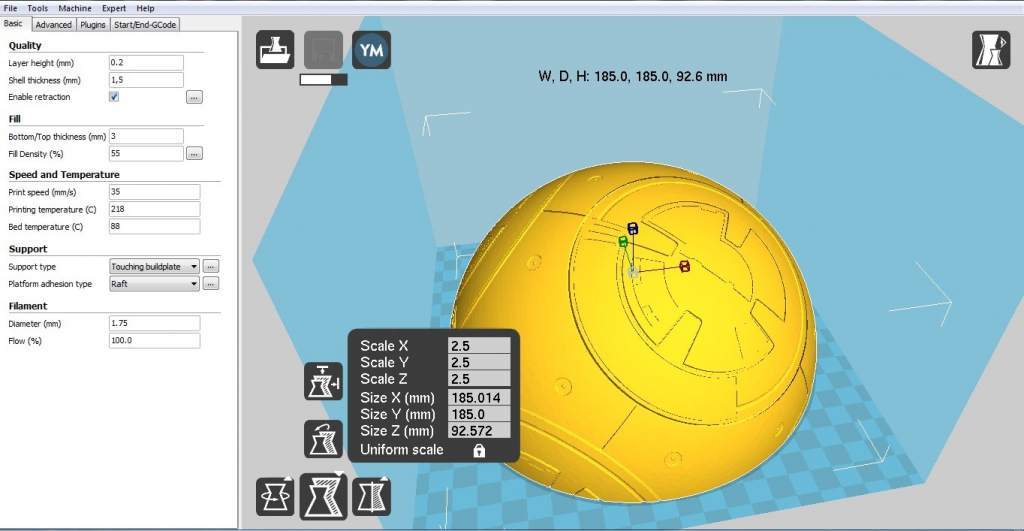
So, let’s download a ready-made Bb8 model for printing.
http://www.thingiverse.com/thing:789759
And 3D print it, having previously increased the model to the desired size.
We’ll need about 500 g of PLA.
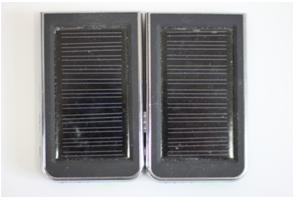
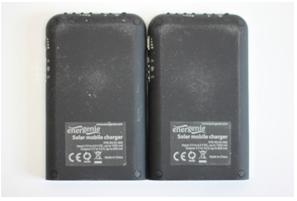
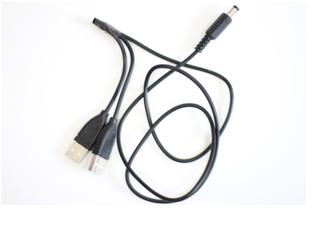
We order all the necessary electronics on Ebay or Aliexpress… You can also buy it in any radio and electronics store. But there it is much more expensive. There’s also an option to buy an Endurance ready-made kit of electronics for $95. It will save you time and nerves.

Then, we carefully assemble the circuit board as it is described on our website.
Then we upload the firmware.
To do it for Arduino see the Endurance website.
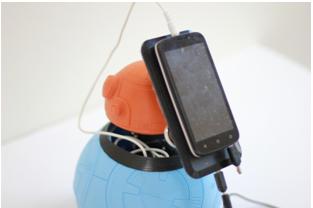
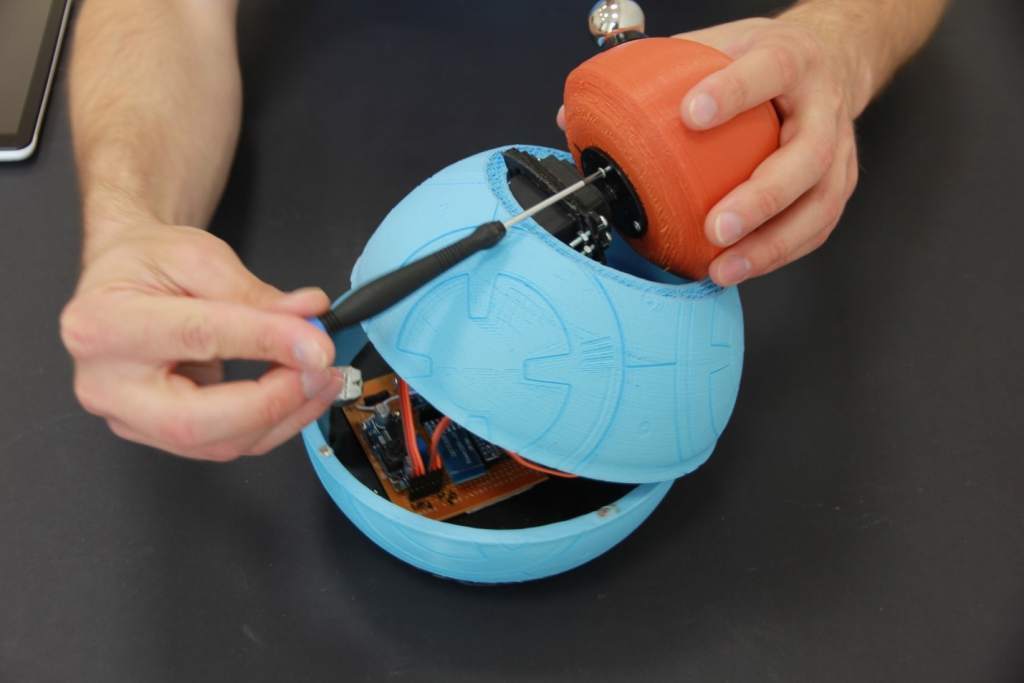
What do we have now? A ready body and electronics.
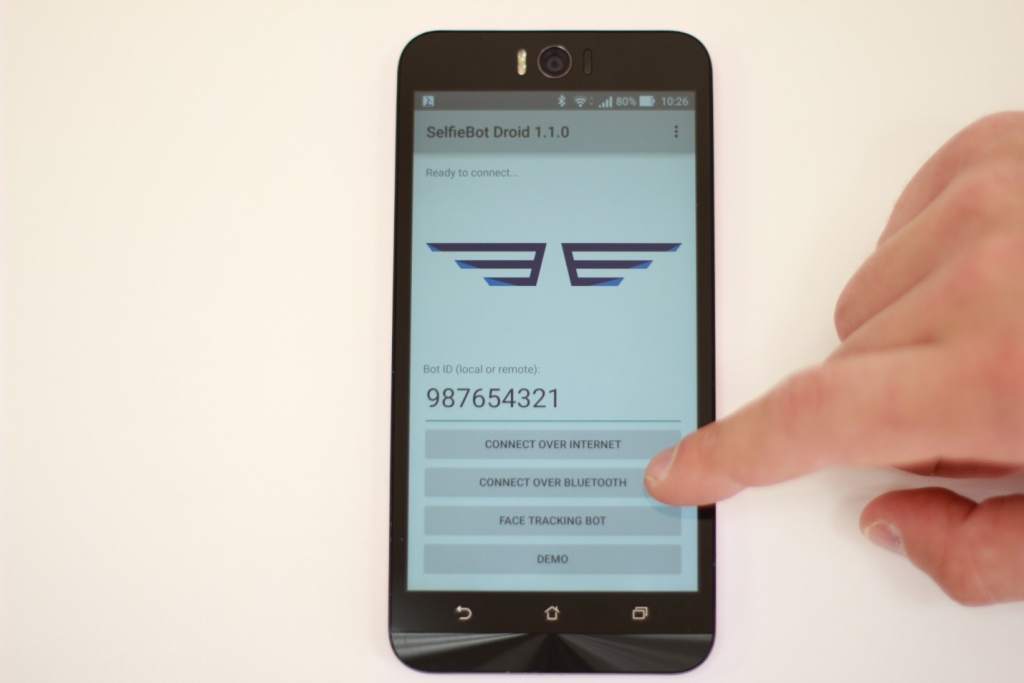
To control a Bb8 we’ll need an Android phone. Any one will do with the OS 4.1.x or higher.
Then, download the app and install it on the phone.
After that, pair the phone Bluetooth with that of our Bb8 electronics. te Now you can check the mechanical part of the device and see if the servos rotate and everything works.
Then not quite a trivial work starts. Because we have 3D printed the Bb8 body neglecting the inner fixing system. That is a minus, of course, but not a big deal. Let’s make ready the inner fixing system.
For this we use a plastic or acrylic basis.
Now it is necessary to fasten up the servos in such a way that they could rotate in two planes and one servo supported the other. For this we make the coupling gear drawing.
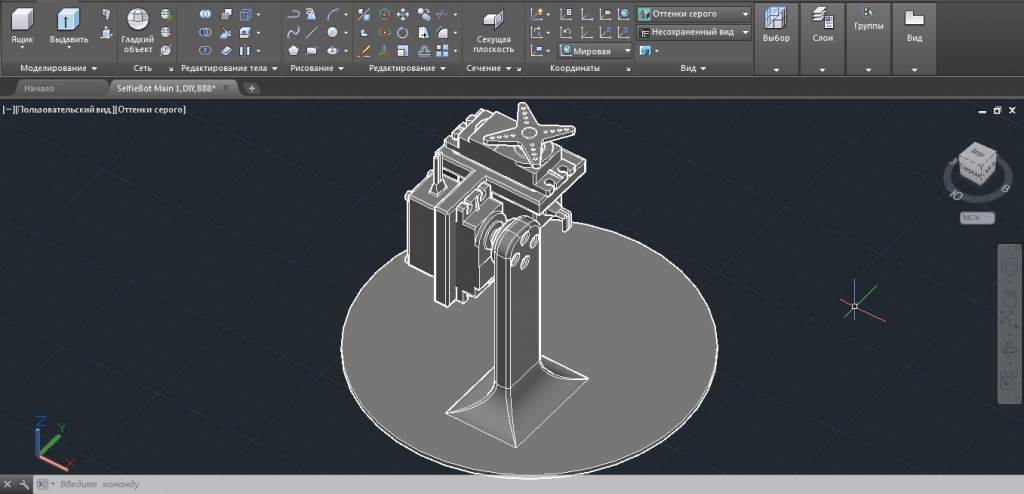
The given construction is not technologically perfect but it works.
Now we have to assemble everything together.
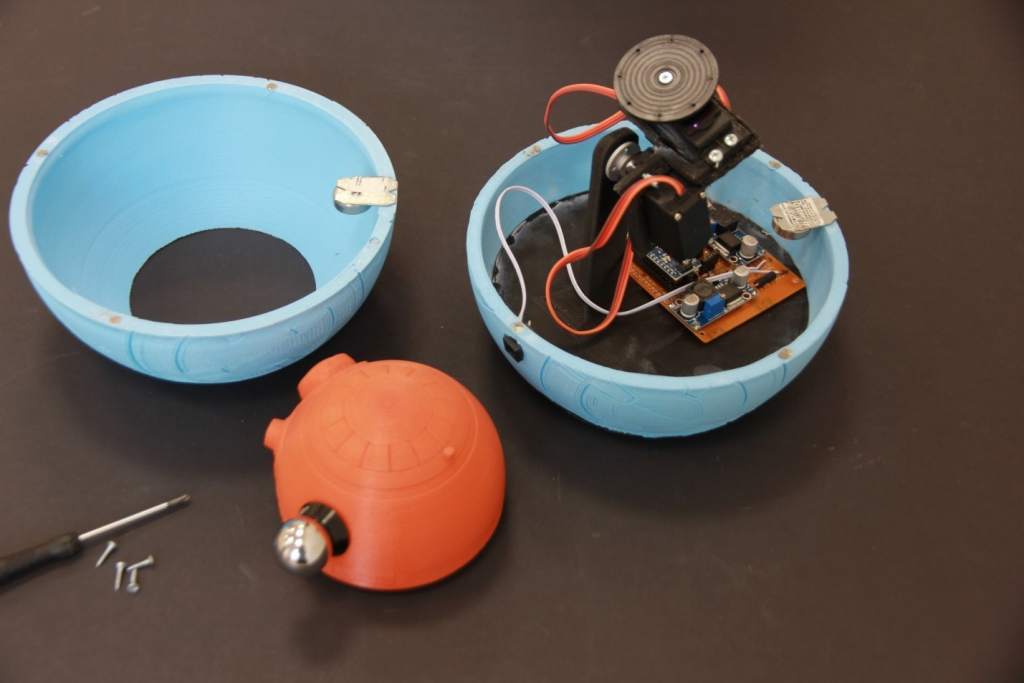
Connect the 12 V power. Start the app on the phone, and here we are – the demo mode operating, to check if everything works.
The robot starts turning its head.
Well, let’s consider that we’ve done well for beginners of the DIY SelfieBot project.
Next time we can:
• Try to polish the robot body and make it more beautiful;
• Make some kind of apron or shield in the junction of the robot head and body;
• Try to make the robot less noisy.
But it’s another story for our next article.
Meanwhile, we remind you that you are very welcome to join the DIY SelfieBot program.
It’s open – source. Accessories are inexpensive.
For you to make your own robot. Perhaps, someone will make a robot on the basis of R2D2 or C3PO.
We are happy to announce that 6 universities have already joint the DIY SelfieBot program.
More details:
+7 916 2254302
+1 617 5492799
Skype: George.fomitchev
George Fomichev’s channel