Hello, maybe someone can help here. I’m getting the error message
“ENDIF must end an IF…ENDIF or an IF…ELSE…ENDIF block.”
I actually just want the Mastro6 to send a command to the ESP32 via a button.
So, I’ve set the servo on the Maestro to channel 0, the data cable to channel 1 (and to output), and the button to channel 2 (there, to input). The code on the ESP is installed to wait for the Maestro’s command.
But as soon as I try to upload it, the error message appears. I’ve tried having the Maestro check whether the servo is in the home position, i.e., down. It should do this as soon as it receives power to ensure it’s in the correct position.
Can anyone give me a tip?
I moved your post to the “Servo controllers and servos” category of the forum since it seems more appropriate.
If that is your complete script, there are several problems with the way it is written right now.
There are 3 BEGIN commands (which mark the beginning of a loop), but only 1 REPEAT command (which mark the end of a loop).
Also, you have a few commands in your script which are not valid commands for the Maestro scripting language (GET_VARIABLE, SET_VARIABLE, NOT, and UNTIL), so those aren’t going to work unless there is additional code defining those as subroutines that is missing from your post.
If you are unsure how to go about fixing those things, could you post more details about what you are doing and how you want the code to work?
Oh, actually, it’s quite simple.
I have a Maestro6 here. It has a servo connected to channel 0. This script was created using ChatGPT. The servo moves to a position, waits 4 seconds, then moves back, waits another 4 seconds, and so on.
This script works. Now I wanted the servo to only move when I give it a command, and in this case, that would be with a button. Later, I’d like to use a remote control, but first, a button. So, I put a button on channel 2 (connected to Signal+GND). And now the script should be rewritten so that the servo responds to the button.
As an additional feature, I had thought that the Maestro, when it receives power, would check the position of the servo, because it’s supposed to be in the home position.
Well, this script shown above was created using ChatGPT, and I don’t understand what’s wrong with it. I’ve noticed that there are commands that the Maestro6 can’t process, which are only for the 12, 18, or 24. This is also something that can be really annoying at times.
Unfortunately, ChatGPTis not very reliable at programming in the Maestro scripting language (although from my testing it seems to help sometimes if you include that it is a stack-based programming language based on FORTH).
However, for what you’re trying to do, I recommend looking through the “Example Scripts” section of the Maestro user’s guide (particularly the two examples for using a button). If you plan to switch to some kind of remote in the future, you probably don’t have to worry about the extra debouncing code, so a combination of the two button programs would probably work fine. For example:
begin
  wait_for_button_press
  9159 0 servo
  500 delay
  wait_for_button_press
  3392 0 servo
  500 delay
repeat

sub wait_for_button_press
  begin
    2 get_position 500 less_than if
      return
    endif
  repeat
By the way, it sounds like you might not have used a pull-up resistor for your button; you will need to add one as described in the “Attaching Servos and Peripherals” section of the guide for it to work properly.
As far as the Maestro checking the position of the servo, unfortunately that is not possible. Servos do not make their feedback information available to the controller. They use 1-way communication, so the electronics inside the servo just process the pulse width signal being sent by the Maestro and drive the motor as commanded. If you want the Maestro to move a specific servo a home position on startup, you can set the “On startup or error” option in the “Channel Settings” tab to “Go to” and then enter the desired position into the text box. Alternatively, you could add that feature to your script by putting a SERVO command (e.g. 3392 0 servo) at the beginning, before the first BEGIN statement.
It sounds like you might not be copying the entire script/subroutine. To clarify, wait_for_button_press is not a native command in the Maestro scripting language; it is a subroutine defined at the bottom of the script I posted. If you still have problems after copying the entire subroutine definition into your script, please post your entire script and I would be glad to help troubleshoot further.
Okay, somehow it’s not working the way I want it to. I’ve checked everything, but I don’t understand what I’m forgetting? When I run the script, I don’t get an error message, which is fine. But the script runs completely once, and that’s it. The button has no effect.
begin

# hoch
  wait_for_button_press
sub hoch
  500 3392 0 0 frame_0..2 # Frame 0
  500 9216 frame_0 # Frame 1
	  quit

# runter
  wait_for_button_press
sub runter
  500 9216 0 0 frame_0..2 # Frame 0
  500 3392 frame_0 # Frame 1
  quit
repeat

sub frame_0..2
  2 servo
  1 servo
  0 servo
  delay
  return

sub frame_0
  0 servo
  delay
  return

sub wait_for_button_press
  begin
    2 get_position 500 less_than if
      return
    endif
  repeat
There are a few issues with the way your script is written. if you have not done so already, I recommend reading through “The Maestro Scripting Language” section of the Maestro user’s guide to get a better understanding of it. You might consider trying out the “Example Scripts” as well, and using the “Step Script” button to walk through it and see how each command works.
It looks like you might be confused about how the scripting language works with subroutines. A subroutine is essentially a custom function defined within the script (the sub command denotes the definition of a subroutine). Your main loop should not contain the definition of a subroutine, but it can call subroutines by name to run the code associated with them.
Another issue is that it looks like you might be using the sequencer to generate the start of your script, but might not have channel 2 configured correctly for a button input since your frame_0..2 subroutine is trying to use it as an output. Since you’re only using 1 servo, I recommend just using the SERVO command directly instead of using the sequencer. Before troubleshooting the code more, could you verify that your button is working as expected by monitoring the “Status” tab of the Maestro Control Center and making sure the slider on channel 2 moves from the right to the left when the button is pressed?
Hey, I’m back. I’ve tried to solve my problem. But after what feels like 100 attempts, I still haven’t managed it.
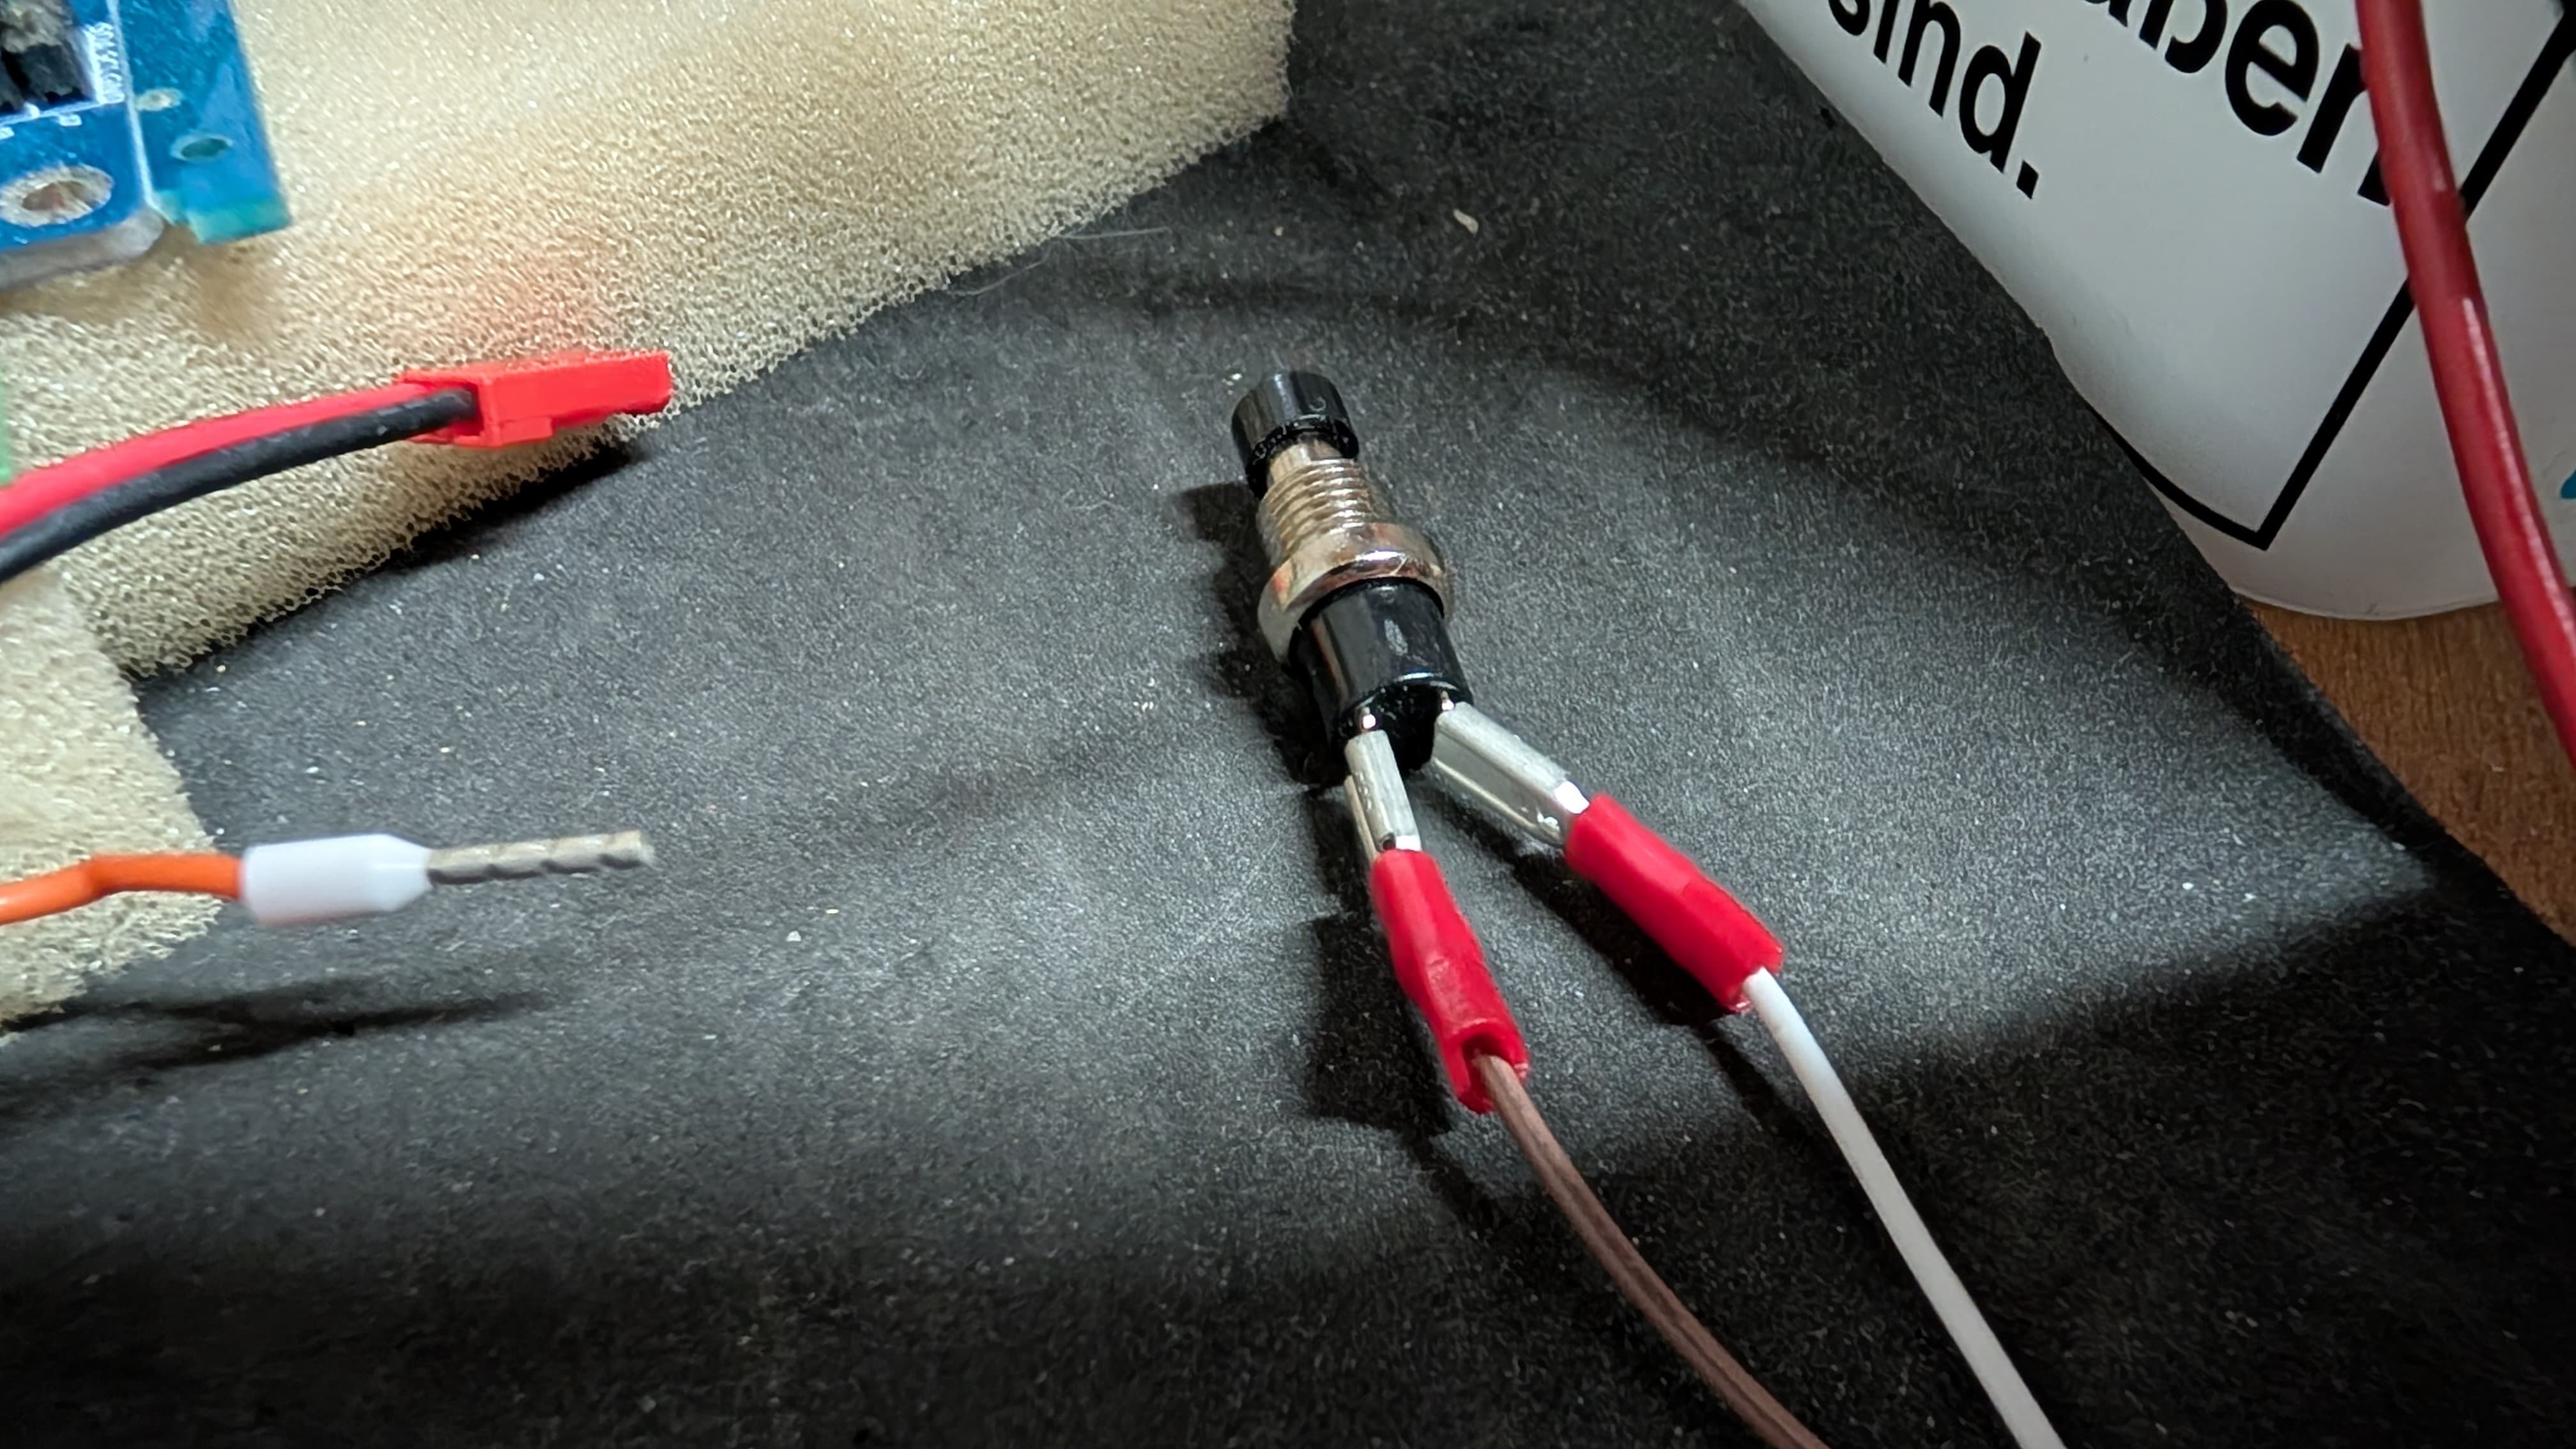
It’s still about activating a servo with a button. I have a Maestro6, a servo, and a momentary switch. I’ve defined everything correctly in the script. But it doesn’t work. When I move the controls manually, the servo does what it’s supposed to. But starting the script doesn’t help. It doesn’t display an error, but nothing happens. And this flickering of the other pins is definitely not right either.
And this is my last attempt, which unfortunately doesn’t work either
#test aus meinem code und markus
#Button = Channel 5
#Output = Channel 1
#Servo = Channel 0

goto main_loop
sub button
  0 get_position 500 GREATER_THAN
  return

sub wait_for_button_press
  wait_for_button_open_10ms
  wait_for_button_closed_10ms
  return

sub wait_for_button_open_10ms
  get_ms # put the current time on the stack
  begin
    if
      drop get_ms
    else
      get_ms over minus 10 greater_than
      if drop return endif
    endif
 repeat

sub wait_for_button_closed_10ms
  get_ms
  begin
    if
      get_ms over minus 10 greater_than
      if drop return endif
    else
      drop get_ms
    endif
  repeat

main_loop:
begin
### Sequence subroutines: ###

# hoch
sub hoch
  500 9216 8000 0 frame 0..5 # Frame 0
  500 3420 3968 frame 1 # Frame 1
  return
# runter
sub runter
  500 3420 3968 0 frame 0..5 # Frame 0
  500 9216 8000 frame 1 # Frame 1
  return
  repeat

sub output_low
 frame
1 servo
return

sub output_high
  frame
1 servo
return

sub frame
  wait_for_button_press
  5 servo
  return

 quit

sub frame_0..5
  5 servo
  4 servo
  3 servo
  2 servo
  1 servo
  0 servo
  delay
  return

sub frame_0
  0 servo
  delay
  return
If I’m understanding how you want it to work, it looks like your scripts still have a lot of extra unnecessary code that make it more complicated than it needs to be.
If you just want the servo on channel 0 to move between two position and the output on channel 1 to toggle between high and low, then you should be able to simplify it to something like this:
#Button = Channel 5
#Output = Channel 1
#Servo = Channel 0

#initialiize servo to "down" position and output to low
3392 0 servo
4000 1 servo

begin
	  wait_for_button_press
    #after the button is pressed for the first time
    #move the servo to the "up" position and set the channel 1 output high
    9159 0 servo
    8000 1 servo
    4000 delay

	  wait_for_button_press
    #after the button is pressed again
    #move the servo to the "down" position and set the channel 1 output low
    3392 0 servo
    4000 1 servo
    4000 delay
repeat

sub wait_for_button_press
  begin 5 get_position 500 greater_than while
    10 delay
  repeat
return
If that script does not respond to your button presses, could you post some pictures of your setup that show all of your connections? Also, could you try monitoring the “Status” tab to see if the button input on the channel 5 slider responds when you press the button (the indicator should be on the left side of the slider when the button is pressed, and to the right otherwise)?
Hey, finally a partial success. This code actually does two things. The servo and the LED strip respond as they should.
However, not when a button is pressed. As soon as I start, the servo moves up and down without stopping or waiting for a command. The light comes on when it starts up and off when it shuts down.
So far, it’s OK.
In the Status tab, I see the two controls for the servo and the LED strip moving. As they should. The button, however, shows no reaction. Neither when pressed nor otherwise.
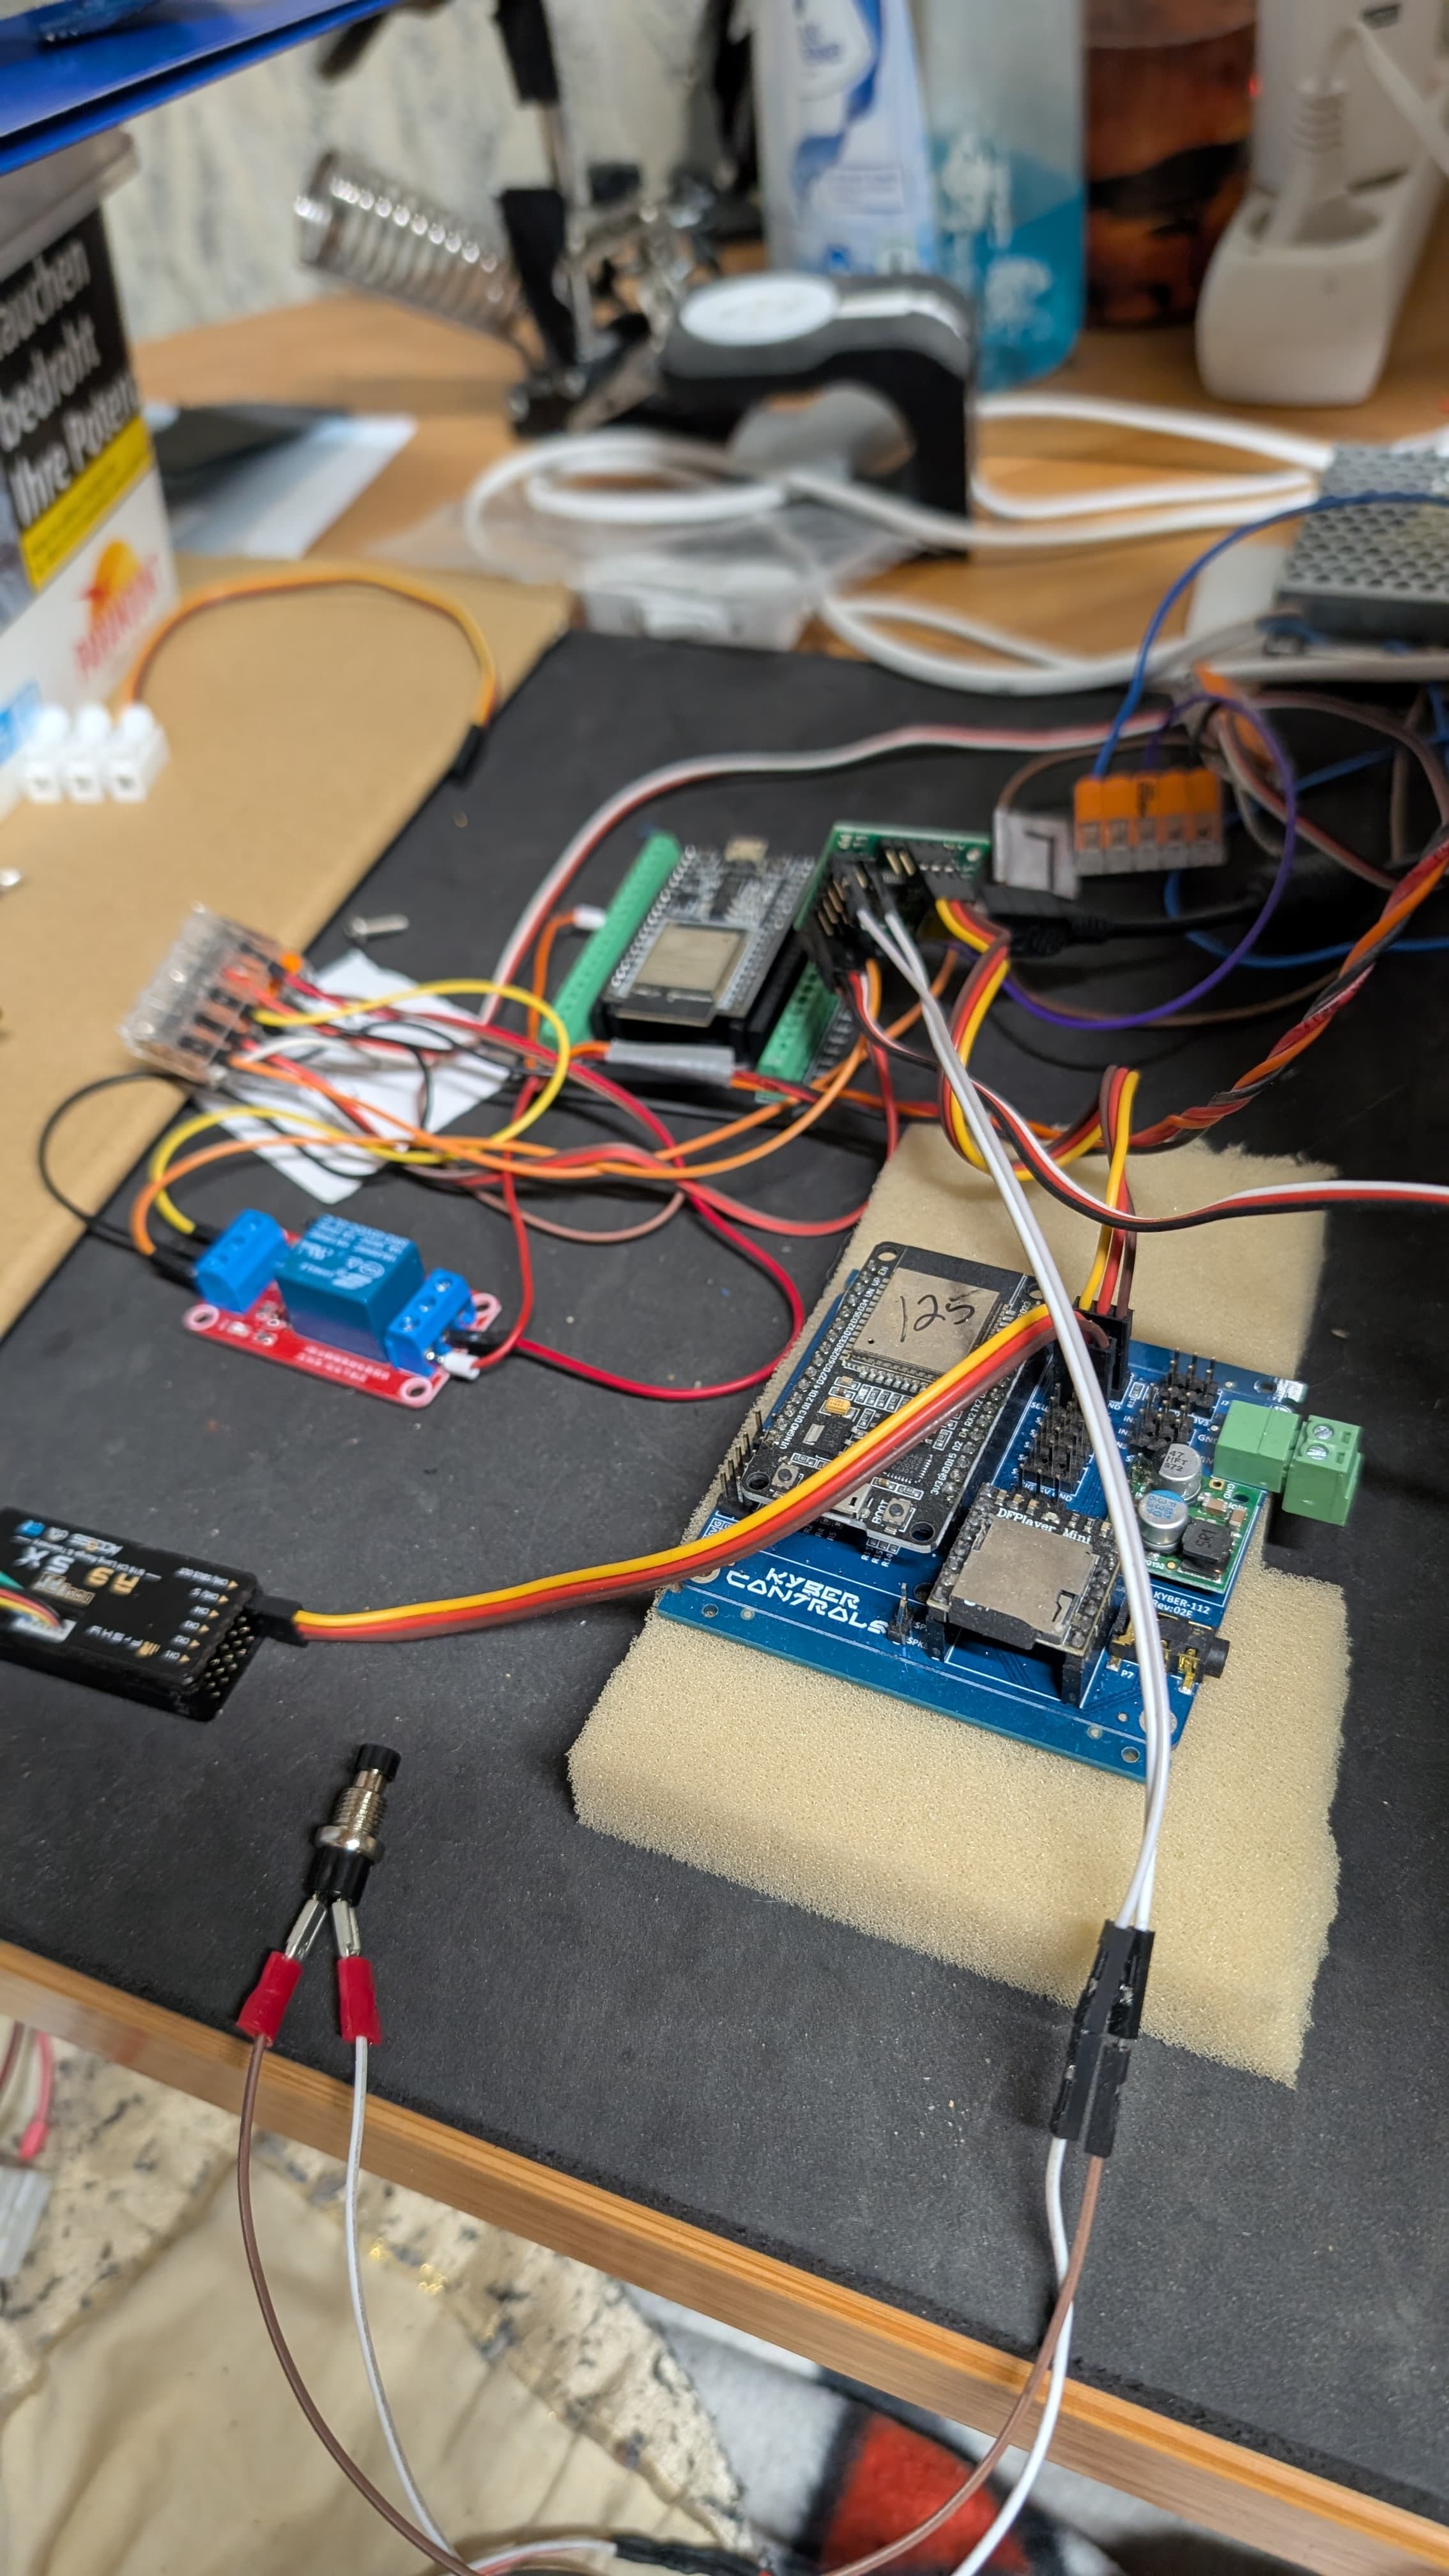
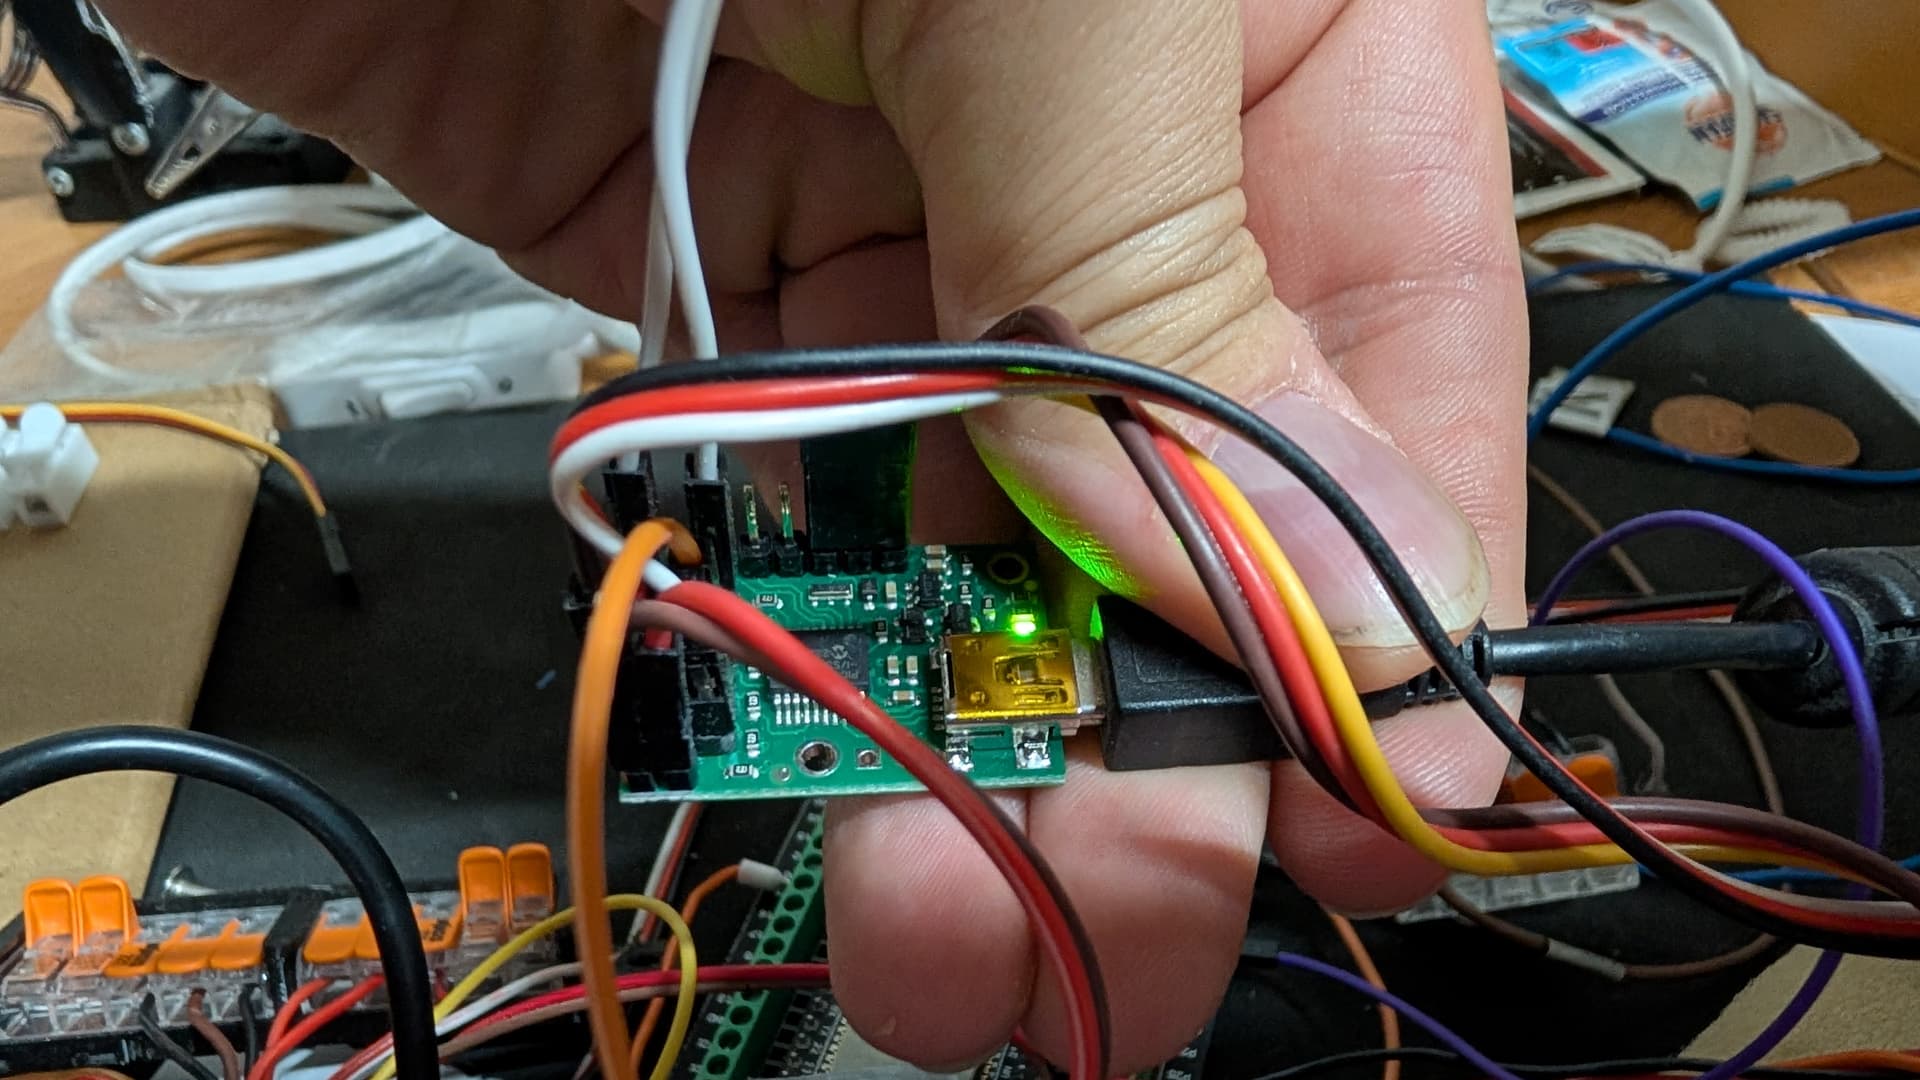
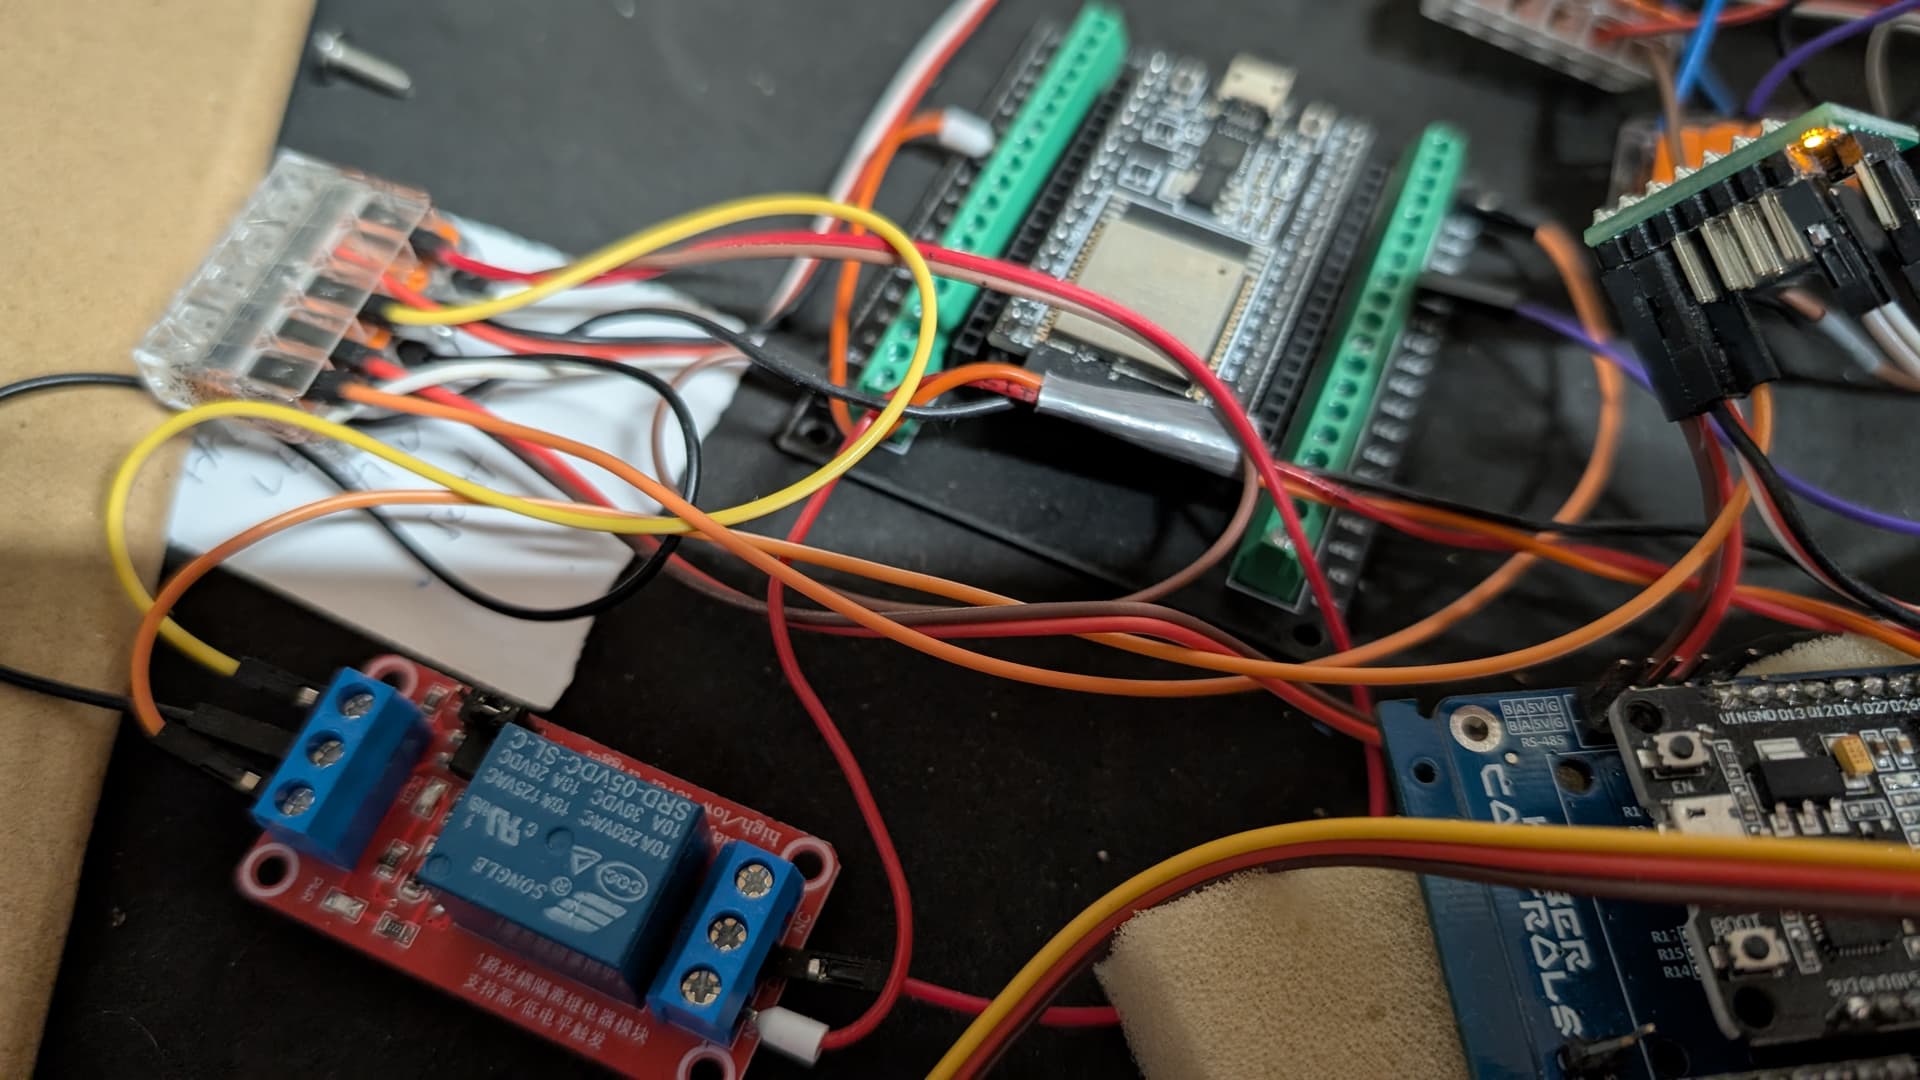
I can post a few pictures, of course, but I don’t know if you’ll be able to see everything. It still looks very chaotic.
It is hard to tell from your pictures, but it looks like you might not have a pull-up resistor connected to the button input pin on the Maestro. Without it, the input will be floating when the button isn’t pressed, which will not reliable results. Could you try adding a pull-up resistor as described in the “Attaching Servos and Peripherals” section of the Maestro user’s guide (under the “Button or Switch” heading)?
You’re right, I didn’t want to solder anything on the Maestro if it was just for testing. Because the activation and deactivation should actually be done via a remote control.
I have a Taranis XQ7, an R9SX receiver, and the Kyber system as the main control unit. The R9SX and the Maestro6 are connected to the Kyber.
Do I need to change the code in the Maestro for this, or should it be possible via the remote control now?
Could you clarify what signal you’re trying to read with the Maestro from your remote control system? To clarify, the Maestro cannot accept RC signals (like those from your R9SX receiver) directly, so if your signal is coming from there, you will need to do something to turn it into a simple high (5V) and low (0V) signal. For example, you could process the RC signal with a separate microcontroller and have that send a digital signal to the Maestro, or you could use something like our RC Switch with Digital Output.