
Hi,
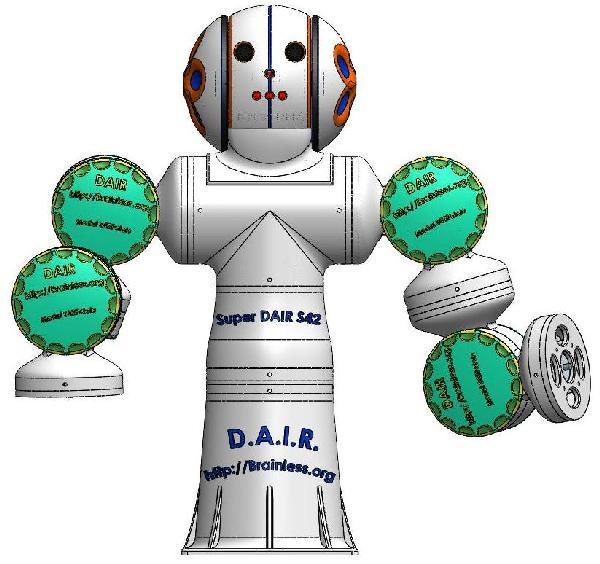
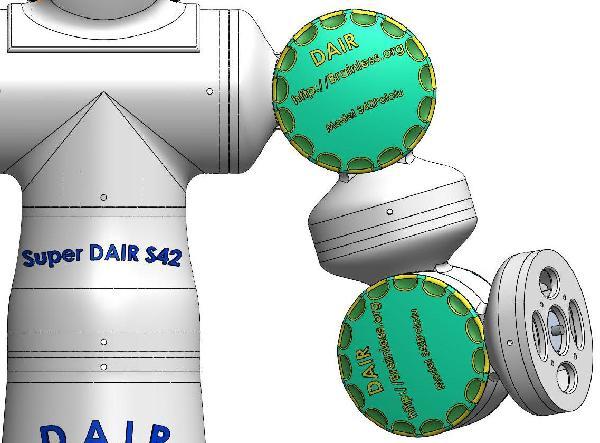
I thought I’d share this with you … a new and much simpler version of the D.A.I.R. Home Hobby Robot Kit designed for a 42mm Pololu stepper motor … It stands a little more than a foot tall … sans the BallBot1 robot neck and head.
You can print your own D.A.I.R. kit …
http://www.brainless.org/DAIR-Kit.html
using these motors: https://www.pololu.com/catalog/product/2296
your own selected stepper motor drivers etc…
Use your own choice of µControllers and software …
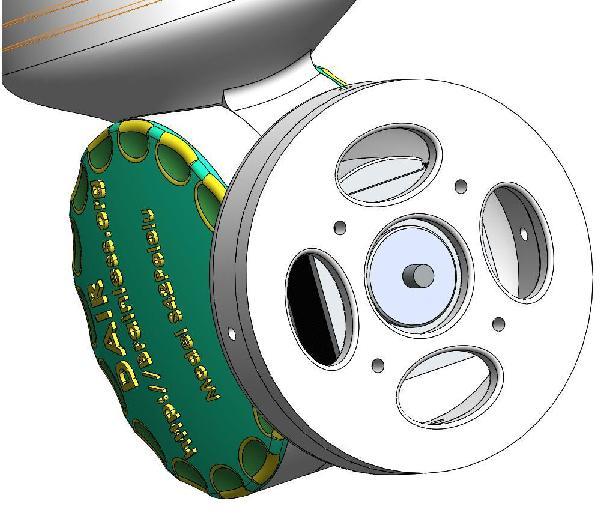
What is the connection from the motor shaft to the D.A.I.R. plastic parts? I don’t know … that could be a few different solutions … but I’ve left space for a few ideas that still need to be worked out … but I’m sure it is going to be a small metal piece resembling a hobby servo motor circular arm but can be screwed tightly onto the motor shaft. I’m open to other possibilities here … maybe Pololu has a part just for this that I haven’t found yet or can get something that completes the D.A.I.R. kit. That was an easy solution for the other D.A.I.R. kits designed for hobby servo motors. http://www.youtube.com/watch?v=xGApv4Xw9cU
Here is a few PBASIC examples to get you started;
Full Speed Loop for Stepper Motor;
cwfullspeed:
DEBUG CR, “Full Speed Clockwise”, CR
FOR I = 1 TO 1600 ’ 1-full revolution of test motor pulled from an ATM machine is 1600 STEPS
LOW 0 ’ BS2 PIN 0 to Direction Pin on motor controller
LOW 1 ’ Pre STEP set LOW to ramp up for triggering a STEP from BS2 PIN 1 to motor controller STEP pin
HIGH 1 ’ STEP from BS2 PIN 1 to motor controller STEP pin causes motor to take a STEP
NEXT
RETURN
ccwfullspeed:
DEBUG CR, “Full Speed Counter Clockwise”, CR
FOR I = 1 TO 1600 ’ 1-full revolution of test motor pulled from an ATM machine is 1600 STEPS
LOW 0 ’ BS2 PIN 0 to Direction Pin on motor controller
LOW 1 ’ Pre STEP set LOW to ramp up for triggering a STEP from BS2 PIN 1 to motor controller STEP pin
HIGH 1 ’ STEP from BS2 PIN 1 to motor controller STEP pin causes motor to take a STEP
NEXT
RETURN
Adding MicroSTEPS is easy with the motor controller I’m using;
Just set MS1 HIGH for 1/8 Step STEPS and setting both MS1 and MS2 HIGH gives even higher resolution microSTEPs …
Adding a PAUSE before the NEXT in the example FOR/NEXT loops you can slow down the speed of the motor.
With that simple information now you can quickly create a sequence of moves for each motor on each arm to have your D.A.I.R. very precisely move from point to point … adding a gripper to the ends of the arms you can have your D.A.I.R. picking 'n moving 'n packing 'n sorting etc… and hopefully you share your programming code here and to my website too.
The plastic part designs are a FREE download for personal use under the Creative Commons Licenses.