I’m considering the 3pi+ for (covid-remote, especially) high-school robotics team classroom use and would like to be able to have students design and 3D print additional mechanisms for mounting on top - maybe a sensor such as an ultrasonic sensor or a small arm driven by basic hobby servos.
I’ve looked at the photos but wonder if there are features (holes, clips, etc) on the chassis and/or bumper skirt that facilitate mounting additional hardware? Are there any known 3D models available as a start that we can build on? Even CAD models of the chassis/skirt would be helpful.
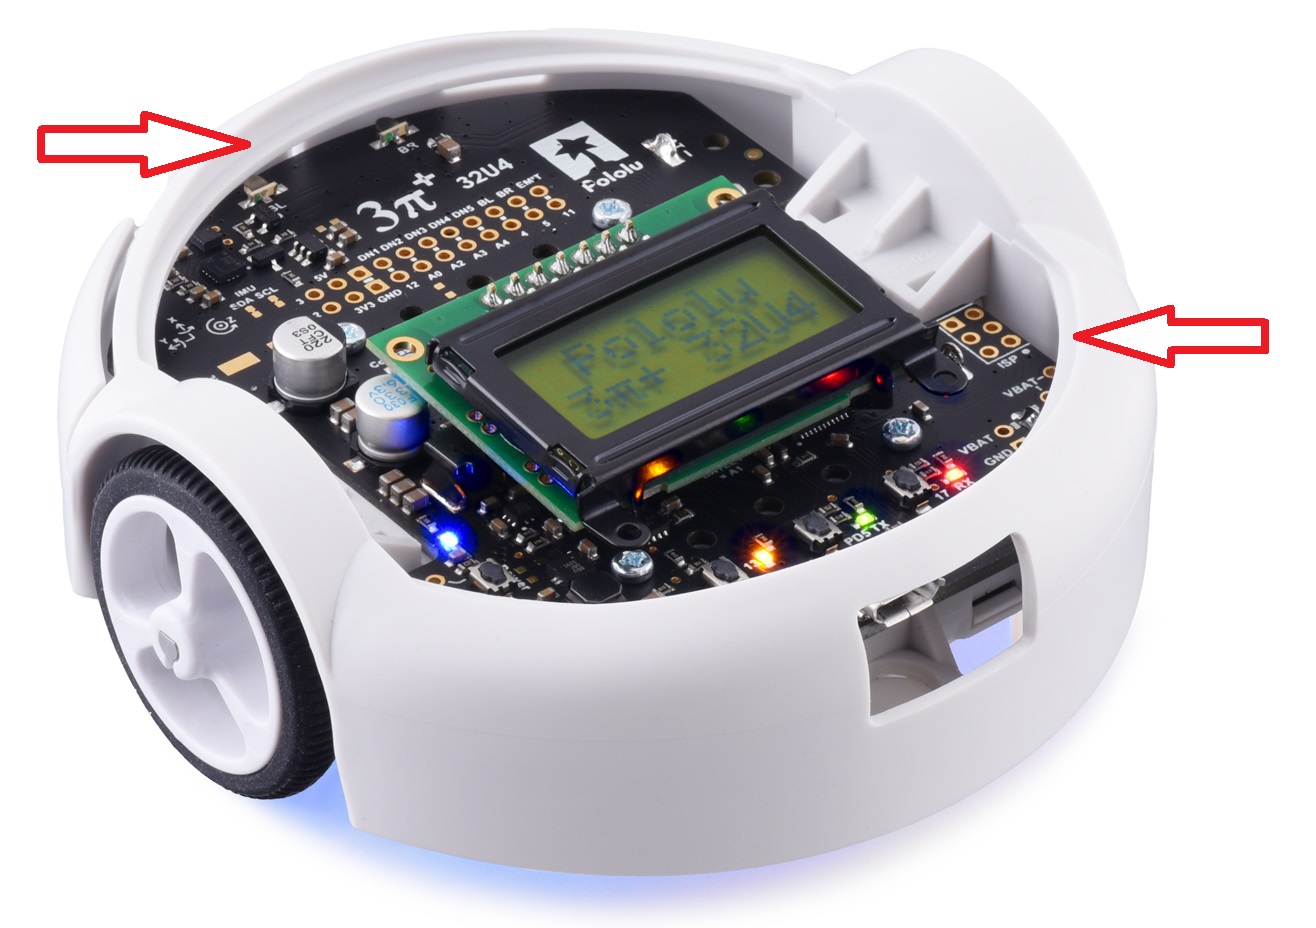
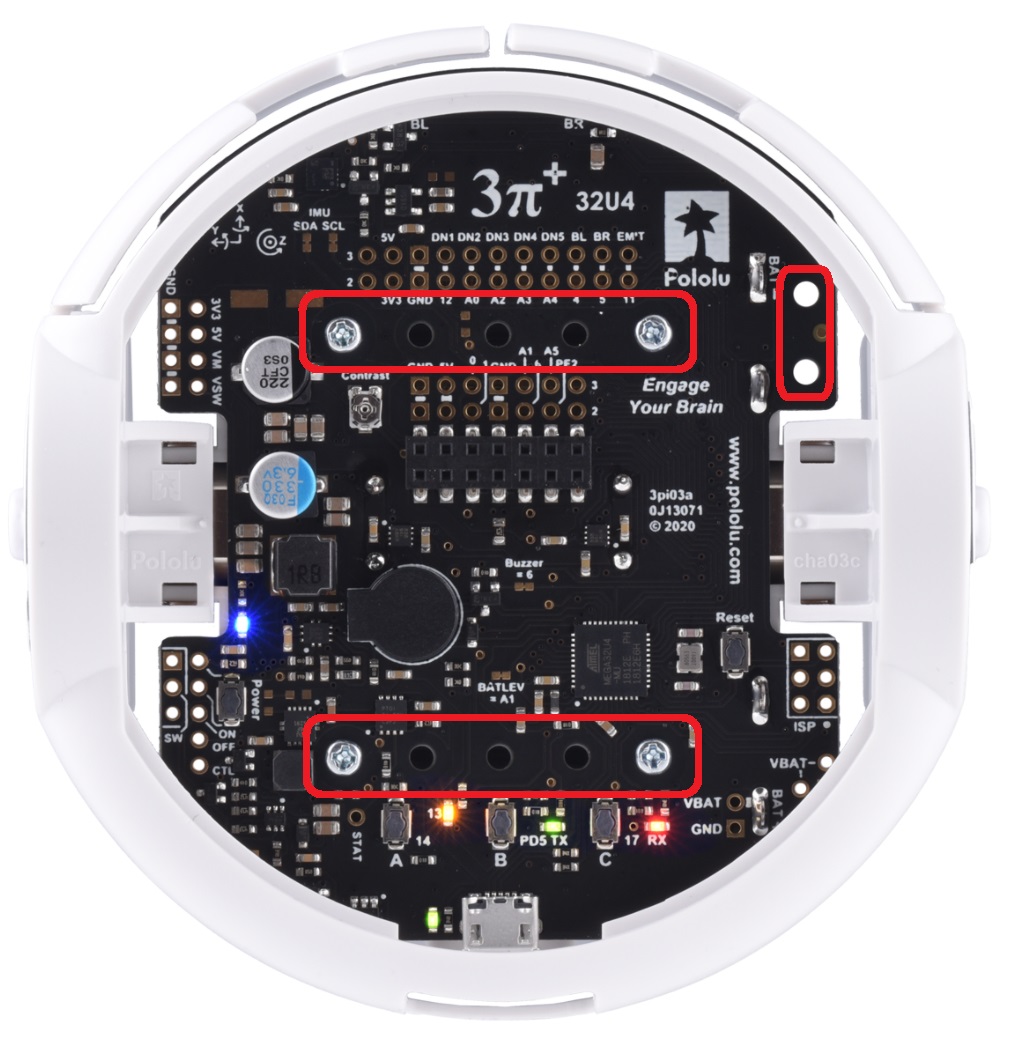
So, you could potentially use that to support a second level. In addition, the PCB has some mounting holes that you could use to secure something down. The PCB sits about 1/4" lower than the lip on the bumper skirt, so some 1/4", 2-56 standoffs can be installed to give you some mounting holes at the lip height. There are several mounting holes that you could potentially use for this, especially if you remove the LCD:
We are still finalizing and releasing some CAD files for the 3pi+ robots, but as soon as they are ready (probably in the next few days), we will post a STEP file of the assembled 3pi+ 32U4 Robot on the “Resources” tab of the 3pi+ robot product pages. There are some resources there already that you might be able to get started with, such as the 3D model and DXF drill guide of the 3pi+ 32U4 Control Board.
I’ll keep an eye out for additional models to be posted. In the meantime, I have a Pi3+ kit arriving at my house this week and I’ll be doing an unboxing, assembly, and programming remote workshop with the team and we’ll see how it might work out for us