Since it was working fine before, we prefer to troubleshoot before deciding how to proceed. I received your email response with screenshots of the Maestro Control Center tabs, but could you please post the pictures of your setup that show all of your connections as I asked in my previous response? Additionally, could you post close-up pictures of both sides of the problematic Maestro?
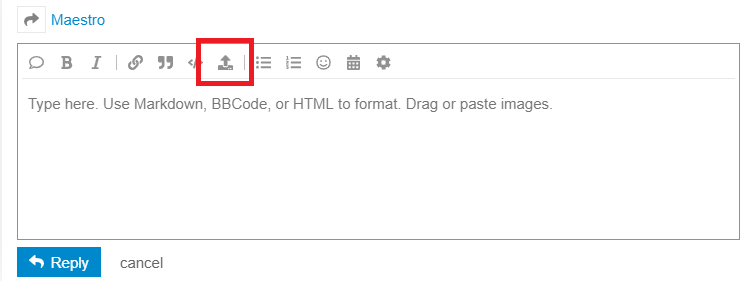
You can post pictures directly on the forum by either dragging the file into the dialog box (where you type your reply), or by using the “Upload” button (shown in the image below) to locate the file.
** This is the current code that works. Albeit all four servos wires are going to channel 0. It would be nice to know what the code would look like to use 4 channels. The first 2 channels 0 and 2 would be the same code as below. (Left side of Robot) - Channel 3 and 4 would be coded to handle the right side.
**Current code:
# Set the servo to 4000, 6000, or 8000 depending on an analog input, with hysteresis.
begin
  4000 0 300 servo_range
  6000 300 600 servo_range
  8000 600 1023 servo_range
repeat

# usage: <pos> <low> <high> servo_range
# If the pot is in the range specified by low and high,
# keeps servo 0 at pos until the pot moves out of this
# range, with hysteresis.
sub servo_range
  pot 2 pick less_than logical_not    # >= low
  pot 2 pick greater_than logical_not # <= high
  logical_and
  if
    begin
      pot 2 pick 10 minus less_than logical_not   # >= low - 10
      pot 2 pick 10 plus greater_than logical_not # <= high + 10
      logical_and
    while
      2 pick 0 servo
    repeat
  endif
  drop drop drop
  return

sub pot
  1 get_position
  return
All you would need to do to make it work with servos on channels 0, 2, 3, and 4, with channels 3 and 4 flipped, is copy the snippet of code from my previous post and replace the 2 pick 0 servo line of code with it, which would look like this:
# Set the servo to 4000, 6000, or 8000 depending on an analog input, with hysteresis.
begin
  4000 0 300 servo_range
  6000 300 600 servo_range
  8000 600 1023 servo_range
repeat

# usage: <pos> <low> <high> servo_range
# If the pot is in the range specified by low and high,
# keeps servo 0 at pos until the pot moves out of this
# range, with hysteresis.
sub servo_range
  pot 2 pick less_than logical_not    # >= low
  pot 2 pick greater_than logical_not # <= high
  logical_and
  if
    begin
      pot 2 pick 10 minus less_than logical_not   # >= low - 10
      pot 2 pick 10 plus greater_than logical_not # <= high + 10
      logical_and
    while

      2 pick dup 0 servo   #get the target position from the 2nd value down on the stack, and set channel 0 to it
      dup 2 servo          #duplicate the target position and set channel 2 to it.

      dup 4000 equals if       #duplicate the target position and see if it equals 4000
            drop 8000            #if it does, drop the target position (4000) on the stack and replace it with 8000
      else dup 8000 equals if  #otherwise, duplicate the target position again and see if it equals 8000
            drop 4000            #if it does, drop the target position (8000) on the stack and replace it with 4000
            endif
      endif

      dup 3 servo     #duplicate the new target position and set channel 3 to it
      4 servo         #set servo channel 4 to the same position

    repeat
  endif
  drop drop drop
  return

sub pot
  1 get_position
  return
All 6 channels on the Micro Maestro (and the first 12 channels on the Mini Maestros) are capable of analog inputs. Once you have configured the desired channel as an input in the “Channel Settings” tab (remember to click the Apply Settings button), you can connect your analog signal to that channel’s signal pin; just make sure you have a common ground as well.
It is not clear to me how you are trying to use your analog signal to control your RGB LED strip (or what strip you’re using), but it probably isn’t practical to control it from a Maestro (especially if it is addressable).
" is not clear to me how you are trying to use your analog signal to control your RGB LED strip (or what strip you’re using), but it probably isn’t practical to control it from a Maestro (especially if it is addressable)." For Kids learning…will be using a tiny microphone to pick up their voices to trigger non addressable leds.
For ARGB it seems you’re leaning towards programmable arduino or raspberry versus any Pololu product,