After loading the example basic code only the red light flashes. The servos do not move. The Arduino Blink example works and the Maestro Control Panel operated the Mini.
Made the setting changes/applied in the Control Panel - UART, fixed base rate, Baud rate: 9600, CRC disabled
Changed the code to reflect the Mini rather than the Micro
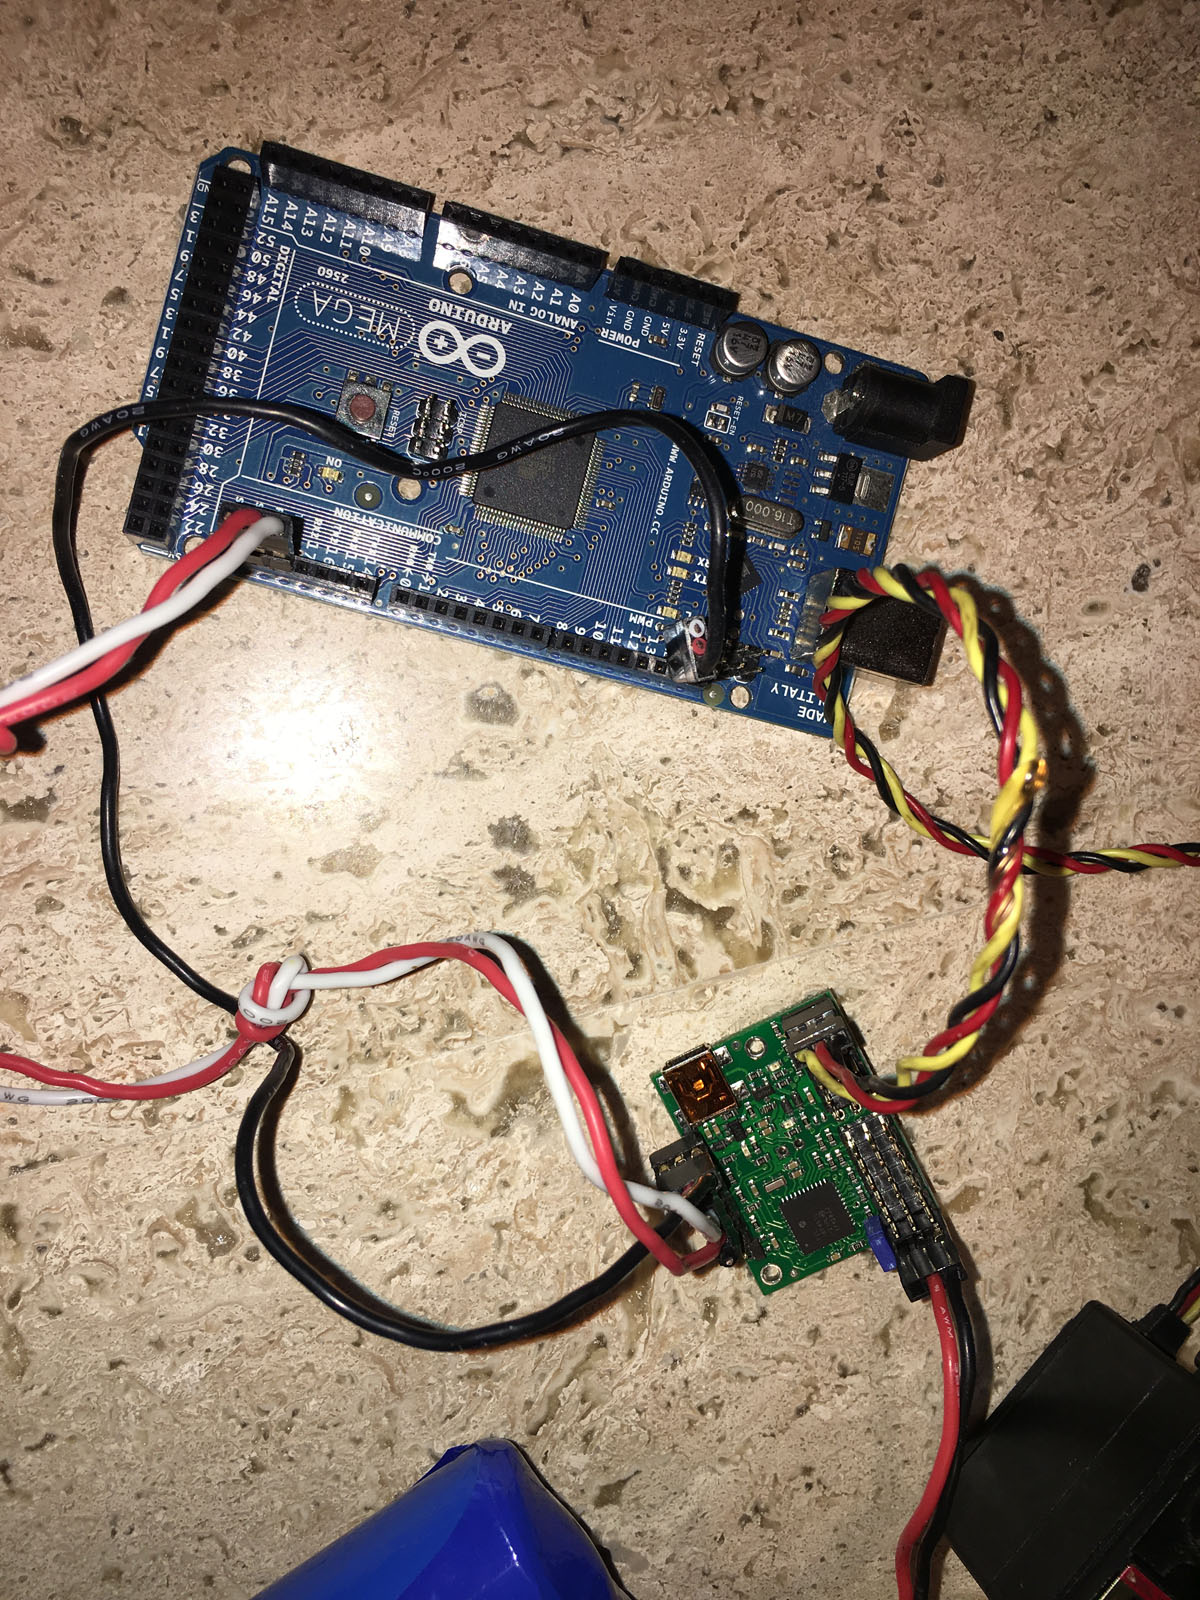
Wired gnd to end between the boards
Connected Maestro’s RX to Mega’s TX - pin 18
Connected Maestro’s TX to Mega’s RX - pin 19
Changed the code to reflect the RX and TX pins
Any suggestions would be appreciated.
Chuck
/* This example shows how to control a single servo on a Maestro
servo controller using the PololuMaestro library. It assumes you
have an RC hobby servo connected on channel 0 of your Maestro,
and that you have already used the Maestro Control Center
software to verify that the servo is powered correctly and moves
when you command it to from the Maestro Control Center.

Before using this example, you should go to the Serial Settings
tab in the Maestro Control Center and apply these settings:

* Serial mode: UART, fixed baud rate
* Baud rate: 9600
* CRC disabled

Be sure to click "Apply Settings" after making any changes.

This example also assumes you have connected your Arduino to your
Maestro appropriately. If you have not done so, please see
https://github.com/pololu/maestro-arduino for more details on how
to make the connection between your Arduino and your Maestro. */

#include <PololuMaestro.h>

/* On boards with a hardware serial port available for use, use
that port to communicate with the Maestro. For other boards,
create a SoftwareSerial object using pin 10 to receive (RX) and
pin 11 to transmit (TX). */
#ifdef SERIAL_PORT_HARDWARE_OPEN
  #define maestroSerial SERIAL_PORT_HARDWARE_OPEN
#else
  #include <SoftwareSerial.h>
  SoftwareSerial maestroSerial(19, 18);
#endif

/* Next, create a Maestro object using the serial port.

Uncomment one of MicroMaestro or MiniMaestro below depending
on which one you have. */
//MicroMaestro maestro(maestroSerial);
MiniMaestro maestro(maestroSerial);

void setup()
{
  // Set the serial baud rate.
  maestroSerial.begin(9600);
}

void loop()
{
  /* setTarget takes the channel number you want to control, and
     the target position in units of 1/4 microseconds. A typical
     RC hobby servo responds to pulses between 1 ms (4000) and 2
     ms (8000). */

  // Set the target of channel 0 to 1500 us, and wait 2 seconds.
  maestro.setTarget(0, 6000);
  delay(2000);

  // Set the target of channel 0 to 1750 us, and wait 2 seconds.
  maestro.setTarget(0, 7000);
  delay(2000);

  // Set the target of channel 0 to 1250 us, and wait 2 seconds.
  maestro.setTarget(0, 5000);
  delay(2000);
}