I decided to make the Motion Tracking Skull Halloween prop posted by Brandon on 7 Oct 2014. I am not going to reiterate everything he said, so please read his work first. pololu.com/blog/419/motion- … oween-prop
I purchased everything he listed except for the servo ( I had several of these). So I went to work finding a skull. Well I had a full size skeleton so I cut the head off thinking that this would work fine.
I had to then educate myself on the program syntax and figure out what his program was doing.
I made several changes to his setup:
- I changed the servo to channel 1
- I changed the 1st analog input to channel 3
- I changed the 2nd analog input to channel 5
This made it a lot easier for my large fingers to get in and move the pins.
I downloaded the analog sensor characteristics (5V operation) that he used and found that the sensitive part of the sensor is between 4 inches and 20 inches. You do get a reading at 60 inches but it is less than a volt. Any noise (i.e. outside light etc) will make it difficult to identify a difference between the two sensors.
I took his program and modified it making the appropriate changes as listed above. I also decided that it was impolite to stare, so I put in a timer that takes the head back to center. In retrospect I would add a little more time to this as it follows you and then quickly looks away (my wife thinks this is creepy).
Here is his adulterated program:
quack:
8000 #sets the initial timer (should have made this 9000)
6000 #sets initial (middle) position of servo
dup 1 servo #initialize servo on channel 1
6000 delay #delay to set up
begin #take the difference between two analog signals
3 get_position 5 get position minus
dup -140 less_than if
swap dup 3600 greater_than if
5 minus
swap
endif
endif
140 greater_than if
dup 8800 less_than if
5 plus
endif
endif
dup 1 servo #updates servo position
#this is where I added the counter
swap
1 minus dup
1 greater_than if #checks to see if the countdown has reached 0
swap
else drop drop goto quack #drop clears the register and goes up to quack
endif
repeat
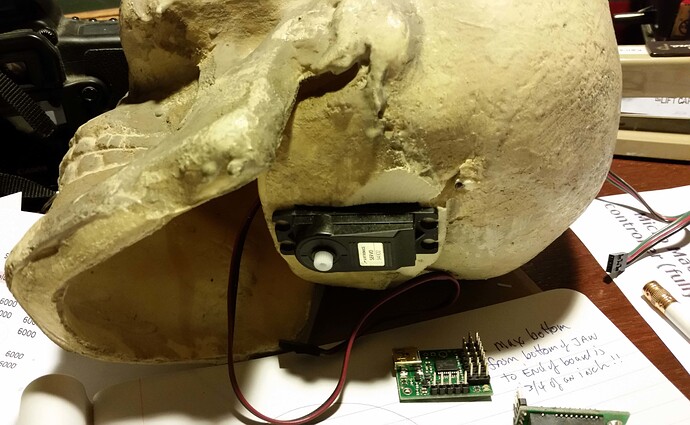
Now that I had the program working I started modifying the head. Since I was putting it on the skeleton frame it needed to be light. I cut a square hole in the base of the skull (where I chopped of the head) and installed the servo. I tried a battery pack stuffed in the head but the skeleton spine didn’t like the weight, so I opted for a 6V lantern battery that had enough mAh to get through 30 days. I hid this behind the skeleton, running the wire up the skeleton spine.
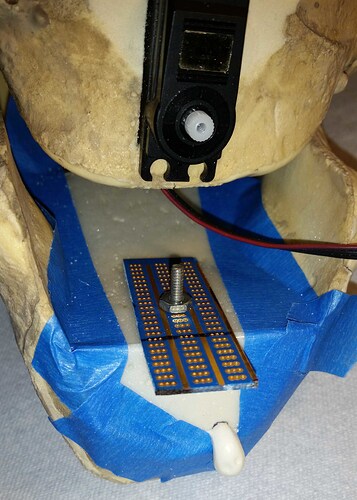
I had a piece of proto board which fit the sensors perfectly. I found a piece of thin plastic and made a template for the inside of the jaw. I took a screw two nuts a washer and a T-nut screwing the T-nut to the bottom, then a nut up towards the top then the washer then the plastic then the proto board then the nut right at the top.
I put this in the jaw of the skeleton head, put some painters tape around the front edge so it wouldn’t make a mess and foamed it in place. Use the foam sparingly- mine kept expanding for a day and a half and slightly warped the plastic. In retrospect I would have put more holes in the plastic for the foam to ooze out of. When it finally stopped expanding it hardened. The T-nut at the bottom held the screw in place so I could remove the proto board and start connecting parts.
I had to screw a connector plate to the servo on the skull and then screw the connector plate to the spine of the skeleton. A bit tricky.
I soldered the premium jumper wire (I used male to female) to the proto board, ran the wires to the Micro Maestro, connected the sensors, connected the battery and everything worked. I found that the range was shorter than I thought and realized that the sensors were reading part of the bottom of the skull jaw. I removed the proto board, drilled a new hole that allowed the sensors to sit lower.
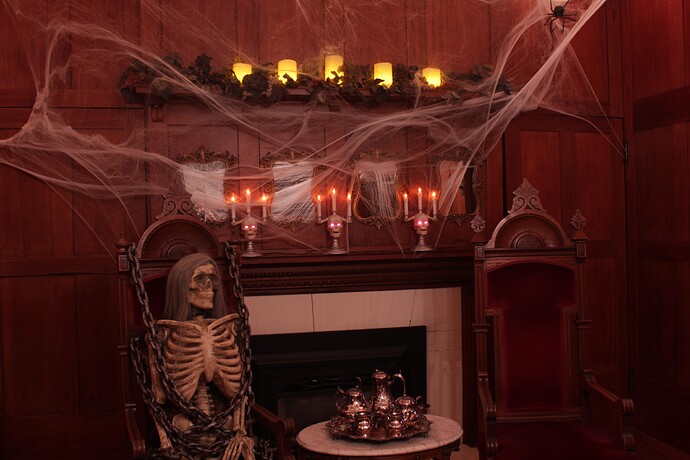
This hard working skeleton is at the Cedar Gables Inn Bed and Breakfast in Napa and has a lot of fun scaring our guests.


